

A complete guide on how to train for a thru-hike starts with walking, not heroic gym sessions. Build trail time gradually, carry the pack you’ll actually use, add strength work, and practice on hills, rough ground, heat, and wet trails. Your goal is to arrive durable enough for repeated long days, not exhausted before the trail starts.
Last updated: 2026-08-12
A thru-hike training plan should prepare your feet, legs, lungs, shoulders, and judgment. It should also leave room for recovery, because a sore muscle is manageable and a forced layoff is not. The right plan changes with your current fitness, the trail’s terrain, your pack weight, and how much time you have before the trailhead.
What does a complete guide on how to train for a thru-hike include?
A useful plan has five moving parts:
- Hiking volume that grows over time
- Strength for climbing, descending, and carrying a pack
- Cardio work for sustained effort
- Foot and gear practice
- Recovery, pacing, and injury control
You don’t need to run every day. You don’t need a special altitude mask. You don’t need to punish yourself with workouts that leave you too sore to hike.
You do need regular trail miles. A thru-hike asks your body to repeat the same basic work for a long time. Training should copy that demand as closely as your schedule allows.
Adults should get at least 150 minutes of moderate-intensity physical activity per week, according to the Centers for Disease Control and Prevention. The CDC describes that target as 30 minutes a day, 5 days a week. Adults should also perform muscle-strengthening activity on 2 days per week.
Those guidelines give you a floor for general health. They don’t turn you into a thru-hiker by themselves. A brisk walk on pavement helps your aerobic base, but it won’t fully prepare your feet for rock, your shoulders for pack rub, or your knees for a long descent.
1. Set the trail demands before you set the training plan
Start with the route. A smooth trail with steady resupply is a different job from a rocky route with long water carries, steep switchbacks, heat, bugs, and limited bailout points.
Write down the demands that will shape your training:
- Typical daily distance
- Longest climbs and descents
- Expected pack weight
- Water carry needs
- Trail surface
- Heat, cold, wind, mud, or snow
- Resupply gaps
- Permits and access rules
- How far you’ll be from help
You don’t need an exact replica of the trail near home. You need the same kinds of stress. If the route is steep, use stairs, hills, or a treadmill incline. If it’s rocky, find uneven ground. If you’ll carry a full pack, train your shoulders and hips for that load.
The Pacific Crest Trail Long-distance Permit applies to hikers traveling 500 or more continuous miles in a single trip. That permit detail belongs to the PCT, not to thru-hiking in general, so check the rules for your own route before you make travel plans.
2. Pick a timeline your body can handle
Most hikers should start training well before the trip, especially if they’re starting from a low fitness base. The right timeline depends on your current walking volume, injury history, work schedule, and trail difficulty.
Use this simple test:
| Starting point | Training focus |
|---|---|
| You walk little now | Build a regular walking habit and strengthen your legs |
| You exercise but rarely hike | Add hills, uneven ground, and a light pack |
| You hike often | Increase back-to-back hiking and practice your real gear |
| You already backpack | Focus on sustained volume, recovery, feet, and trail-specific problems |
Don’t copy a plan written for someone who already hikes every weekend. That’s how a sensible goal turns into shin pain before the first resupply.
A good schedule includes easier days. Your muscles, tendons, and feet need time to catch up with your ambition. If pain changes your stride, stop increasing the workload. Rest, adjust your shoes or pack, and deal with the problem before it becomes a forced zero day.
Use this thru-hike training schedule as a planning framework, then adjust it around your actual recovery.
3. Make hiking the main workout

Running, cycling, rowing, and stair machines can improve fitness. They don’t replace hiking.
Walking on trails teaches your feet to handle repeated impact. It also trains balance, pacing, foot placement, and the small stabilizing muscles that complain after mile after mile. That specific practice matters more than winning a hard workout on a machine.
Build your hiking in stages:
- Walk regularly on easy ground.
- Add hills and uneven surfaces.
- Carry a light pack.
- Extend one hike while keeping the other outings manageable.
- Add back-to-back hiking days.
- Practice with the shoes, socks, poles, and pack you plan to use.
- Repeat the conditions that cause trouble, such as steep descents or hot afternoons.
- Reduce training before the trip so you start rested.
You don’t need to turn every outing into a test. Most training hikes should finish with enough energy left to recover and repeat the work. Save the hardest efforts for occasional checks of your fitness and gear.
Back-to-back hikes are useful because the second day tells you more than the first. You’ll learn how your feet behave when they’re already tired, how your shoulder straps rub, and whether your food and water plan still works when you’re not fresh.
4. Build your aerobic base without chasing exhaustion
Cardio helps you keep moving for long periods. It also makes climbs feel less like a negotiation with your lungs.
Use brisk walking, running, cycling, stair climbing, or another activity you can do consistently. Moderate effort should let you speak in short sentences. If every session leaves you wrecked, you’re spending recovery on drama instead of building useful fitness.
The CDC’s adult activity guidance gives you a solid starting point: at least 150 minutes of moderate-intensity physical activity per week. Increase your total work gradually by adding time, hills, or another hiking day. Don’t increase every stressor at once.
Cardio is most useful when it supports trail practice. A bike ride can build endurance without adding more impact to sore feet. A stair session can help with climbing. Neither teaches you how to descend loose rock with a pack, so keep hiking in the plan.
If you want more options, this guide to cardio exercises for hiking endurance covers ways to build fitness when trails aren’t close.
5. Strengthen the parts that carry you downhill
Thru-hiking strength is mostly about control. Your quads slow you on descents, your glutes drive you uphill, and your calves help manage uneven ground. Your trunk keeps the pack from turning every step into a wobble.
Perform strength work on 2 days per week, which matches the CDC guidance for adults. Keep the movements controlled. A sloppy lift done to impress nobody has little value on a trail.
Build sessions around these movement patterns:
- Squats or sit-to-stand movements for climbing and descending
- Step-ups for uphill drive
- Split squats or lunges for single-leg control
- Deadlift movements for hips and hamstrings
- Calf raises for repeated climbing
- Rows for upper-back and shoulder support
- Planks or carries for trunk stability
- Hip and ankle mobility work for uneven ground
Start with a load you can control. Add resistance only when your form stays steady and your recovery remains good.
Don’t neglect the descent. Many hikers train uphill because it feels productive, then discover that downhill braking is what ruins their trip. Add controlled step-downs, downhill walking, and single-leg work.
These leg exercises for steep hiking trails can help you build that control without turning every session into a heavy lifting contest.
6. Train with the pack you’ll carry
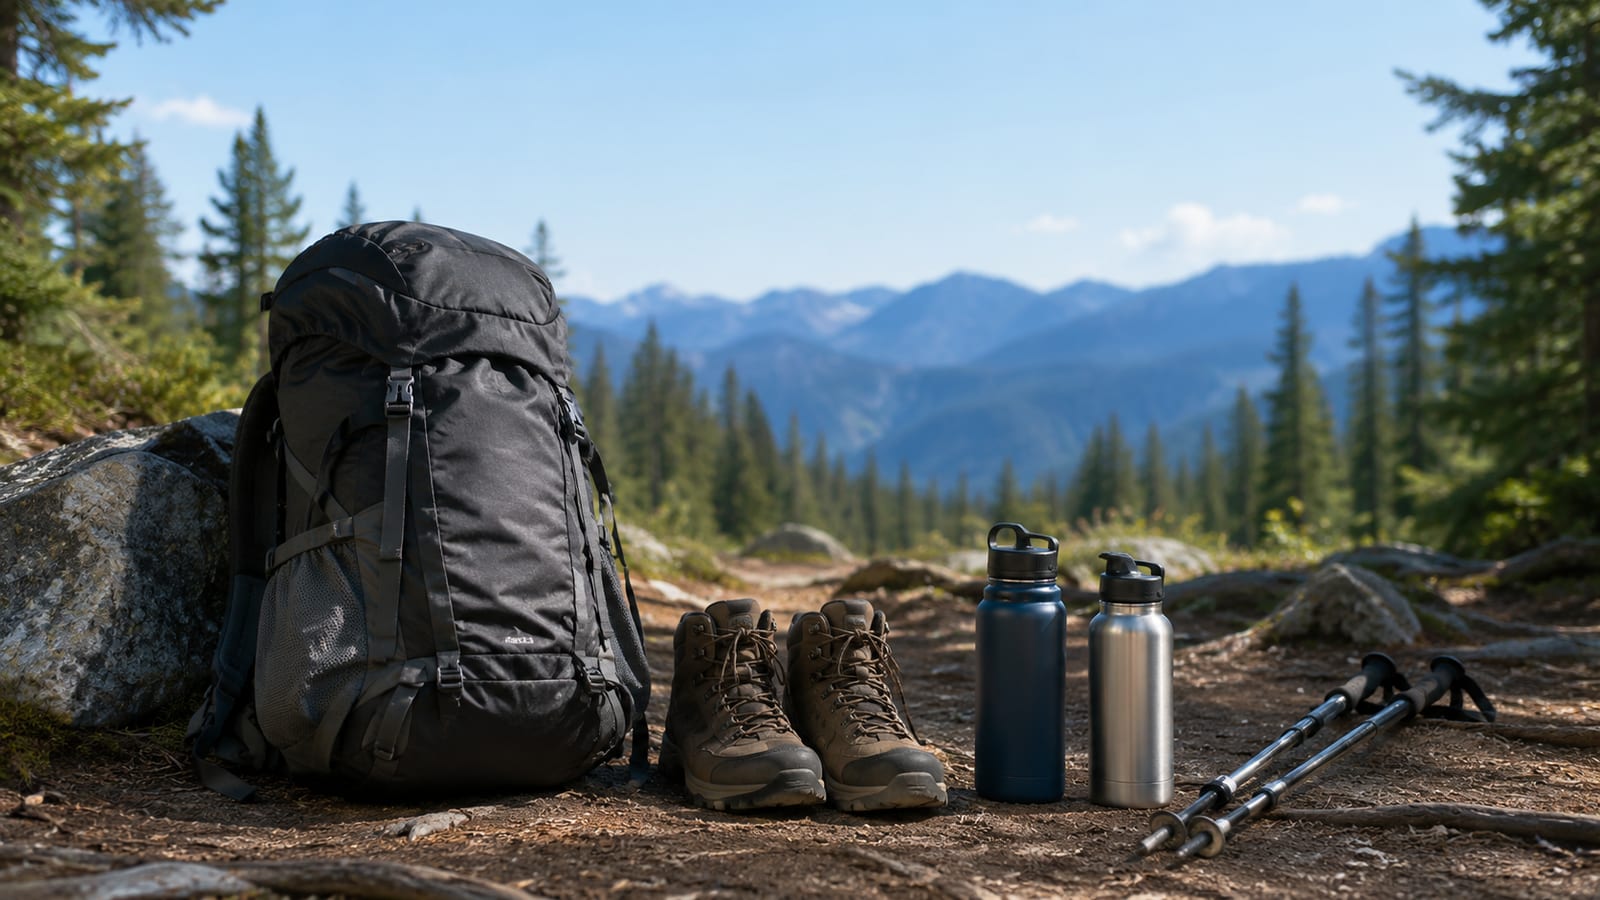
Your pack changes how your body moves. Shoulder straps create pressure, hip belts affect your stride, and poor adjustment can cause numb hands or a sore lower back before the trail gets difficult.
Start with a light load. Use it on easy walks first, then carry it on hills and longer hikes. Add weight only when your shoulders, hips, and feet tolerate the current load without lingering pain.
Pack training should answer practical questions:
- Does the hip belt stay put?
- Do the shoulder straps rub?
- Can you reach water while walking?
- Does the pack sag when wet?
- Are heavy items sitting close to your back?
- Can you pull out rain gear without unpacking everything?
- Does the load shift during a descent?
Train with the real sleeping system, water containers, shelter, and food storage you’ll use. A pack that feels fine empty can become a bad roommate once loaded.
Don’t train with extra weight just to prove you can. That’s false economy. It adds stress without making your real trip better.
7. Prepare your feet before they file a complaint
Your feet are the equipment you can’t replace at the trailhead. Train them early and pay attention to hot spots before they become blisters.
Wear your planned shoes on regular walks, hills, and longer outings. Test them with the socks you’ll use. Make sure your toes have room, your heel stays in place, and your forefoot doesn’t slide when you descend.
Practice these habits:
- Trim toenails before long hikes
- Keep socks smooth and dry
- Stop when a hot spot appears
- Carry tape or blister supplies
- Change socks when they stay wet
- Check for grit after stream crossings
- Adjust laces for climbs and descents
Don’t try to “toughen” your feet by ignoring pain. Calluses can help, but wet skin, pack rub, and friction still win when you give them enough time.
If a hot spot returns in the same place, fix the cause. The problem may be shoe fit, loose lacing, damp socks, or a foot sliding forward. Treating the blister after it opens is cleanup, not training.
8. Practice hills, rough ground, and bad weather
A treadmill can build climbing fitness. It can’t teach you to place your foot on wet roots while a pack pulls you sideways.
Look for varied terrain. Hike on steep grades, loose rock, mud, narrow paths, and uneven surfaces when it’s safe. Practice with trekking poles if you plan to carry them. Learn how your balance changes when your pack is full.
Weather practice matters too. A cool, dry walk won’t tell you how your shoes handle mud or how your rain shell manages condensation. Train in the conditions you’re likely to meet, within reason.
You don’t need to seek dangerous storms. You do need to know how to:
- Add or remove layers before you’re soaked in sweat
- Keep rain gear accessible
- Protect food and sleeping gear from wet-out
- Move safely when wind affects balance
- Find shade and manage heat
- Stop before conditions pass your skill level
For routes with high passes, read this guide to high-altitude hiking preparation. Fitness won’t make altitude problems harmless.
9. Rehearse the parts people call “mental”
Mental preparation isn’t staring at a mountain photo and repeating a slogan. It’s practicing decisions while tired.
Take solo day hikes if you’ll hike alone. Practice navigation without treating your phone as the only plan. Set a turnaround point before a hike, then respect it when weather or fatigue changes the trail conditions.
You should also rehearse the ordinary annoyances:
- A wet morning
- A slow filter
- A missed resupply
- A sore foot
- A poor night of sleep
- A crowded campsite
- A long water carry
- A day when you don’t feel inspired
Know why you’re going, but don’t turn that reason into a command to ignore injury. A strong reason can help you handle discomfort. It shouldn’t convince you that sharp pain is a character test.
Pacing is a mental skill with a physical payoff. Start slower than your excitement suggests. Eat and drink before you feel empty. This guide on pacing yourself on long hiking trails covers the part many hikers learn after the first bad day.
10. Use recovery as part of the plan

Training works when your body can absorb it. Sleep, food, rest days, and easy movement are not signs that you’re taking the trip less seriously.
Watch for warning signs:
- Pain that worsens as you walk
- Swelling
- Numbness or tingling
- A limp or changed stride
- Fatigue that doesn’t improve with rest
- Repeated trouble sleeping
- A sudden drop in performance
Back off when those signs appear. Replace a hard hike with an easy walk, mobility work, or rest. If pain persists, get advice from a qualified medical professional.
Don’t increase hiking distance, pack weight, hill difficulty, and speed at the same time. Change one main demand, then see how your body responds.
A simple weekly training pattern
Your week should have a shape, not a punishment schedule. A practical pattern looks like this:
- Several easy walks or hikes
- One longer hike
- Strength work on 2 days per week
- One optional cardio session
- Mobility work after easy sessions
- At least one clear recovery day
- Regular foot and gear checks
The exact days don’t matter as much as consistency. If your long hike leaves you unable to move normally for several days, it was too hard for your current base.
As the trip gets closer, make the training more specific. Carry your real pack, use similar terrain, and practice the daily habits that will keep you moving. Then ease off before departure. Starting with fresh legs beats arriving with a collection of angry tendons.
Common training mistakes that waste time
Treating running as a substitute for hiking
Running can improve cardio, but it doesn’t prepare your feet for trail surfaces or your shoulders for pack weight. Keep running if you enjoy it. Don’t let it replace trail miles.
Adding pack weight too fast
A heavy pack makes a short walk feel serious. It also increases stress on your knees, hips, and feet. Build duration first, then add load carefully.
Training only uphill
Climbing gets the attention because it looks hard. Descending creates plenty of problems, especially after your legs are tired. Practice controlled downhill movement.
Ignoring easy days
More work isn’t always better. If you can’t recover, you can’t build a useful base.
Testing new gear on the real trip
New shoes, socks, shelters, filters, and rain layers belong on local outings first. The trail is a poor place to discover a buckle that digs into your hip.
Chasing a number instead of a response
A mileage target is only useful if your body can repeat it. Pay attention to foot condition, sleep, appetite, soreness, and stride. The trail doesn’t award points for arriving injured.
What should you pack for training hikes?
Use training hikes to test the small items that affect comfort and safety:
- Water treatment and backup tablets
- Food you can eat while tired
- Blister care
- Rain layer
- Warm layer
- Navigation backup
- Headlamp
- First-aid basics
- Sun and bug protection
- Trekking poles, if you’ll use them
Don’t carry a full expedition load on every practice walk. Carry enough to test fit and function, then keep easier sessions light.
Practice Leave No Trace on every outing. Hikers are expected to follow the 7 Principles of Leave No Trace, including planning ahead, disposing of waste properly, and respecting wildlife. These habits matter more on busy routes, where one careless campsite can affect the next person.
How do you know you’re ready?
You’re ready when your body handles repeated hiking without accumulating problems. You should be able to walk hills, carry your planned load, manage your feet, and recover before the next outing.
You don’t need to feel invincible. You need to know what hurts, what helps, how fast to walk, and when to stop.
Before leaving, confirm that you can:
- Hike on terrain similar to the route
- Carry your expected pack comfortably
- Complete back-to-back outings
- Descend without losing control
- Manage hot spots before they blister
- Use your shelter, filter, stove, and navigation tools
- Adjust clothing for heat, wind, rain, and cold
- Take an easier day without feeling guilty
- Change plans when trail conditions turn bad
A thru-hike will still be hard. Training doesn’t remove sore feet, bad weather, or long climbs. It gives you more room to handle them without making poor decisions.
FAQ
Can you train for a thru-hike without living near mountains?
Yes. Use local hills, stairs, bridges, stadium steps, and uneven parks. Add strength work for climbing and controlled step-downs for descending. Then use occasional trips to steeper terrain to test the gaps in your preparation.
Should you train in the shoes you’ll wear on the thru-hike?
You should train in your planned shoes once they fit correctly. Test them on easy walks first, then use them on longer hikes, descents, wet ground, and loaded-pack outings. Replace or change them if they cause repeated hot spots, numbness, or toe pressure.
Is it better to train by time or distance?
Time is useful when trail surfaces vary. Distance is useful when you’re preparing for a route with known daily mileage. Track both, but judge the session by how your body responds afterward.
What should you do if you miss a week of training?
Resume with easier walks and a lighter pack. Don’t cram missed workouts into the next few days. Fitness returns more reliably when you avoid turning one missed week into an injury.
Do you need a coach to train for a thru-hike?
Most hikers don’t need a coach. A coach can help if you have a complicated injury history, a long gap in fitness, or trouble building a plan you can follow. Otherwise, consistent hiking, sensible strength work, and honest recovery checks are good enough.
Related: Why Walking Faster Is Not the Goal on Marked Hiking Paths
