

Learn to orient the map, correct for declination, take a bearing, and check that bearing against the land around you. That is how you navigate with a map and compass on a hike without treating the red needle like a lucky charm. The goal is to master the basics: how to turn a line on paper into a direction you can follow through trees, fog, rock, or an unsigned junction.
Last updated: 2026-08-12
A compass needs no signal or batteries. However, it only points where you tell it to point. If your starting position or declination is wrong, the compass will guide you neatly in the wrong direction.
What gear do you actually need?
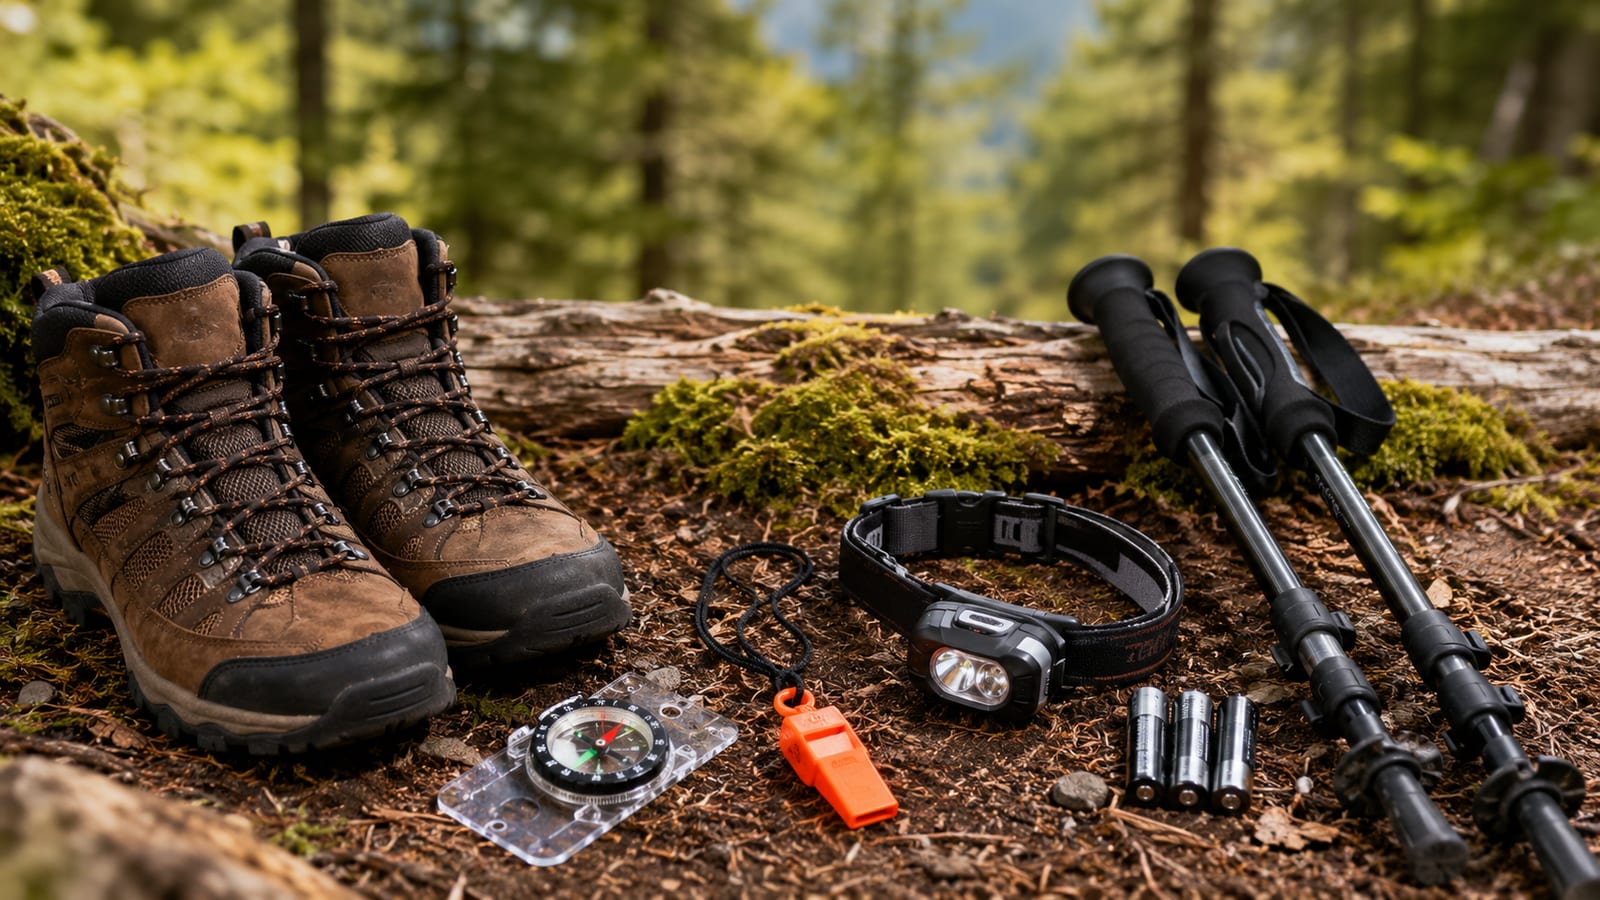
Use a topographic map and a clear baseplate compass. The transparent base lets you place the compass over map lines, while the straight edge helps you plot a route.
A button compass can show rough direction. It cannot take a clean map bearing, so keep it as a backup rather than your main navigation tool. A lensatic compass works well for sighting bearings, but it adds complexity most hikers do not need.
| Item | Keep, skip, or consider | Why |
|---|---|---|
| Topographic map | Keep | Contour lines, trails, water, roads, and ridges help you confirm your position |
| Baseplate compass | Keep | It works directly on the map and needs no battery |
| Adjustable declination | Strongly consider | You set the correction once instead of doing trailhead arithmetic |
| Mirror sighting compass | Consider | Useful for distant landmarks and more exact field bearings |
| Button compass | Backup only | Fine for rough direction, weak for map work |
| Pencil | Keep | Mark bearings, bailout points, and route notes without damaging the map |
| Phone or hiking GPS | Keep as backup | Fast position checks are useful, but batteries and broken screens still happen |
If you need help choosing one, this guide to hiking compasses explains which features earn their place. Do not buy by military styling or survival language. A plain baseplate compass is good enough for most trail miles.
Compass parts that matter in the field
You do not need to memorize every mark on the compass. You do need to know which parts control the bearing.
- Baseplate: The clear body that rests on the map.
- Direction-of-travel arrow: The arrow showing where you intend to walk.
- Magnetic needle: The moving needle whose marked end points toward magnetic north.
- Bezel: The rotating ring marked with bearings.
- Index line: The fixed mark where you read the bearing.
- Orienting arrow: The outlined arrow inside the bezel.
- Orienting lines: Parallel lines used to match the north-south lines on a map.
- Declination adjustment: A setting that corrects the difference between map north and magnetic north.
“Box the needle” means turning your body until the marked end of the magnetic needle sits inside the orienting arrow. Some people call this “red in the shed.” The rhyme is useful, but only after you have set the right bearing.
Hold the compass level and away from metal. Phones, watches, trekking poles, belt hardware, vehicles, and metal picnic tables can pull the needle off course. That tiny trailhead wobble can become a long walk through the wrong drainage.
True north, magnetic north, and declination

Maps usually reference true north or a printed grid aligned close to it. A magnetic compass points toward magnetic north. Those directions are not the same, and the angle between them is called declination.
Declination changes by location and over time. Therefore, the value printed on an old map may no longer be reliable. Check your trip area with the official NOAA magnetic field calculator before leaving home.
If your compass has adjustable declination, set the local value using its instructions. After that, you can work between the map and the field without correcting every bearing by hand.
If the compass lacks that adjustment, write the local declination and conversion directions on the map margin. Do not trust a half-remembered “east versus west” rhyme. The arithmetic changes depending on whether you are moving from a map bearing to a field bearing or the other way around.
A 1-degree bearing error over one mile creates about 92 feet of sideways error. That may miss a narrow trail, small spring, or creek crossing. Precision sounds fussy until the terrain gives you no room for a casual mistake.
How do you master the basics of map and compass navigation?
Practice these steps on a familiar trail before trying them in thick forest or poor visibility. A city park with mapped paths is better than learning beside a cold creek with daylight fading.
1. Read the map before moving
Find the map legend, contour lines, trails, water, roads, ridges, and map north. Also note large features that can stop or catch you, such as a river, road, broad ridge, or lake.
Next, trace your planned route with a finger. Pick a bailout point and note where a wrong turn would lead. If you cannot describe the route in plain words, you have not read enough of the map.
For current paper maps, the USGS topographic map program is a useful starting point. However, check trail information separately because mapped trails can close, move, or fade into brush.
2. Confirm your starting position
Start from a place you can identify on both the map and the ground. A signed trailhead, bridge, road crossing, lake edge, or clear junction works well.
Do not begin with “somewhere along this trail.” Every bearing depends on the starting point. A precise compass cannot repair a guessed position.
3. Set the local declination
Use the current declination for the trip area. Then set it on an adjustable compass or write down the correct conversion for your model.
Check this before reaching the trailhead. Parking lots are poor classrooms, especially when the group is waiting and the bugs have already clocked in.
4. Orient the map to the ground
Orienting the map means turning it until north on the map matches north in the field.
Place the compass on the map with its direction-of-travel arrow pointing toward the top. Align the edge or orienting lines with a north-south map line. Then rotate the map and compass together until the magnetic needle sits inside the orienting arrow.
This assumes you have already set declination. Once the map is oriented, ridges, streams, roads, and trail bends should appear in the same directions as the land around you.
5. Choose a destination and a safer approach
Pick a clear destination on the map. Then look for an easier feature nearby that is harder to miss. Navigators call this an attack point.
For example, a broad trail bend makes a better approach point than a small campsite hidden in trees. Reach the bend first, then take a shorter bearing to the campsite. Short legs leave less room for small errors, pack shuffling, and wandering around blowdowns.
Also choose a catching feature beyond the destination. If a creek lies past your turn, reaching it tells you that you walked too far.
6. Take a bearing from the map
Place the long edge of the compass between your known position and destination. Keep the direction-of-travel arrow pointing toward the destination. Reversing the compass here is a common mistake, and the needle will not file an objection.
Hold the baseplate still. Rotate the bezel until its orienting lines run parallel with the map’s north-south lines. Make sure the orienting arrow points toward map north rather than south.
Lift the compass from the map. The bearing at the index line is now your travel direction.
7. Follow the bearing through the field
Hold the compass level in front of you with the direction-of-travel arrow pointing away. Turn your whole body until the magnetic needle sits inside the orienting arrow.
Next, look along the direction-of-travel arrow and choose a visible object on that line. A distinctive tree, rock, opening, or ridge point works. Walk to it, stop, box the needle again, and choose another object.
Do not walk while staring at the needle. You will drift around rocks, mud, brush, and other people, then assume the compass caused it. Move between fixed landmarks and recheck after each detour.
8. Check terrain as you move
A bearing gives direction. It does not confirm your location.
Keep comparing the map with trail conditions. Watch for contour changes, slope direction, stream crossings, ridge lines, trail bends, and junctions. This habit is called terrain association, which is a tidy name for noticing where you are before it becomes a problem.
Estimate your progress using obvious features rather than waiting for the destination to appear. The terrain-reading guide covers ridges, drainages, saddles, and other shapes that help you stay found.
9. Confirm arrival before choosing another bearing
When you reach the expected area, stop and prove it. Check the slope, nearby water, trail direction, contour shape, and any visible landmarks.
Then mark or remember the confirmed position before starting the next leg. Chaining bearings from an unconfirmed spot compounds the error. After several legs, the map may still look convincing while your feet are in the wrong valley.
Taking a sight bearing outdoors
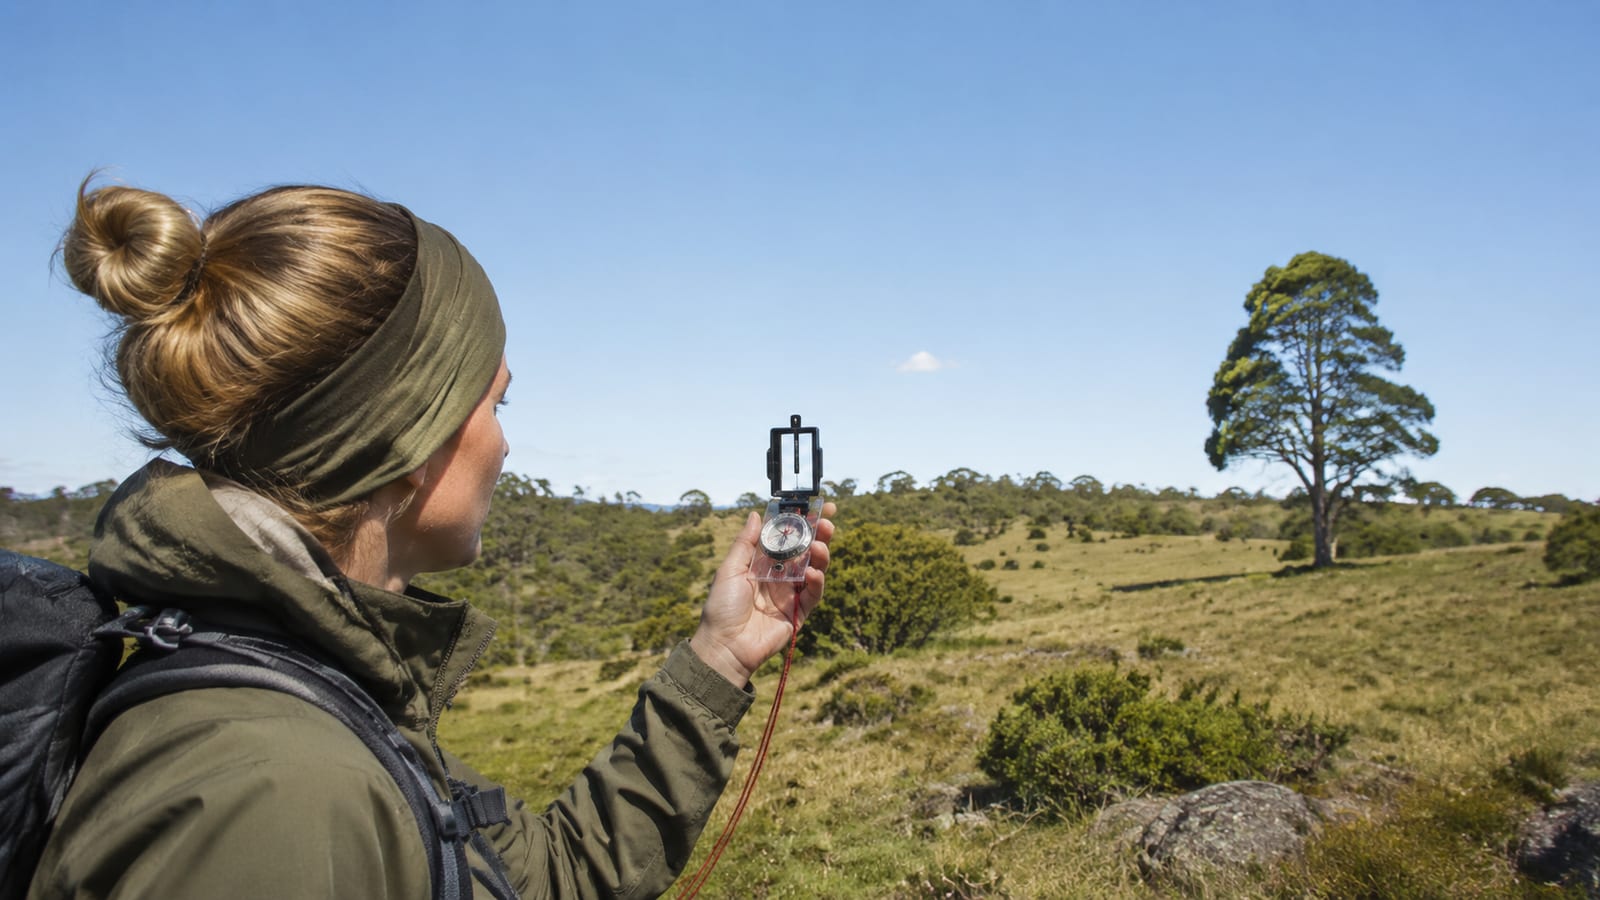
A sight bearing measures the direction from your position to a visible landmark. It helps you identify peaks, check your travel direction, or work out where you are.
Point the direction-of-travel arrow at the landmark. Keep the compass level, then rotate the bezel until the magnetic needle sits inside the orienting arrow. Read the bearing at the index line.
A mirror compass makes this easier because you can sight the landmark while watching the needle. However, the mirror does not fix a poor choice of landmark. A vague ridge bump that resembles every other ridge bump is weak evidence.
To plot the bearing on your map, place the compass edge through the known landmark. Keep the direction-of-travel arrow pointing toward that landmark. Then rotate the whole compass until the orienting lines sit parallel to map north.
Your position lies somewhere along the edge extending away from the landmark. Repeat the process with another known landmark. Where the lines cross is your likely position, assuming both landmarks and bearings were correct.
Common mistakes that send hikers off line
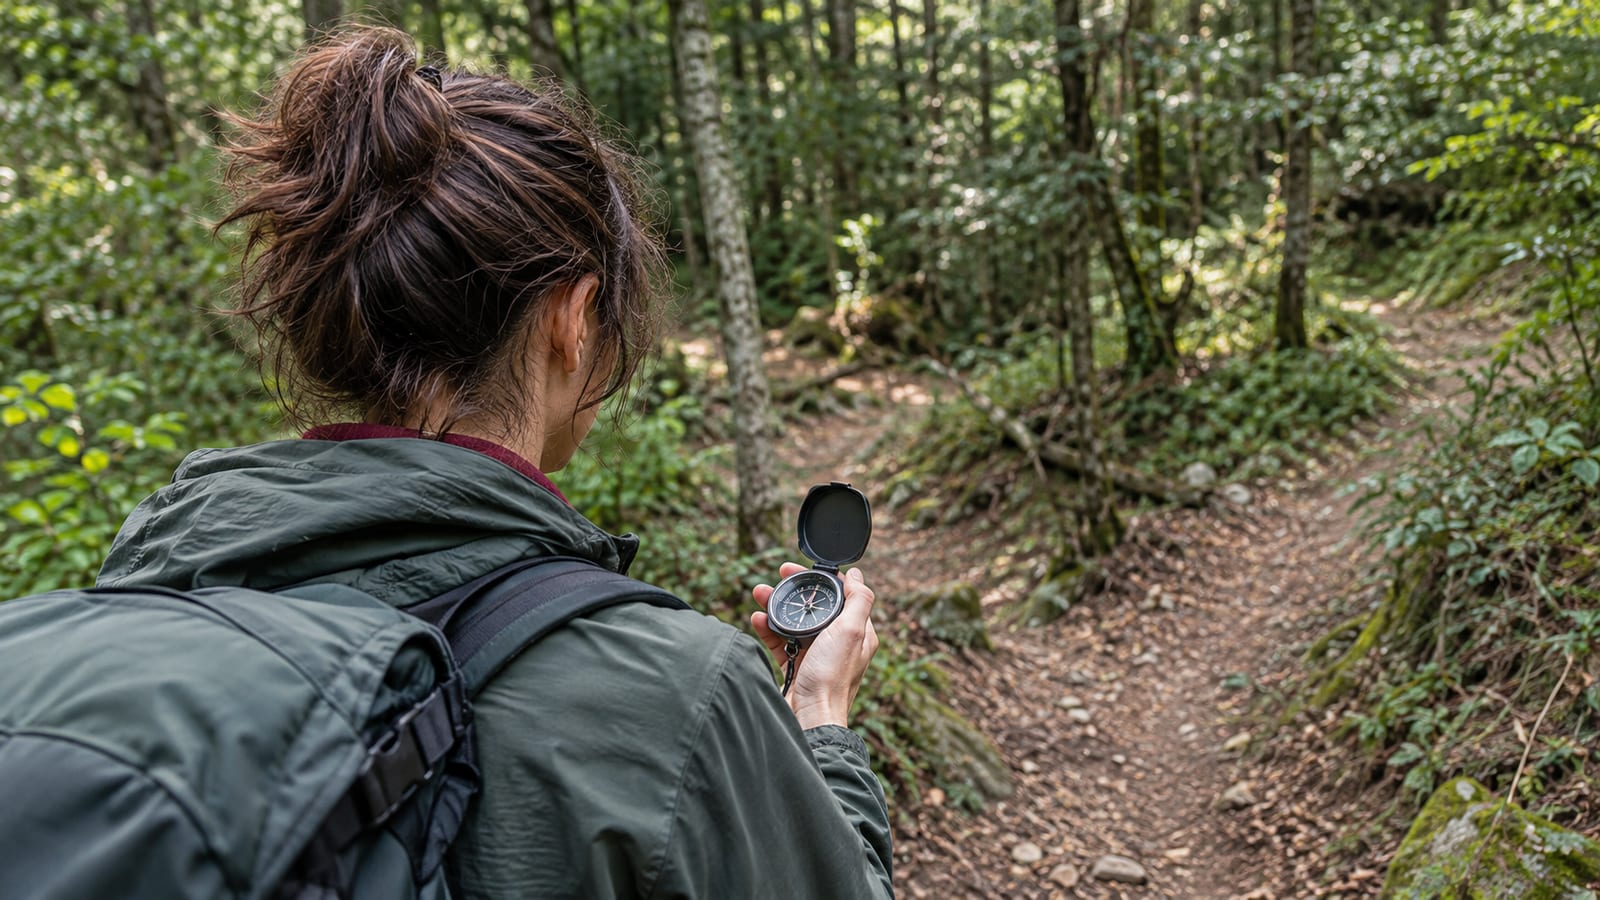
Most map-and-compass failures are simple setup errors. The compass usually works. The hiker gives it bad instructions.
- Starting from a guessed location: Confirm your position before taking a bearing.
- Ignoring declination: Check the local value before the trip.
- Pointing the compass backward on the map: The direction arrow must point toward the destination.
- Aligning the bezel with south: Make sure the orienting arrow faces map north.
- Following the needle itself: Follow the direction-of-travel arrow after boxing the needle.
- Holding the compass near metal: Step away from vehicles, poles, phones, and metal tables.
- Walking one long bearing: Break the route into clear legs with attack points.
- Watching the compass instead of the land: Use terrain to confirm the bearing.
- Correcting constantly while walking: Pick a fixed object, walk to it, and check again.
- Using a tiny target: Aim for a broad feature, then make a shorter final approach.
Another bad habit is pulling out the map only after the route feels wrong. Check it at trail junctions, major bends, water crossings, and terrain changes. That takes less time than climbing back up the wrong switchback.
GPS and a compass work better together
A phone or hiking Global Positioning System device can show your location quickly. Use that strength. Meanwhile, keep a paper map and compass available for route context, battery failure, damaged screens, and poor judgment caused by staring at a small glowing map.
Download maps before leaving signal. Also protect the phone from rain and cold, and carry enough power for the trip. This beginner’s guide to hiking GPS explains the setup without pretending electronics never fail.
The right approach is cross-checking. Use GPS to confirm a position when needed, then identify that point on the paper map. A battery-free compass is valuable, but refusing useful position data to prove a point is just another way to waste daylight.
What should you do if your position stops making sense?
Stop moving as soon as the map and terrain disagree. Continuing on a confident bearing from an uncertain location usually makes the search area larger.
First, think back to the last place you knew for certain. Then observe the slope, water flow, ridges, roads, trail direction, and any large landmarks. Compare those features with the map before choosing another move.
If retracing your path is safe and obvious, return to the last confirmed point. However, do not descend unknown drainages, cross dangerous water, or push through cliffs because a road appears somewhere beyond them on the map.
If you cannot relocate yourself safely, use your emergency communication plan. Stay visible, conserve warmth and water, and avoid random movement. Being temporarily unsure is fixable. Turning it into an unplanned night march is optional.
Practice before a real trip
Use a familiar park, mapped trail system, or open area with clear landmarks. Orient the map at the trailhead, take bearings to visible features, and predict what terrain should appear next.
Then check your answer with GPS. This gives you quick feedback without making the phone your only plan. Practice in calm conditions first, followed by woods, rolling terrain, and poor visibility as your skill improves.
Finally, teach the process aloud to a hiking partner. If you can explain why the map is oriented, where the bearing came from, and what feature should stop you, you understand it. If the explanation ends with “the arrow looked right,” keep practicing.
FAQ
Can a compass work at night?

Yes, but you need enough light to read the bezel and keep the needle boxed. Use a low headlamp setting so you can still see the ground and distant shapes. Also check whether the headlamp has a magnetic mount, since that can disturb the needle at close range.
Will a northern compass work in the Southern Hemisphere?
It may point north, but the needle can tilt and drag inside the capsule if it was balanced for another magnetic zone. For travel far from the compass’s intended region, use a globally balanced model or one made for that area.
Can a compass bubble ruin navigation?
A small bubble may not matter if the needle still turns freely and settles without rubbing. However, replace the compass if the bubble grows, blocks movement, or makes the needle stick. A compass that works only after tapping is already asking for retirement.
Can a smartwatch compass replace a baseplate compass?
A smartwatch is useful for quick direction checks, but it relies on power and calibration. It also cannot align cleanly with map lines like a transparent baseplate. Carry it if you like, but do not ask it to do the paper-map work it was not built for.
Should you carry a spare compass?
Carry a backup on remote trips, group trips, or routes where losing direction has serious consequences. The spare can be simple, but keep it separate from the main compass so one dropped pack does not take both. Before leaving, compare them away from metal and confirm that both needles move freely.
