

An effective beginners guide to GPS navigation on trails starts with a simple setup: an offline trail map on your smartphone, a fully charged power bank, and a paper map with a compass. Learn to plan a route, follow a recorded track, and check your position against the trail before trusting the screen in remote country. GPS helps you find your place. It doesn’t notice a washed-out bridge, a closed road, or the fact that you’ve been walking the wrong drainage for an hour.
Last updated: 2026-09-09
GPS for Dummies: What GPS Can and Cannot Do
The Global Positioning System, or GPS, uses satellites to calculate your location. A GPS receiver measures signals from at least four satellites at the same time. It then gives you latitude, longitude, altitude, and time while you walk.
You don’t need cell service for the receiver to work. Your phone or handheld unit listens for satellite signals. The map on the screen is separate data that shows trails, roads, contours, and landmarks.
That distinction matters. A receiver can know where you are while showing a useless or missing map. An offline map can show a trail while your position remains uncertain under thick trees or beside steep canyon walls.
GPS navigation provides precise real-time positions, along with digital measurements for velocity and orientation. Still, the screen can’t tell you if the mapped trail is outdated or if the route ahead is unsafe.
The Global Positioning System works best with a clear view of the sky. Dense forest, cliffs, deep gullies, and wet weather can make the position dot wander. Give the device time to settle in an open spot before making a serious route decision.
Use GPS to support trail awareness:
- Compare the screen with the trail beneath your feet.
- Check junctions before you commit to a turn.
- Watch for drainages, ridgelines, bridges, and other terrain features.
- Treat a sudden position jump as a warning to investigate.
- Keep track of your direction, daylight, water, and bailout points.
A moving dot is not proof that you’re on the right trail. It only shows where the device thinks you are.
Choosing a GPS for Hiking
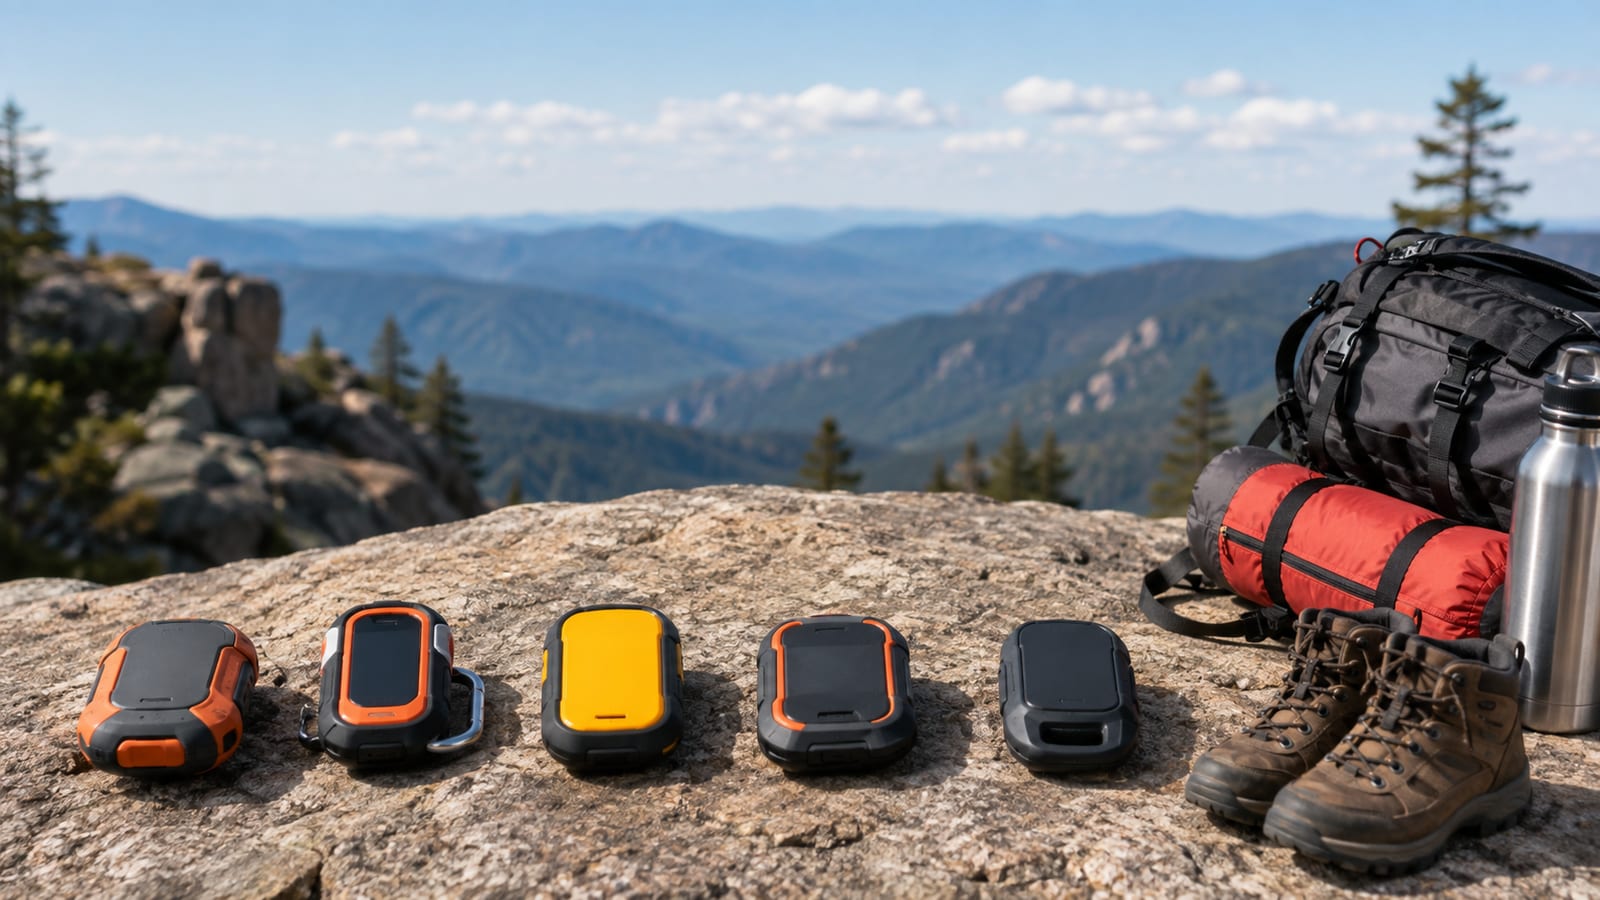
The right device depends on the trip, the weather, and how much attention you’re willing to give the screen after several trail miles.
| Device | Works well for | Main strengths | Main problems |
|---|---|---|---|
| Smartphone | Marked day hikes and familiar parks | Large map, easy planning, camera, simple file sharing | Battery drain, fragile screen, poor use with wet gloves |
| Handheld GPS unit | Remote routes, long trips, rough weather | Physical buttons, rugged housing, replaceable batteries on some models | Smaller screen, extra cost, slower route planning |
| GPS watch | Runners and hikers who glance at data | Easy access while moving, light to carry, useful tracking | Small map, limited route detail, awkward planning |
Smartphones
For most casual day hikes, use your smartphone. It already has a bright map, location services, and enough storage for offline trail data. It also makes route planning and sharing less fussy.
However, phones are easy to misuse. A bright screen drains the battery. Rain can make a touch screen unreliable. Thick gloves turn tapping a tiny map into a small argument with your equipment.
A phone works well on marked trails if you:
- Download the map before leaving.
- Test the map with the phone offline.
- Carry backup power.
- Keep the phone in a protected pocket.
- Use voice or vibration alerts sparingly.
A larger screen helps with route planning. It doesn’t make bad map data accurate.
Handheld GPS units
A dedicated handheld unit earns its weight on remote routes, wet trips, cold days, and long stretches away from easy help. Buttons work with gloves. Rugged cases tolerate pack rub and drops better than most phones. Some units also use replaceable batteries, which gives you a simpler backup plan.
The tradeoff is clear. Handheld units often cost more, take time to learn, and show less map area at once. You’ll need to read the owner’s manual instead of expecting the device to explain itself at the trailhead.
A handheld GPS is worth considering if you regularly:
- Hike in deep forest or narrow canyons.
- Carry a loaded backpack.
- Travel beyond marked trails.
- Navigate in cold or wet conditions.
- Need a device that can stay on while your phone remains protected.
Read the manual, then practice in a neighborhood or local park. A device that stays in its box until a storm pitch is not a safety tool.
GPS watches
A GPS watch suits hikers who already use a watch for pace, elevation, or track recording. It’s useful for quick checks without pulling a phone from your pocket.
The small screen becomes a problem on complex routes. You may see that you’re off track without seeing the junction, contour lines, and nearby trails that explain why.
For a closer comparison, see this guide to GPS watches and handheld GPS units.
Smartphone Versus Handheld GPS on Trails
Choose a smartphone for marked day hikes. Choose a handheld unit when the route, weather, or consequences of a wrong turn make battery life and physical controls more important than convenience.
A phone is good enough for a local loop with clear junctions and regular access. It becomes a weaker choice on a remote route with heavy rain, cold conditions, poor sky view, or a long water carry.
A handheld doesn’t remove the need to think. It can still show an outdated trail, lose a clean fix, or guide you toward a cliff if you follow a line without looking up.
Use this decision:
- Keep the phone: familiar trails, short trips, fair weather, marked routes.
- Borrow or rent a handheld: a remote trip you don’t yet understand.
- Buy a handheld: repeated off-trail travel, long backpacking trips, or rough conditions.
- Carry both: trips where a dead or damaged phone would create a serious problem.
The casual day-hike answer is simple. Use the phone you already own, prepare it properly, and carry a paper backup.
Set Up Your GPS Before Leaving Home
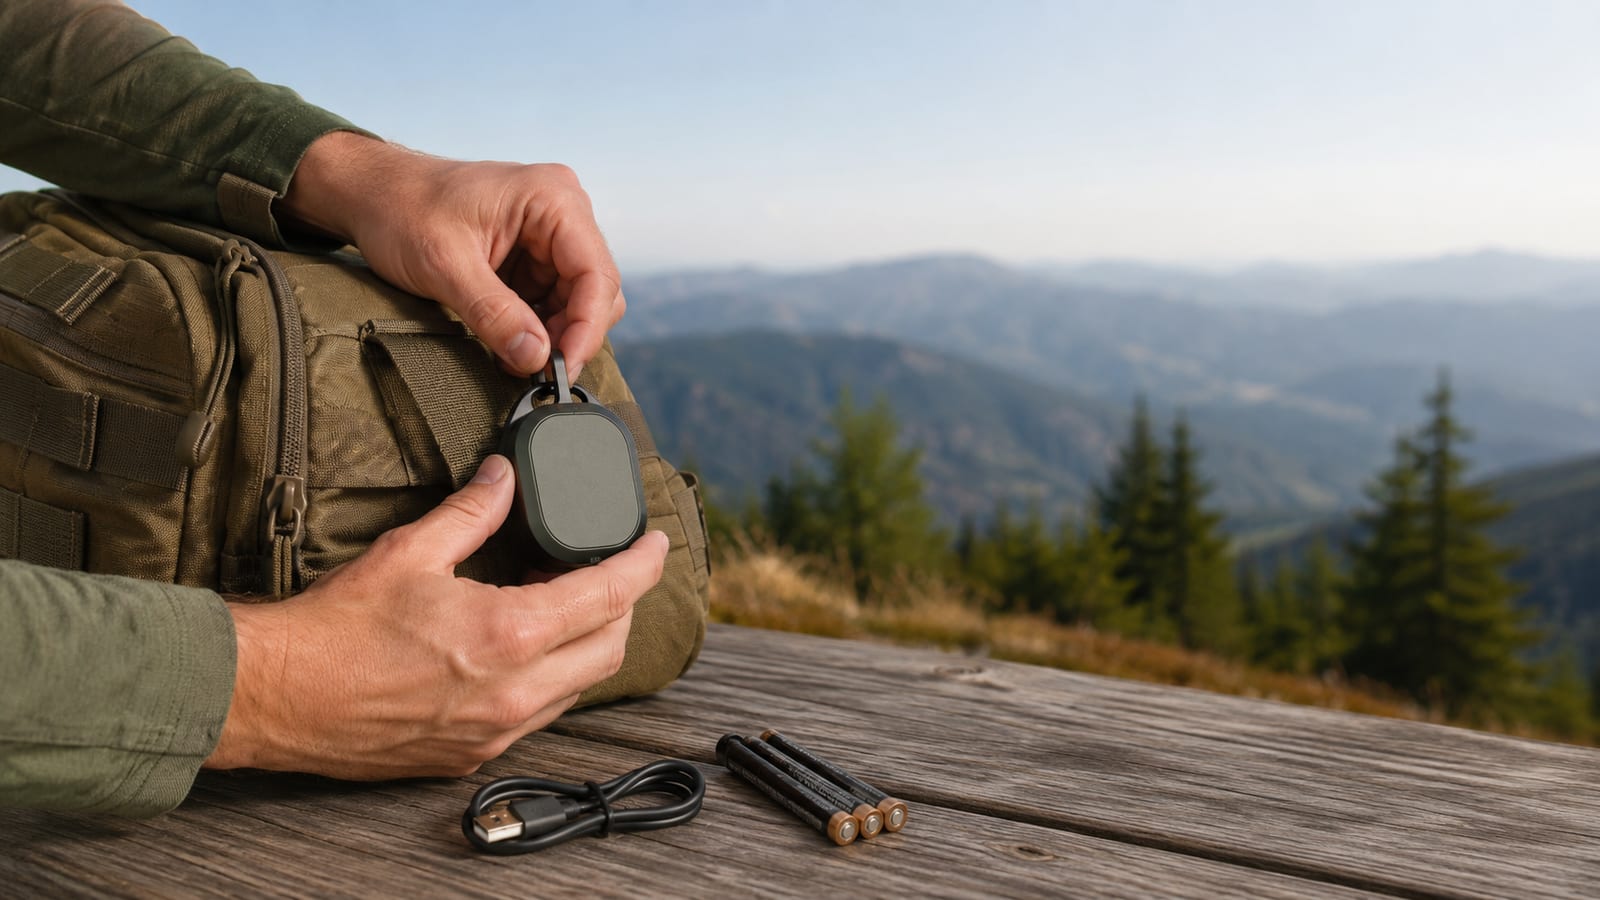
Preparation matters more than a clever device. Loading GPX tracks and offline maps before the hike gives you reliable route following and faster off-route checks.
GPX means GPS Exchange Format. It’s an XML schema used to exchange GPS data between software applications. A GPX file may contain a route, a recorded track, or saved waypoints.
Follow these setup steps:
Update the device and map app.
Do this at home while you have a stable connection. Updates can change menus, map files, and battery behavior.Turn on location permissions.
Give the map app permission to use location services. Check this after major phone updates because settings can change without asking politely.Download the full offline map area.
Include the trailhead, the route, nearby junctions, and possible exit roads. Downloading only the visible route line leaves little room for a changed plan.Load the GPX track.
Import the file into the app or handheld unit. Check that the line follows the intended trail and doesn’t include a long road section from someone’s car ride.Set the map orientation.
North-up keeps the map stable and helps with paper-map comparison. Course-up turns the map as you move and can feel easier at first. Pick one and learn how it behaves.Set the coordinate format and datum.
Use the format printed on your paper map or given by the agency. Mismatched settings can put a correct coordinate in the wrong place.Adjust the screen.
Set a readable brightness and a screen timeout that won’t leave the display glowing in your pocket. Avoid max brightness unless glare demands it.Test the device offline.
Turn on airplane mode, open the downloaded map, load the route, and confirm that your position appears. If the map disappears during this test, it was never truly offline.Mark your important points.
Save the trailhead, parking area, major junctions, water sources, campsites, hazards, and turnaround points.Pack the backup.
Bring a paper map, compass, power bank, charging cable, and a protective bag. A battery warning is not a navigation plan.
This is also where you should read the owner’s manual. Then practice in a neighborhood or park until you can load a route, zoom the map, save a waypoint, and find your way back without guessing.
Understanding Coordinates and Map Datums
Coordinates describe a location with numbers. Latitude runs north and south. Longitude runs east and west. Together, they identify a point on the earth.
Your device may show coordinates as:
- Degrees, minutes, and seconds
- Degrees and decimal minutes
- Decimal degrees
- A grid reference used by a paper map
The format itself doesn’t matter as much as matching the format used by the map or person giving you the location. A rescue coordinate in the wrong format can send everyone to the wrong patch of ground.
A map datum is the mathematical model used to describe the earth’s shape. Your device and map need to use the same datum for coordinates to line up properly.
You should also understand the limits of a position fix. The screen may show a dot with more confidence than the receiver deserves. Trees and rock walls can scatter or block signals. The trail line may be drawn wider or less accurately than the position data suggests.
Check your position at recognizable places:
- A trail junction
- A bridge
- A stream crossing
- A ridgeline
- A sharp switchback
- A campsite or marked viewpoint
If the coordinate looks wrong, stop and check the format, datum, map layer, and satellite view. Don’t walk farther just because the arrow looks determined.
How to Use a GPS Device for Hiking
GPS navigation on trails works best as a repeated check, not a screen-watching contest. Use the device to answer a specific question, then put it away and read the trail.
Turn on location services.
Give the receiver time to find satellites. Start in an open area when possible.Open the offline map.
Confirm that the trail, route, and nearby landmarks are visible without service.Check your position.
Look at the dot, then compare it with the trail under your boots. If the dot sits beside the trail, allow for map and signal error before panicking.Zoom to the decision point.
Use a wider view to understand the route. Zoom closer near junctions, crossings, and confusing bends.Set the map direction.
Keep north-up if you’re comparing the screen with a paper map. Use course-up if it helps you follow a route while moving.Confirm your direction.
Face the trail and compare the screen with visible terrain. A ridgeline, creek, road, or cliff should make sense on both.Walk to the next clear feature.
Don’t stare at the screen for every step. Check it after a junction, a major bend, or a stretch where the trail becomes faint.Stop when the map and ground disagree.
Look behind you, check the last known point, and retrace your steps if needed. Continuing downhill because the arrow points downhill is how a small mistake grows legs.
A GPS can show latitude, longitude, altitude, and time while you walk. Those readings help with orientation and trip records, but they don’t replace judgment about terrain.
Create Routes and Waypoints That Matter
A route is a planned line or series of points. A track is a recorded line showing where you went. A waypoint is a saved location you can find again.
Mark useful points instead of saving every tree. Good waypoints answer a future question:
- Where is the actual trailhead?
- Which junction leads to the car?
- Where does the route leave the main trail?
- Where is the reliable water source?
- Which campsite was planned?
- Where does a dangerous slope begin?
- Where should you turn around if weather worsens?
- Which point would help someone describe your location in an emergency?
Use clear names. North-Junction, Creek-Water, and Turnaround-Ridge are useful. Point 14 is not.
Plan the route with the terrain in mind. A line across a map may cross private land, a cliff band, thick brush, or a seasonal wash. Read the contours and satellite imagery, then check current access information before leaving.
The word “trail” on a map is not a guarantee. That line may be old, unofficial, overgrown, or buried under a recent washout.
Navigating With GPS Along a Trail

Load your route or track before you reach the trailhead. Then check the map at places where hikers commonly make mistakes.
A route tells you where you intend to go. A track shows a line that someone recorded. Neither one can confirm that the path remains open.
Use an active route or track this way:
- Keep the full route visible during planning.
- Zoom closer before a junction.
- Check the direction of travel before turning.
- Look for a trail sign, fence, creek, or ridge that matches the map.
- Stop if the position dot moves sharply away from the line.
- Retrace to the last confirmed point when the route stops making sense.
Off-route alerts can help, but don’t treat them as an authority. A device may alert late, alert often under tree cover, or stay quiet when the underlying map is wrong.
Check your position at deliberate points instead of watching the screen constantly. This saves battery and keeps your eyes on roots, loose rock, mud, and traffic near the trailhead.
A GPS should confirm what your feet and the terrain already suggest. If the screen says “continue” while the drainage, slope, and trail signs disagree, stop moving.
Recording Tracks During Hikes
Track recording draws a breadcrumb line as you travel. Route following uses a line that already exists. These are different jobs.
Record a track when:
- You’re exploring an unfamiliar route.
- You may need to retrace your steps.
- You want to review your pace and route later.
- You’re checking a trail condition for your own future planning.
- You’re traveling off-trail with a clear return plan.
Start the recording before the first confusing section. Name it with the date and route so you can recognize it later. Save the track before closing the app or changing batteries.
A recorded line can help you return to the trailhead. It cannot tell you why you left the route, whether a crossing was safe, or if the weather has changed.
Track files can also become clutter. Delete failed recordings and duplicate routes before a longer trip. Keep the files you may need, and know where the app stores its exports.
Battery Life and Power Management
Battery failure is one of the easiest GPS problems to prevent. Use the device less, protect it from weather, and carry enough power to finish the hike.
Before leaving:
- Charge the phone, watch, and power bank.
- Download maps over Wi-Fi.
- Use airplane mode when you don’t need calls or messages.
- Reduce screen brightness after checking the map.
- Turn off Bluetooth and other services you don’t need.
- Close apps that keep the screen or location active.
- Record tracks only when recording serves a clear purpose.
Keep the phone warm in cold weather. Store it inside a pocket rather than against the outside of your pack. Use a waterproof bag in rain, but leave room for the device to shed heat if it is charging.
Carry the charging cable that fits your power bank. Test the connection before the trip. A power bank with the wrong cable is dead weight with better branding.
Never make the last battery warning your turnaround signal. Leave enough power for navigation, emergency communication, and the walk out.
Trail Navigation When GPS Fails
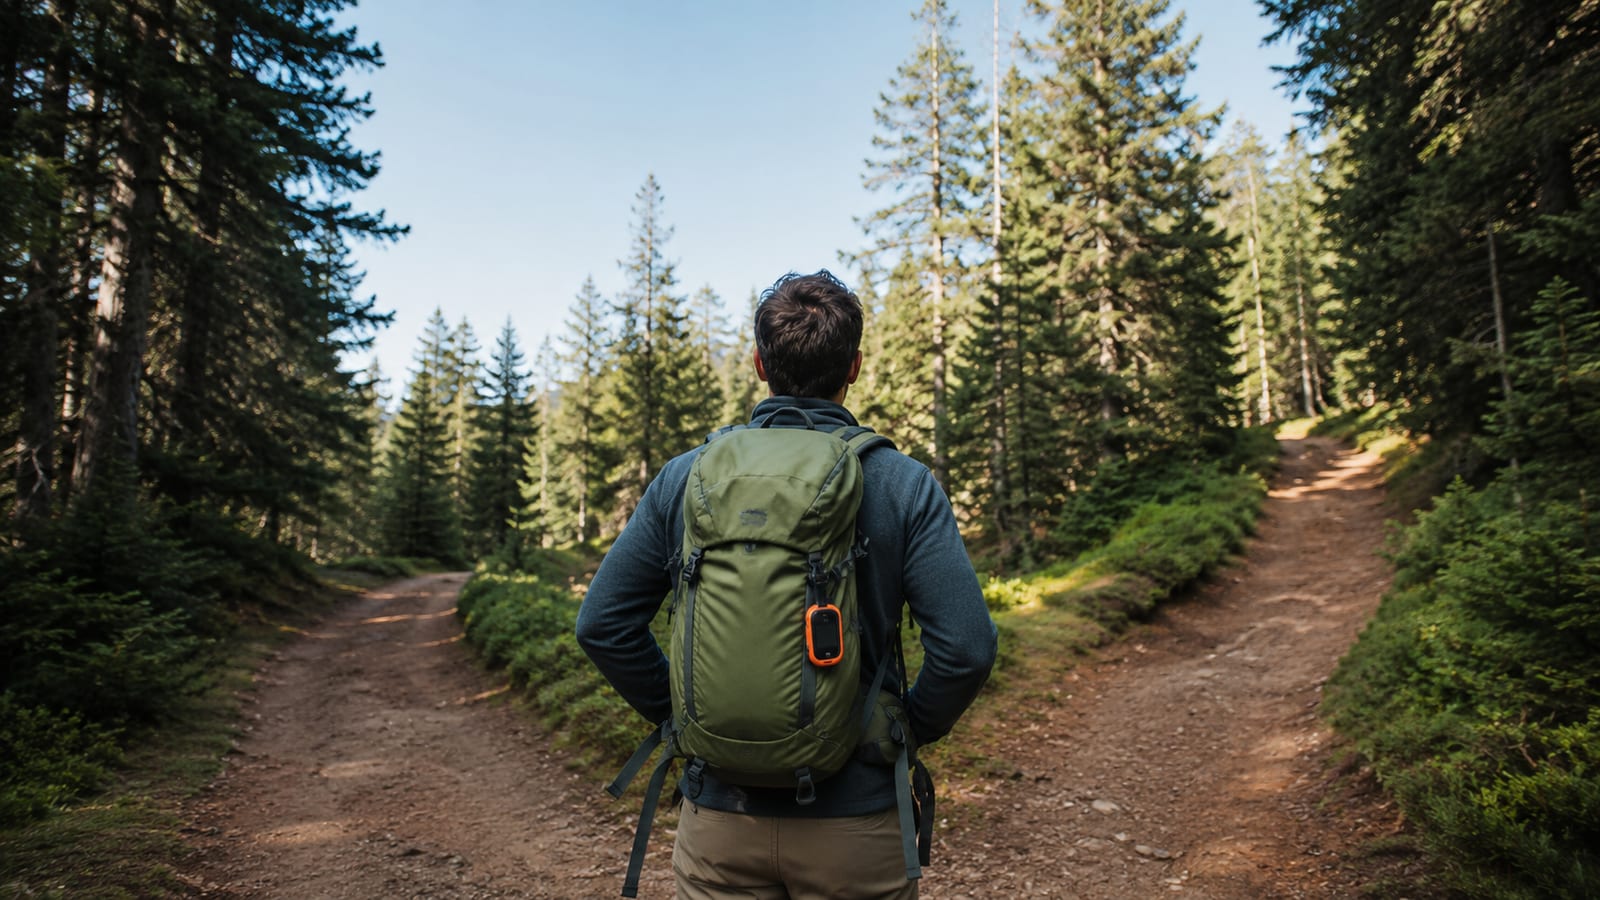
A dead screen, damaged phone, missing map, or bad position fix should change your plan immediately. It shouldn’t end your ability to navigate.
Your backup system should include:
- A paper map covering the whole route
- A compass you know how to use
- Visible terrain knowledge
- Saved junctions and turnaround points
- A weather and daylight plan
- Emergency communication that’s separate from the map screen
The map and compass navigation guide for hikers covers the skills that make this backup useful. Carrying a compass without practicing with it is decoration.
Use terrain before technology fails. Notice the direction of the drainage, the shape of the ridge, the position of roads, and the order of major junctions. Those details give you a way to retrace your route when the screen is dark.
If you lose your position, stop walking. Look for the last place where the trail and map agreed. Retrace that section slowly. If you still can’t confirm the route, use your turnaround rule or stay put in a safe location and contact help if you can.
Weather changes the decision. Wind, fog, lightning, rising water, and falling temperatures can turn a navigation error into a safety problem. A route that was reasonable at the trailhead may be a bad plan after the conditions shift.
Combining digital tools with map and compass skills gives you the safest and most reliable navigation system for outdoor trips. The paper map is not there to make the pack look serious. It’s there for the day the electronics stop cooperating.
A Beginner GPS Practice Plan
Practice in places where a mistake has a small cost. Your goal is to learn the device before the trail becomes steep, wet, or confusing.
Start on a familiar local trail
Load an offline map and walk a route you already know. Compare the position dot with trail signs, bridges, junctions, and visible hills.
Practice zooming without losing your location. Save a waypoint and find it again.
Add a planned route
Download a GPX track and follow it on a local hike. Check the track before each junction. Notice how the line looks when you’re walking toward it, away from it, or across it.
Then record your own track. Save it with a clear name after the hike.
Test the failure points
At home, open the map in airplane mode. Confirm that the route still loads and that your saved waypoints remain available.
Next, take the phone outside with a power bank and practice charging it from the pocket where you’ll carry it. Learn the screen controls with cold hands or gloves if you plan to hike in shoulder-season weather.
Move to a longer day hike
Choose a marked route with clear bailouts. Plan the trailhead, junctions, water, hazards, and turnaround points. Carry the paper map and compass even if the route seems easy.
Check the device at planned decision points. Don’t wait until you’re already lost.
Try remote country last
Only move to remote or off-trail routes after you can use the device without guesswork. Load the map, inspect the route, save emergency reference points, and tell someone where you’re going.
If you can’t explain your planned route without opening the app, you don’t know the route well enough yet.
GPS Navigation Mistakes That Cause Trouble
Most beginner problems come from preparation and attention, not satellite technology.
Avoid these common mistakes:
Downloading a map but never testing it offline.
A cached map may vanish after a restart or fail outside the area you viewed.Following a GPX line without checking the trail.
A file can contain a bad turn, an old route, or a line recorded from a vehicle.Watching the screen every few seconds.
You’ll miss roots, loose rock, signs, and the actual junction.Ignoring a position jump.
Stop, wait for a better fix, and compare the screen with the terrain.Using a phone with no power plan.
A phone that starts full can still lose power quickly with a bright screen and constant tracking.Carrying a paper map without knowing it.
Practice before the trip. Fold it so the route and nearby terrain are easy to see.Saving vague waypoints.
Name the places that matter. You won’t remember whatMark 7meant after a long day.Treating altitude as exact.
Elevation readings can shift with signal quality. Use them to understand the climb, not to prove your exact position on a contour line.
What to Carry With a Hiking GPS
Keep the navigation kit small and useful:
- Smartphone, handheld GPS, or watch
- Offline map
- Loaded route or track
- Paper map
- Compass
- Fully charged power bank
- Correct charging cable
- Waterproof protection
- Written trailhead and emergency details
- Headlamp for hikes that could run late
The device is only part of the system. Your route plan, terrain awareness, and decision to turn around matter more after mile 10.
FAQ
Does GPS work without cell service?
Yes. A GPS receiver gets its position from satellite signals, not from a cell tower. You still need offline map data to see trails and landmarks without a connection.
Do I need a compass if my phone has GPS?
Yes, if you’re hiking beyond simple, well-marked paths. A compass uses no battery and gives you a backup direction when the phone is damaged, dead, or showing a poor position.
What is the easiest GPS setup for a first hike?
Use your smartphone with an offline map, load the planned route, and carry a paper map and compass. Test everything in airplane mode before leaving home.
Should I follow a route or a track?
Use a route for your planned trip and a track for a recorded path. On a familiar trail, either can work. On an unfamiliar route, check the line against signs and terrain before every important turn.
Is a dedicated handheld GPS necessary for beginners?
No. Most beginners should learn on a prepared smartphone setup first. A handheld becomes useful after you understand your navigation needs and regularly hike in remote, cold, wet, or rough conditions.
A good beginners guide to GPS navigation on trails ends with the same practical rule it starts with: prepare the screen, carry the paper backup, and keep looking at the ground. GPS can show where you are. You still have to decide where you should go.
