
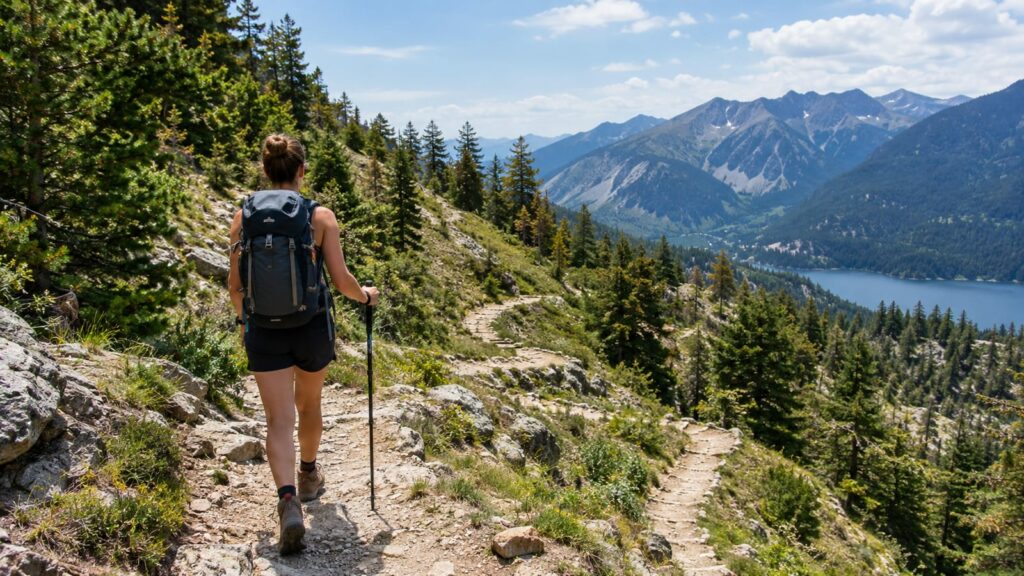
Trails zigzag because going straight up a steep hill wrecks the hillside first and your legs second. Switchbacks spread the climb across the slope, so each step gains less height and rain can't turn the tread into a ditch. Walking them well follows from that: hold a steady pace you could keep for an hour, stay on the built path, and never cut the corners.
Last updated: 2026-10-20
You'll walk farther. Your knees, your footing, and the hill all come out ahead.
Why do trails zigzag, and how should you walk them?
A trail that climbs straight up makes you fight the full steepness of the slope on every step. If you cut across that same slope at an angle, the grade under your feet drops, even though the hill hasn't changed. The total climb stays the same. You just pay for it in smaller installments.
That lower grade does three jobs at once:
- Your legs work at a level they can sustain, so you aren't redlining by the second turn.
- Your shoes keep traction on dirt, gravel, and wet roots that would slide on a steeper line.
- Rainwater runs across the trail and off it, so it never builds speed down the tread.
So the walking part is simple. Keep a steady effort, take each turn on the landing, and treat the zigzag as the route. Hikers who fight the switchbacks get tired early, and tired hikers start eyeing shortcuts.
What is a switchback in hiking?
A switchback is a sharp turn where a trail climbing across a slope reverses direction and heads back the other way. String several together and you get the zigzag you see from the parking lot. Each turn usually sits on a relatively level constructed landing, so you can change direction without stepping onto loose hillside.
Not every bend is a switchback, though. Trail builders also use climbing turns, which are wider and gentler and show up on easier ground. The difference tells you something about the hill you're about to climb.
| Switchback | Climbing turn | |
|---|---|---|
| Hillside it's built on | Usually steeper than 15 percent | Typically 15 percent or less, ideally around a 7-percent sideslope |
| Shape of the corner | Pretty tight corners on a built, mostly level landing | Wider, with a smooth radius of about 5 to 10 feet (1.5 to 3 meters) |
| What it feels like | A flat spot to pivot, then straight back to climbing | A gentle sweeping bend you barely slow down for |
If a map shows tight, stacked zigzags, expect a steep hillside and short legs between turns. Wide, lazy bends usually mean the slope is kinder.
Hairpins, serpentines, and switchback stairs
The same idea shows up anywhere people or vehicles climb something steep. On a mountain road, a tight zigzag turn is usually called a hairpin turn or hairpin bend. A road full of them gets called a serpentine or switchback road. Winding footpaths up mountains are switchback trails or zigzag paths.
In architecture, a switchback stair or ramp reverses direction at a landing instead of running in one long straight flight. Accessible ramps do it for the same reason trails do. A long straight ramp would be too steep, and the landing gives people a level place to turn and rest. Some old railways even used switchbacks, with trains reversing up a zigzag grade where a straight line was too steep for the engine.
So whether you heard the word in a building, a road atlas, or at a trailhead, the switchback meaning is the same. It's a turn that trades distance for a gentler climb, and a mountain road zigzags for the same reason a trail does.
The extra distance is doing the work
Switchback trails look inefficient on a map. On the ground, the longer route usually saves energy, and often time. You can keep moving instead of stopping every few steps to breathe. A steep direct line only feels fast for the first minute.
Walter's Wiggles in Zion National Park show this well. The 21 switchbacks start about 1.8 miles into the Angels Landing hike and climb 250 feet in a short distance. Even with all those turns, that stretch holds a 19% grade, which is plenty to get your pulse up.
Now picture that same height gained in one straight shot. It would be a hands-and-feet scramble, and every storm would send a little more of it downhill. Switchbacks can still be hard. What they do is keep a steep climb walkable, both for you and for everyone who hikes it after you.
How the zigzag protects the hillside
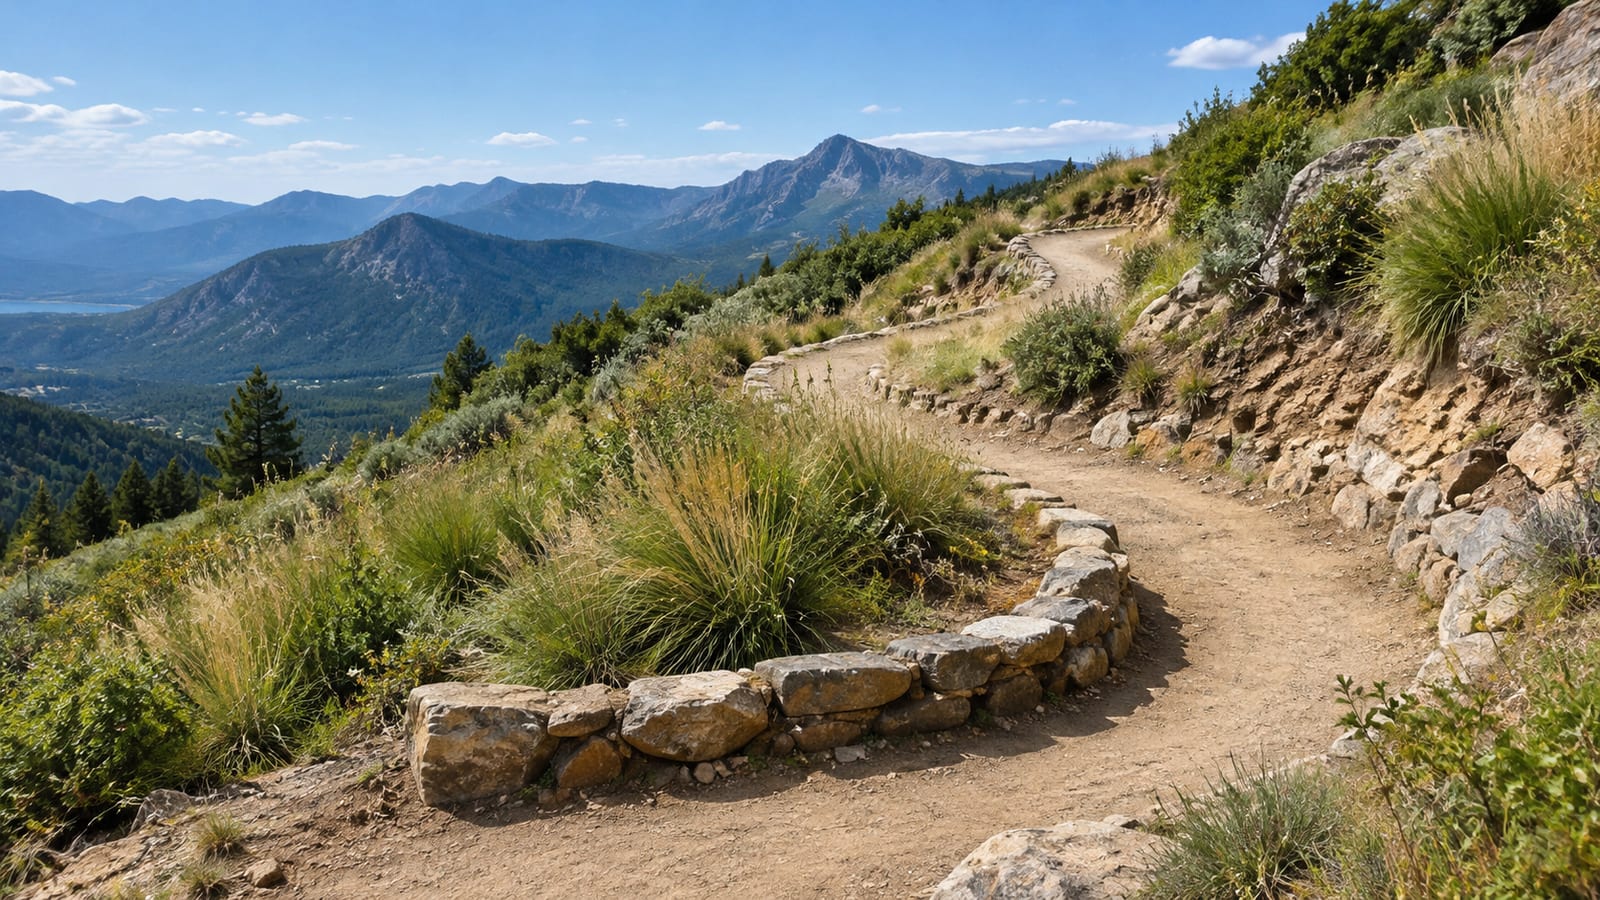
Water is the main reason trail builders bother with all those turns. On a trail that climbs straight up, rain finds a clean channel and picks up speed. Fast water strips soil, digs a rut, and leaves loose rock behind.
Then hikers step around the rut, the trail widens, and the next storm has a bigger channel to work with. Give that a few seasons and the trail turns into a gully. A switchback crosses the slope at a lower grade, so water starts slower. Good builders also add features that push it off the tread before it gathers force:
- Outsloped tread that tips water toward the downhill edge
- Water bars and grade reversals that interrupt the flow
- Rock or gravel on soft, wet sections
- Retaining walls that hold the downhill edge in place
The landings take a beating too, because every hiker pivots on them. A well-built turn is easy to miss because nothing seems to be happening. A failed one shows itself as a blown-out corner, a slumping edge, and a fan of gravel below. Our guide to what causes trail erosion covers the rest of that process.
Easier on legs and lungs
A gentler grade changes how your body handles the climb. Your heart rate settles at a level you can hold, your breathing stays even, and your calves stop doing all the work. On the way down, your knees take smaller hits because each step drops less.
Traction improves as well. Shoes grip better when the ground isn't tilted hard under them, and that matters on loose dirt, wet roots, and gravel over rock.
Trail builders treat grade seriously for exactly this reason. The U.S. Forest Service's accessible trail guidelines require resting intervals anytime the running slope tops 8.33 percent. Those are level spots where people can stop and catch their breath. On grades between 10 and 12 percent, they come every 10 feet.
Those rules apply to accessible trails only. Still, they show how fast steepness starts to cost people.
Over several trail miles, that cost adds up. A steady climb you can talk through leaves you with legs for the descent. A steep one burned through early leaves you shaky after mile 10, which is when footing gets sloppy.
How to hike switchbacks without burning out
Pick an effort you could hold for an hour and stay there. The common mistake is charging up each straight section, then standing at the turn gasping. That rhythm feels productive and wears you out fast. Most advice on how hikers should walk switchbacks comes back to pace.
- Shorten your stride. Small steps on steep tread cost less than big lunges.
- Hold a talking pace. If you can't finish a sentence, slow down.
- Use the rest step on steep pitches. Pause for a beat with your back leg straight, so your skeleton holds the load while your muscles rest.
- Keep the same speed through the turns. Sprinting the straights to "earn" a break at the corner is how people blow up early.
- Plan short breaks. Stop for a minute of water and breath, then move before your legs stiffen.
- Use poles if you have them. They push you up tall steps and catch the slip on loose corners going down.
When you stop, pick a wide spot off the line of travel so others can get by. Everyone needs the landing to turn. For more on why speed isn't the goal, see this piece on walking more efficiently on long trails.
Don't cut switchbacks
Stay on the tread at every turn, even when the trail above looks close enough to touch. Cutting corners is one of the fastest ways a single hiker can damage a trail, and plenty of parks ban it. Mount Rainier National Park prohibits short cutting switchbacks on any trail. In Yosemite National Park, guidance for the Four Mile Trail warns that shortcutting causes rapid trail erosion and results in injuries.
Here's what a shortcut does:
- Tramples the plants and roots holding the slope together
- Creates a straight downhill line that rain turns into a channel
- Sends loose rocks onto hikers on the leg below you
- Puts you on steeper, looser ground than the trail you left
The rock problem gets less attention than it should. Switchbacks stack hikers directly above each other, so anything you kick loose has a short trip to someone's head. Meanwhile, a shortcut saves seconds, not minutes, and you pay for them with worse footing and a scramble.
Once one person leaves a footprint, the next few hikers follow it. Crews then end up piling brush and rocks across the scar to close it. The Leave No Trace Seven Principles put it plainly: travel on durable surfaces. The built trail is the durable surface.
Long, hot, or high climbs
Long switchback climbs punish bad pacing because the mistake compounds for hours. The Mt. Whitney Trail in California is the classic case. It runs about 21 miles round trip. Along the way you hit 27 or so switchbacks from the trailhead to Lone Pine Lake, then 17 more after Outpost Camp on the way to Mirror Lake.
Then come the famous switchbacks above Trail Camp, counted as 97 or 99 depending on who you ask. The disagreement tells you how people feel by then. On climbs like that, heat, water, and thin air become the real problems.
- Start early. Open switchbacks on sunny slopes often have no shade, and afternoon heat stacks on top of the effort.
- Plan your water carry. Switchbacks often climb away from creeks, so know where the last reliable water is before you leave it.
- Add electrolytes on hot days. Plain water alone can leave you flat and queasy on a long, sweaty climb.
- Cover up. A wide-brim hat, a sun shirt, and sunscreen do more on exposed turns than in forest.
- Cool down on purpose. Soak a bandana at the last stream and wear it.
- Slow down as you gain altitude. Thinner air means the same pace costs more breath.
Know the warning signs. A pounding headache, nausea, or dizziness at altitude means head down. On a hot day, chills, confusion, or a sudden stop in sweating mean get to shade, cool off, and turn around.
Pick a climb that fits your legs
Switchback count is a poor measure of difficulty. A trail with dozens of short, gentle turns can be easier than one with a few long, steep ones. Read these off the map before you commit, and trust the elevation gain over the turn count:
| What to check | Why it matters |
|---|---|
| Total elevation gain | The real measure of effort; turns only change how it's delivered |
| Distance | Long climbs need water, food, and daylight to match |
| Steepest section | One steep stretch can set your pace for the whole day |
| Trail surface | Loose gravel, rock steps, and roots slow you down both ways |
| Bailout points | Shows where you can turn back without losing much |
| The descent | Every foot you climb is a foot your knees lower later |
If the gain makes you nervous, pick a shorter version or a trail with a lake or overlook partway up. A natural turnaround lets you call the day good enough without feeling like you quit.
Check conditions before you start climbing
Switchbacks change a lot with weather and season. A route that's easy in dry summer can be slick, icy, or half-buried in shoulder-season.
- Weather: Exposed switchbacks give you nowhere to hide from wind, lightning, or afternoon storms. Plan to be off high ground before storms usually build.
- Snow and ice: Shaded turns hold snow long after the rest of the trail melts out, and snow can bury the tread entirely.
- Closures: Check the land agency's page the night before. A reroute is easier to learn about at home than at the trailhead.
- Daylight: Descents take longer than people expect. Leave enough light to come down slowly.
- Navigation: Carry a map or offline app. In fog or snow, it's easy to lose a turn and wander straight uphill.
- Footwear: Wear shoes with real tread. Smooth soles skate on dusty corners.
- Poles: Worth the weight on long climbs and steep descents.
Then set a turnaround time and keep it. If the weather turns, your legs fade, or the trail isn't what the description promised, heading down means the plan worked.
Walking down switchbacks
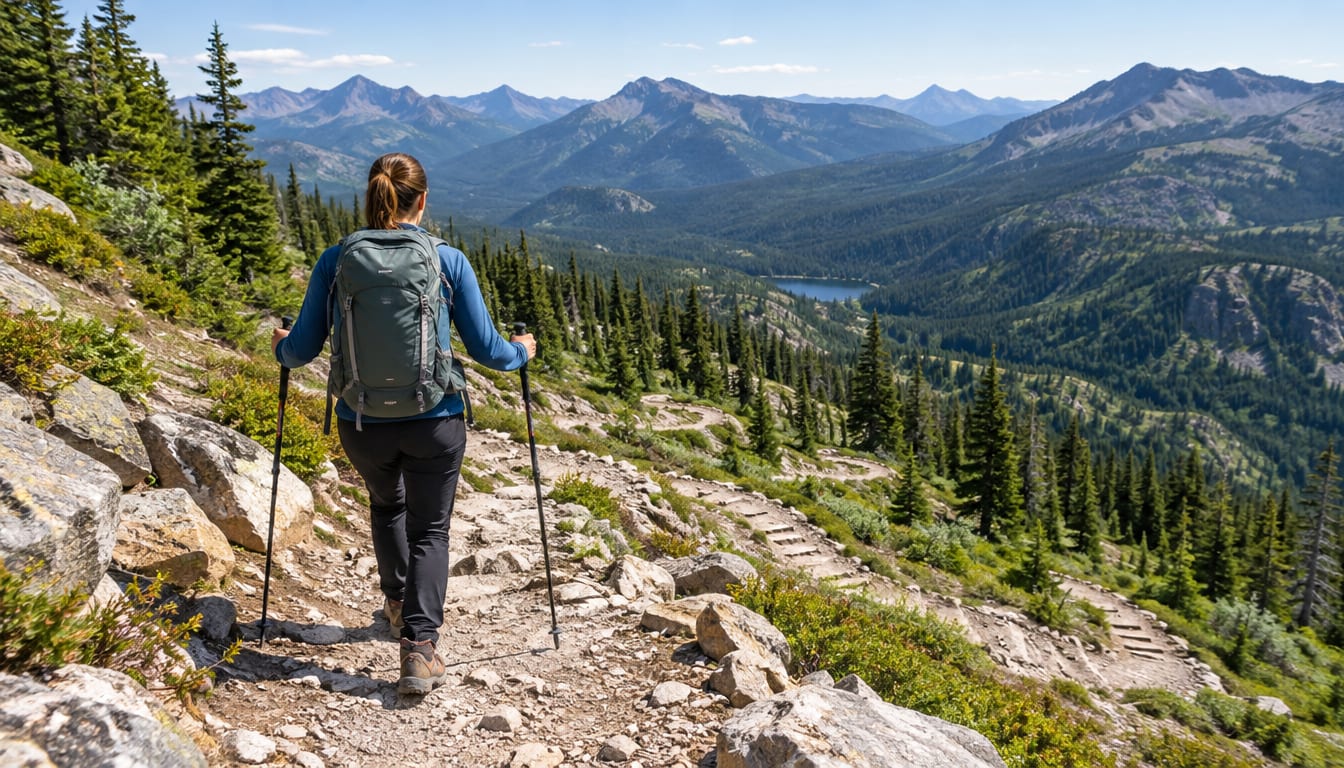
Going down is where careless steps catch up with people. Gravity wants you to speed up, and tight turns punish speed. Keep it controlled:
- Shorten your steps and keep your knees soft.
- Keep your weight over your feet. Leaning back sends your heels skating.
- Slow down before each turn so you aren't braking hard in the corner.
- Stay off the outer edge, where loose gravel sits over a drop.
- Plant poles slightly ahead to take load off your knees.
Uphill hikers usually get the right of way. The National Park Service's etiquette advice says that if you're descending, step aside and give space to people climbing up. Grand Canyon National Park's trail courtesy guidance agrees: slow down and yield to uphill travelers.
Step aside onto the landing or another wide, solid spot. Plants and crumbly edges are the wrong place to wait. On rocky descents, good foot placement on rocky trails will do more for you than expensive boots.
FAQ
Why do some steep trails use stone steps instead of switchbacks?
Builders turn to steps where the hillside is too rocky, narrow, or cliffy to fit turns. Steps shed water well, but each one is a small drop your knees have to catch, and that adds up on a long descent. Take them slowly and use poles if the risers are tall. Stepping down at a slight angle can ease a cranky knee.
What should I do if a switchback is washed out or blocked?
Don't stomp a new path around it. If the route ahead is obvious and stable, take the most solid line back to the tread. If it isn't, turn around and report the damage to the land agency. A photo and a rough location make that report far more useful to the crew that has to fix it.
Can I run or bike down switchbacks?
Running is fine if you can stop before every turn. Skidding through the corners digs up the landing and throws gravel onto the leg below. Mountain bikers should scrub speed on the straight section and roll the turn without locking the rear wheel. If you can't make a turn cleanly, walk it.
How do I keep kids and dogs from cutting corners?
Kids see the shortcut as a game, so make the turns the game instead. Count them, or let them lead to the next landing. Keep dogs leashed on stacked switchbacks, because a dog chasing a smell straight downhill can knock rocks onto hikers below.
