
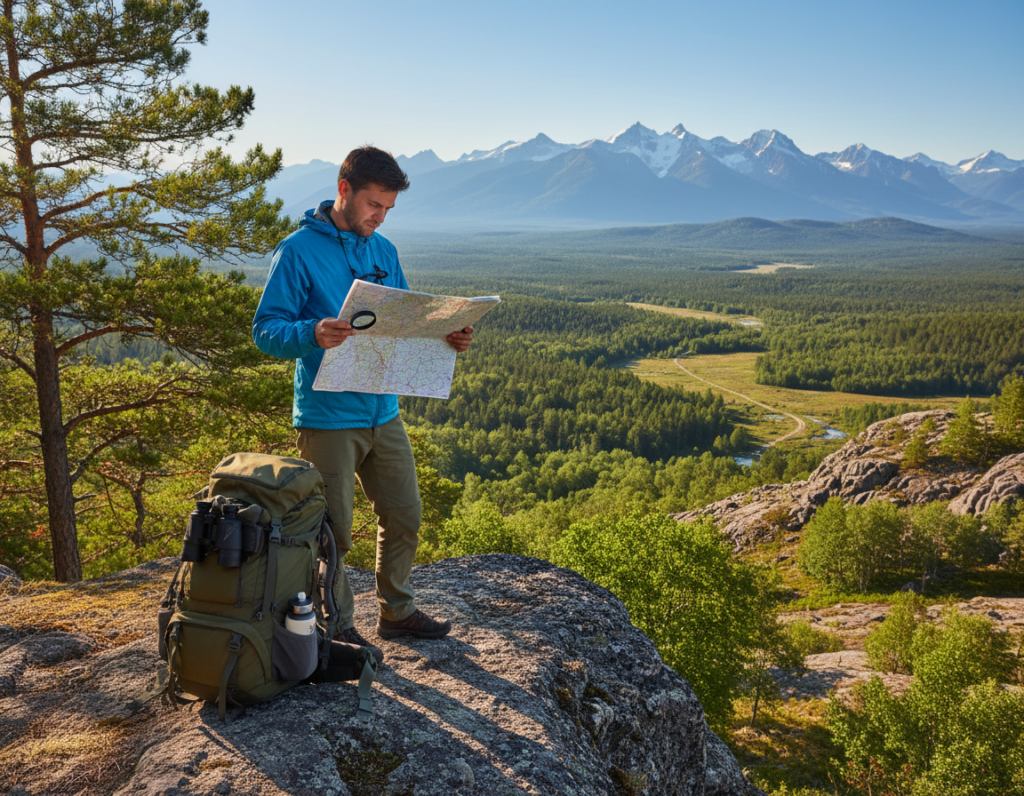
You’re three miles down a beautiful path when it suddenly splits in two. No signs point the way. Your phone has no signal. This is the moment your surroundings become your most important tool. Understanding the landscape lets you make the right choice with confidence.
This skill is about interpreting natural features to know your location and direction. You don’t need to constantly check a compass or GPS on established paths when visibility is good. It’s a faster, more practical way to move.
Our guide focuses on techniques you will actually use. We teach you to combine map details with what you see around you. This approach works for everyone, from day-trippers to backpackers. You’ll learn to identify landmarks and use elevation clues.
Mastering this takes practice, but the payoff is huge. You’ll move faster and feel more secure. These methods complement modern tools, giving you multiple ways to confirm your route. You catch small errors before they turn into big problems.
Key Takeaways
- Interpreting the landscape is a critical skill for confident navigation.
- This method is often faster than relying solely on a compass on clear trails.
- Practical techniques combine visual cues with map information.
- These skills build confidence and prevent minor issues from becoming major ones.
- Terrain reading works alongside technology like GPS for added security.
- The skills are valuable for both short day trips and longer backpacking journeys.
- You’ll learn to use elevation data and landmarks to stay on track.
Understanding Terrain and Map Basics
Your map is your most reliable partner on any trail. It holds all the information you need to navigate confidently. Learning its language is the first step toward true independence outdoors.
This foundation turns a confusing sheet of paper into a powerful tool. You’ll see the landscape in a new way.
Choosing the Right Map for Your Hike
Not all maps are created equal. You have three main types. Road maps are for driving. Tourist maps highlight city attractions.
For any serious path navigation, you need a topographic map. These are essential for hikers. They show detailed elevation changes, water sources, and trail junctions.
This information helps you track your progress. You can always identify your exact location.

Key Map Features and Scale Considerations
Scale tells you how the map relates to real life. The most common is 1:50,000. Here, one centimeter on the map equals 500 meters on the ground.
Every 2-centimeter grid box covers one kilometer. This makes estimating distance quick and easy.
For tricky navigation, use a 1:25,000 scale map. It shows finer details like specific rock formations. This level of detail is perfect for off-trail adventures.
Always check the legend first. It translates symbols into real features. The north arrow keeps you oriented correctly.
Grid references give you precise location coordinates. Study your map before you leave. Familiarity prevents confusion later.
Mastering Terrain Reading Hiking Techniques
Imagine you’re walking along a path, and a familiar creek suddenly appears on your left. This is a landmark confirming you’re on the right track. These techniques make your map come alive.
You’ll find three core concepts incredibly useful. They work together to keep your course correct.

Leveraging Landmarks, Handrails, and Backstops
Landmarks are your primary checkpoints. Think of creek crossings, trail junctions, or unique peaks. You identify them on your map before you start.
As you move, each landmark confirms your location and progress. This is a simple way to stay on your intended route.
A handrail is a feature that parallels your way. A river or ridgeline can act like a railing on stairs. It keeps you moving in the right direction without constant map checks.
Backstops are your safety net. They are clear features signaling a stop or a turn. A lake beyond your campsite is a perfect example.
If you reach the lake, you know you’ve gone too far. This prevents small errors from becoming big problems.
Applying Triangulation for Accurate Positioning
Sometimes, you need to pinpoint your exact spot. Triangulation is perfect for open areas with few nearby landmarks.
Identify two distant points visible on your map and around you. A peak and a distinct valley work well.
Estimate the angle between these two features from your location. Draw imaginary lines from them on your map.
The intersection of these lines reveals your rough position. This method adds a powerful tool to your navigation skills.
Combining all these techniques creates a reliable system. You’ll move with greater confidence on any trail.
Terrain Reading Hiking: Tools and Methods for Navigation
Understanding contour patterns transforms how you see the wilderness. The right tools turn confusing landscapes into clear pathways. This section covers essential navigation equipment and techniques.
Utilizing Topographic Maps and Contour Lines
Contour lines are your elevation roadmap. These wavy lines show the shape and steepness of the ground. Each line on a standard 1:50,000 scale map represents 10 meters of elevation change.
Every fifth contour line appears bolder for easy counting. Close lines mean steep slopes that challenge your endurance. Spread-out lines indicate gentle grades where you maintain pace.
Learn to recognize key features through contour patterns. A spur shows contour lines pointing away from higher ground. A re-entrant has lines pointing uphill into valleys.
Integrating Compass Use with Modern GPS Tools
Your compass works when technology fails. Place it flat on your map pointing toward the top. Rotate yourself until the needle points north for proper orientation.
GPS devices provide precise coordinates and track your route. Understanding how to use a hiking GPS complements traditional skills. This combination catches errors before they become problems.
| Navigation Tool | Primary Function | Best Use Case | Limitations |
|---|---|---|---|
| Contour Lines | Show elevation changes | Route planning and terrain assessment | Requires map interpretation skills |
| Compass | Direction finding | Orienting map and basic navigation | Doesn’t provide location coordinates |
| GPS Device | Precise location tracking | Complex navigation and route recording | Requires batteries and signal |
Check your GPS location first. Find that spot on your map. Read the contour lines around you to understand the landscape. Use your compass to confirm direction. This three-tool approach ensures confident navigation.
Interpreting Elevation and Mileage in Trail Navigation
The numbers on a trail description tell only part of the story about difficulty. True understanding comes from seeing how elevation gain, distance, and route type interact.
This knowledge helps you choose paths matching your fitness level. It also prevents unexpected challenges during your adventure.
Breaking Down Elevation Gain and Average Grades
Elevation gain per mile reveals the true challenge. A short path with steep climbing feels harder than a long, gradual route.
Consider this comparison of different routes:
| Distance (miles) | Elevation Gain (feet) | Gain per Mile | Difficulty Level |
|---|---|---|---|
| 2 | 1,000 | 500 | Moderate |
| 5 | 1,500 | 300 | Easy |
| 8 | 3,200 | 400 | Moderate |
| 10 | 4,000 | 400 | Moderate |
Using Elevation Profiles to Assess Trail Difficulty
Elevation profiles show exactly where climbs occur. The horizontal axis displays distance, while the vertical shows feet climbed.
Steep sections appear as sharp peaks on the chart. Gentle slopes show as gradual inclines. Flat areas appear as straight lines.
Most GPS devices and hiking apps display these profiles. They help you plan breaks and manage your energy. Checking the profile is a key step for beginners to build confidence.
Grade percentages measure steepness at specific points. A 10% grade feels manageable, while 20% requires serious effort.
Conclusion
True navigation confidence comes from weaving together the skills we’ve discussed into one fluid practice. It combines map study, landmark spotting, and elevation awareness into a single, reliable system.
These techniques work together seamlessly. Landmarks confirm your progress, while contour lines on your map preview the ground ahead. Handrails like a creek or ridge keep you oriented between key points.
The main benefit is catching small errors early. You adjust your course long before feeling lost. This proactive approach turns navigation from a stressful task into a natural part of your rhythm.
Start building this skill on familiar routes. Verify your observations against known features. Good preparation is your key to success—study your map at home to understand the scale and identify critical features.
Use your GPS device to double-check your location estimates. This creates a helpful safety net. On your next trip, try identifying a few landmarks before you start.
Notice how much more confident you feel when you constantly match what you see to what your map shows. It’s a powerful habit that makes every journey smoother.
