
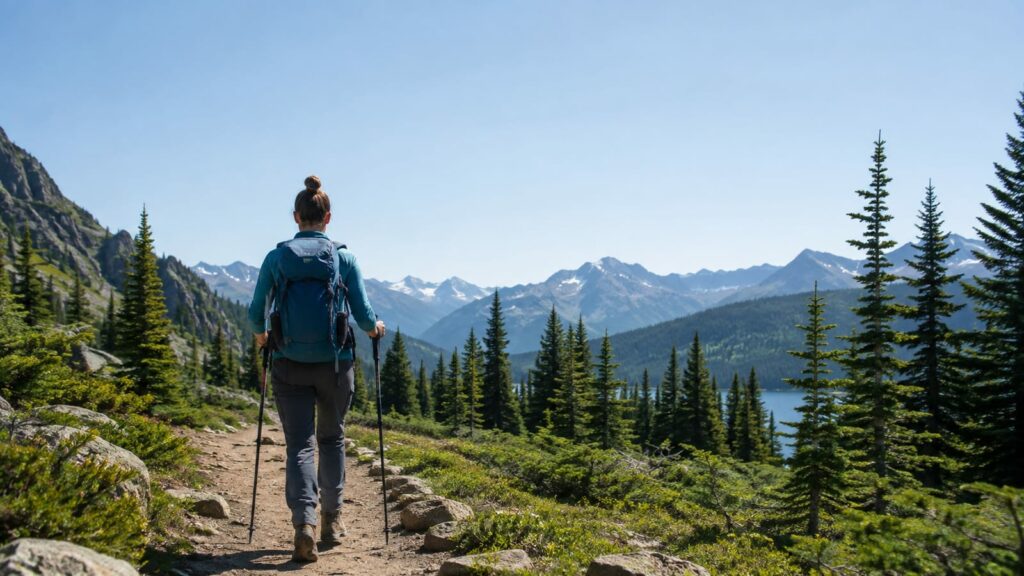
Start with a short, well-planned route and spend your money on fit, weather protection, water, navigation, and a safe way out. These 10 essential hiking tips for beginners will keep your first trail day manageable without turning your pack into a portable garage. Heavy gear and flashy features can wait. Your feet, water supply, and daylight matter first.
Last updated: 2026-08-13
What are the 10 essential hiking tips for beginners?
The right beginner plan is boring in the best way. Choose a route you can finish with energy left, check the forecast and trail conditions, tell someone where you’re going, and carry enough gear to handle a wrong turn or weather change.
These are the ten habits that matter most:
- Match the trail to your current fitness.
- Choose a route with forgiving terrain and bailout options.
- Wear footwear that fits before you reach the trailhead.
- Pack the Ten Essentials without carrying a brick.
- Use GPS as a convenience, not your only navigation plan.
- Carry enough water, treatment, and food.
- Dress for sweat, wind, rain, and sun.
- Leave a clear itinerary with someone you trust.
- Pace yourself and check your feet.
- Turn around before a small problem becomes an emergency.
1. What should a beginner do before choosing a trail?
Match the trail to your current fitness, not the version of yourself you hope to become by lunchtime. Check distance, elevation gain, surface, exposure, daylight, and your planned turnaround time before you commit.
A trail can look short on a map and still be rough on your legs. Loose rock, mud, heat, steep switchbacks, and a heavy water carry change the day quickly.
Before choosing, check:
- Total distance and whether the route is a loop or out-and-back
- Elevation gain and where the steep sections occur
- Trail surface, including rock, sand, roots, mud, or loose gravel
- Heat, bugs, wind, and shade
- Recent closures, flooding, snow, or downed trees
- Parking, permits, and the time needed to reach the trailhead
- Reliable bailout points if you need to shorten the hike
- The time you must turn around to finish before dark
A short out-and-back is often the better first choice. You can turn around whenever your feet, weather, or daylight says the plan was optimistic.
2. How do you choose a first hike that will not punish your feet?
Choose a well-marked trail with mild terrain, reliable information, and an easy return. Your first hike should teach you how your body handles trail miles, not test your ability to suffer quietly.
Distance alone tells you very little. A smooth path with gentle climbing may feel easier than a shorter route over rock and roots. Exposure matters too. A sunny ridge with no shade can drain you faster than a longer forest trail.
Look for:
- Clear junctions and recent route information
- A surface you can walk without constant scrambling
- Shade or nearby shelter if heat is a concern
- Water access only if you can treat it safely
- An out-and-back route if you’re unsure about navigation
- A nearby road, junction, or other bailout point
- Trail conditions that match your footwear and experience
Recent trail reports help, but don’t treat every review as field truth. One hiker’s “easy” may include a tolerance for mud, heat, and questionable parking that you don’t share.
If you’re hiking with children, review this family day hike gear guide before you leave. Small legs run out of patience before adults run out of optimism.
3. What footwear prevents the most beginner hiking misery?
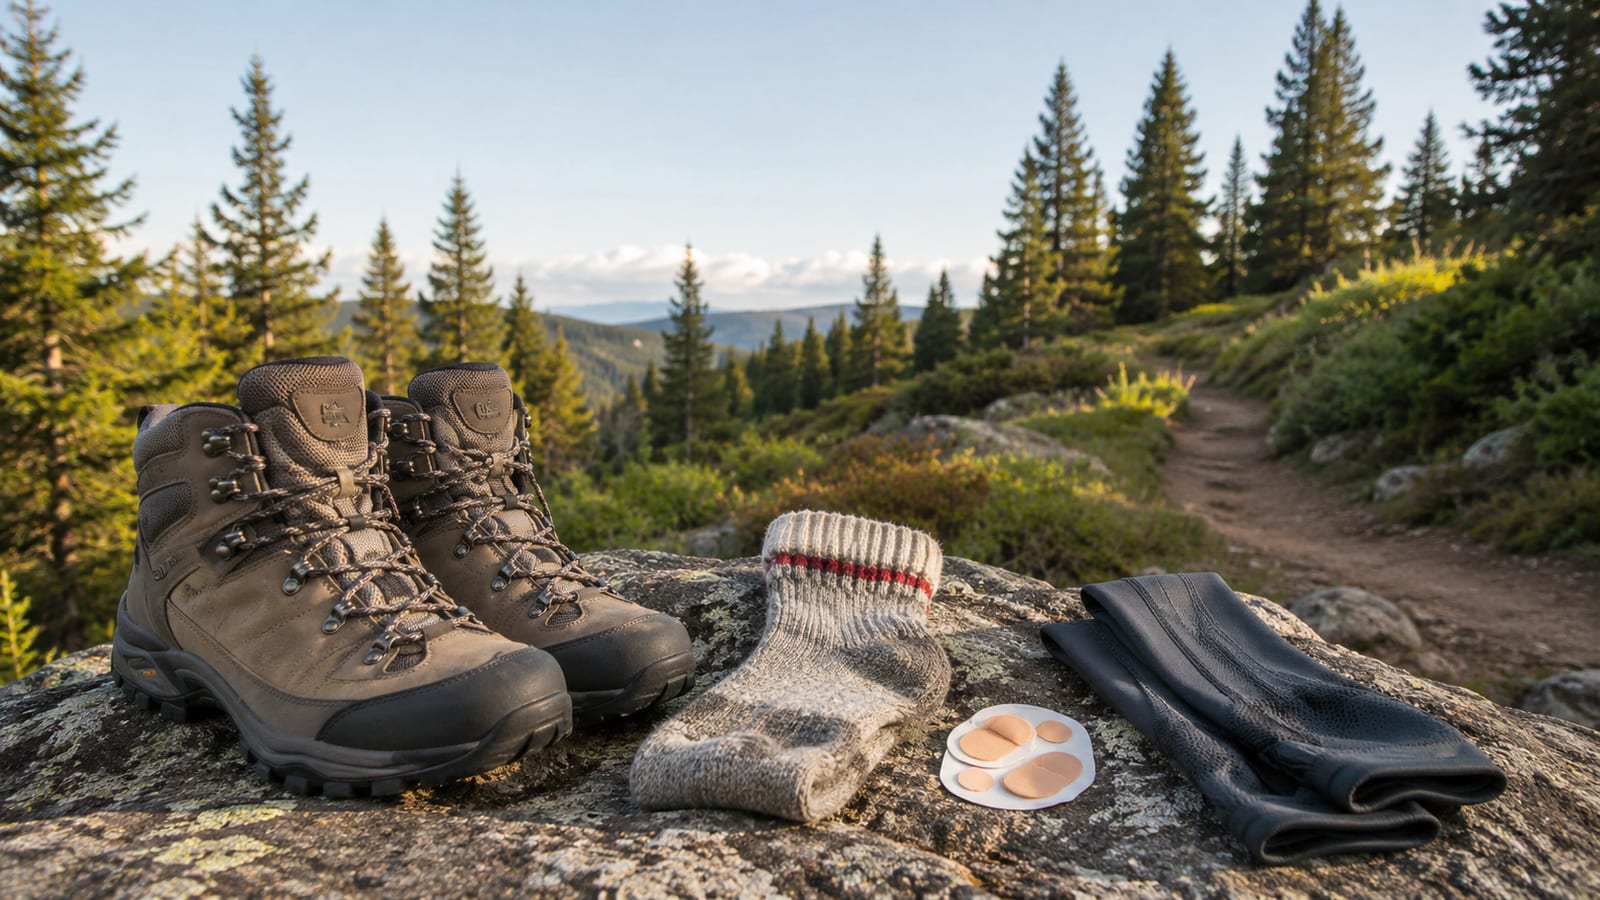
Wear properly fitted trail shoes or hiking boots that suit the surface. Fit, traction, and blister control matter more than waterproof labels, stiff ankle collars, or a product claim about conquering every trail.
Trail shoes are often enough for smooth day hikes and many maintained routes. Boots make more sense on rough rock, wet ground, snow, or when you need more structure under a loaded pack.
Check these points before the trip:
- Your heel stays in place without painful pressure
- Your toes have room without sliding forward
- The shoe bends where your foot bends
- The sole grips the surface you expect
- The upper does not rub your ankle or Achilles
- The footwear works with your hiking socks
Don’t break in new footwear on the longest hike of your season. Wear it around home and on short walks first. If a hot spot appears, fix the lacing or cover the area before it becomes a blister.
If your toes slide on descents, try a runner’s loop and tighten the laces over your midfoot. Trim long toenails, keep socks smooth, and stop for a foot check before the pain becomes part of the route.
Expensive footwear cannot correct the wrong size. That sounds better on a hang tag than on a rocky downhill.
4. How should beginners pack the Ten Essentials without carrying a brick?
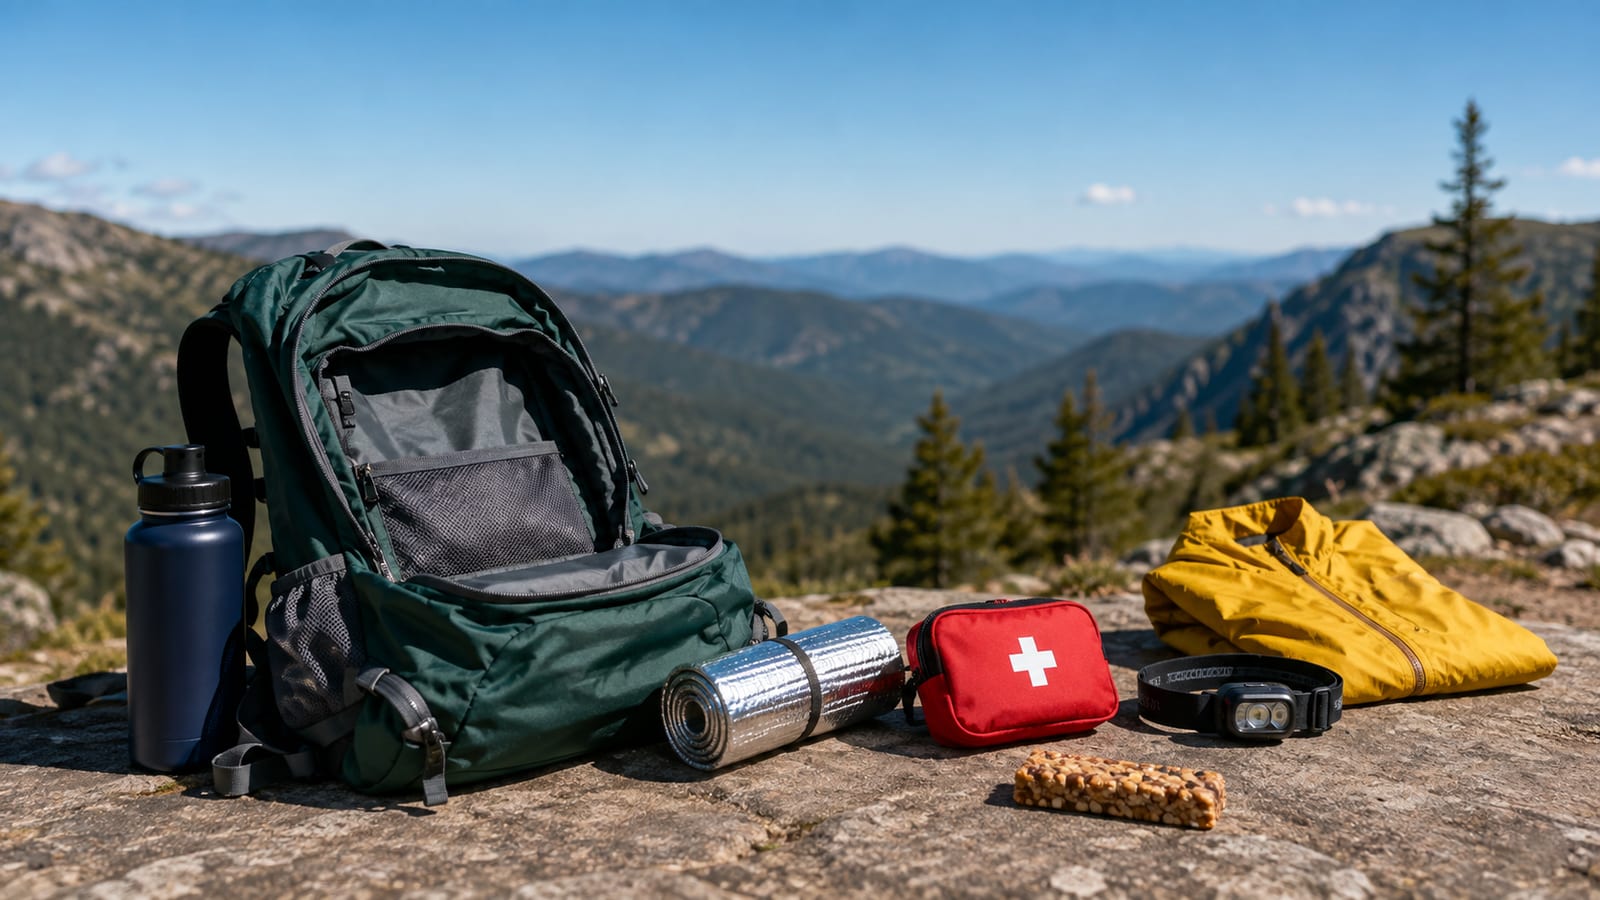
Pack the Ten Essentials as small safety systems, not as ten bulky objects. For a day hike, carry only practical versions that cover navigation, weather, light, water, food, first aid, repair, and shelter.
Your kit should include:
| Essential system | Practical beginner version |
|---|---|
| Navigation | Offline phone map, paper map, and compass |
| Sun protection | Sunglasses, sunscreen, and a hat |
| Insulation | Extra warm layer in a dry bag |
| Illumination | Hands-free headlamp with fresh batteries |
| First aid | Blister care, bandages, pain relief, and personal medicine |
| Fire | Waterproof lighter or matches where legal |
| Repair | Tape, cord, knife, and a way to fix a broken strap |
| Nutrition | Extra food that still works when you’re tired |
| Hydration | Water, a bottle or reservoir, and treatment |
| Emergency shelter | Lightweight bivy, tarp, or emergency blanket |
A small daypack is fine if it carries the systems without pressing hard on your shoulders. Keep rain gear, navigation, light, and first aid near the top. You should not have to empty the pack beside a creek to find the item that matters.
Fire is not a camp activity on every hike. In many areas, fires are banned or unsafe. Carry a small ignition source only where it’s legal, and don’t treat it as a substitute for warm clothing and shelter.
5. Why should you carry a map and compass when you have GPS?
Carry an offline phone map for convenience, then back it up with a paper map and compass you know how to use. A phone can lose power, crack in rain, or show your position without telling you which trail junction you missed.
Download the route before leaving cell service. Put the phone in flight mode when you don’t need calls or updates, and carry a small battery bank if the hike may run long.
At the trailhead:
- Check the route against the signs and map
- Notice major junctions, creeks, ridges, and roads
- Confirm the direction of travel
- Save the trailhead location
- Keep the paper map dry
- Check your position before you feel lost
A compass is not magic. It won’t help much if you’ve never matched its direction to a map. Learn the basics at home, then practice on a simple trail before relying on it in fog or bad weather.
Use GPS to confirm your route, not to make every decision for you. If the phone says you’re nearby but the terrain looks wrong, stop and reassess.
For more preparation, use this guide to planning your first solo hike. Solo hiking adds a margin for error because no one else can spot the missed turn.
6. How much water and food should you bring on a hike?
Carry enough water for the planned route, weather, effort, and water carry, plus extra for delays. Bring more food than your perfect schedule requires because slow miles, heat, and navigation mistakes make people hungry at inconvenient times.
Drink regularly instead of waiting until your mouth is dry. Hot, exposed trails increase your needs, while cool shaded paths may not. Your pack should also include electrolytes if you sweat heavily or spend a long time in heat.
Treat every natural water source unless you know it’s safe and approved for drinking. A filter can clog in silty water, and hollow fiber filters can be damaged by freezing. Carry purification tablets as a small backup when the route depends on a water source.
Pack food you can eat with one hand:
- Salty snacks
- Bars that don’t melt into paste
- Dried fruit
- Sandwiches
- Nuts or trail mix
- A simple meal for a longer day
Don’t count on finding water just because a map shows a creek. Seasonal sources dry up, and livestock or heavy rain can make clear water unsafe. If your water plan depends on one stream, bring a treatment backup and know where you can turn around.
7. How do you dress for weather that changes on the trail?
Dress in moisture-managing layers and carry real rain and wind protection. A comfortable morning can become a cold ridge, a wet descent, or a sweaty climb before you reach the next junction.
Synthetic shirts and thin wool layers handle sweat better than cotton. Cotton absorbs moisture and dries slowly, which becomes a problem when wind arrives or temperatures fall.
A useful day-hike clothing setup includes:
- A moisture-managing base layer
- A warm layer for stops and exposed sections
- A rain shell that blocks wind and rain
- Sun protection for your face, neck, and arms
- Spare socks in wet or muddy conditions
- Gloves or a hat when shoulder-season weather may shift
A rain jacket also traps some heat. Open vents before you’re soaked in sweat, and slow your pace on climbs if needed. Waterproof fabric cannot manage unlimited heat and moisture. That promise sounds better in a lab than after mile 10.
Check the forecast for the trail’s elevation and exposure, not only the nearest town. Wind, storms, and temperature can change faster on a ridge than in the parking lot.
The National Weather Service is a useful place to check forecasts and warnings before you leave.
8. What itinerary should you leave with someone before hiking?
Send a trusted person your route, trailhead, vehicle details, companions, and expected return time. Include your planned turnaround time and what they should do if you miss your check-in.
Your message should cover:
- Trail and route name
- Trailhead or parking area
- Planned start and return times
- Route direction and turnaround point
- Names of everyone in your group
- Vehicle description and parking details
- Emergency contact information
- Your escalation plan if you don’t return
Tell that person when to contact park staff or emergency services. Don’t leave the plan as “I’ll be back later.” A vague plan creates a vague search.
If you’re hiking somewhere without reliable cell service, consider a satellite communicator. Learn its check-in and emergency functions before the trip. Buying the device and leaving it in the pack with no setup is expensive decoration.
Send an “I’m back” message when you leave the trail. It closes the loop and keeps someone from worrying through the evening.
9. How do you keep moving safely after several miles?
Start slower than your excitement suggests and keep a pace you can hold. Fast starts burn energy early, soak your shirt in sweat, and leave you climbing on tired legs later.
Take short breaks before you feel wrecked. Eat and drink during those breaks, then check your feet, shoulder straps, and clothing. A small adjustment at the first hot spot beats a painful fix after several more miles.
Trekking poles help on steep climbs, loose rock, muddy slopes, and long descents. They also reduce some strain when you carry a loaded pack. On flat, smooth paths, they may mostly give your hands something to do.
Keep moving safely by:
- Watching footing on descents
- Using poles where balance is poor
- Rechecking the map at junctions
- Eating before you feel empty
- Loosening or tightening straps as your load shifts
- Turning around while you still have energy
- Stopping when pain changes your walking pattern
A steady pace is safer than a heroic one. The trail doesn’t award points for arriving at the viewpoint with nothing left.
10. When should a beginner turn around or call for help?
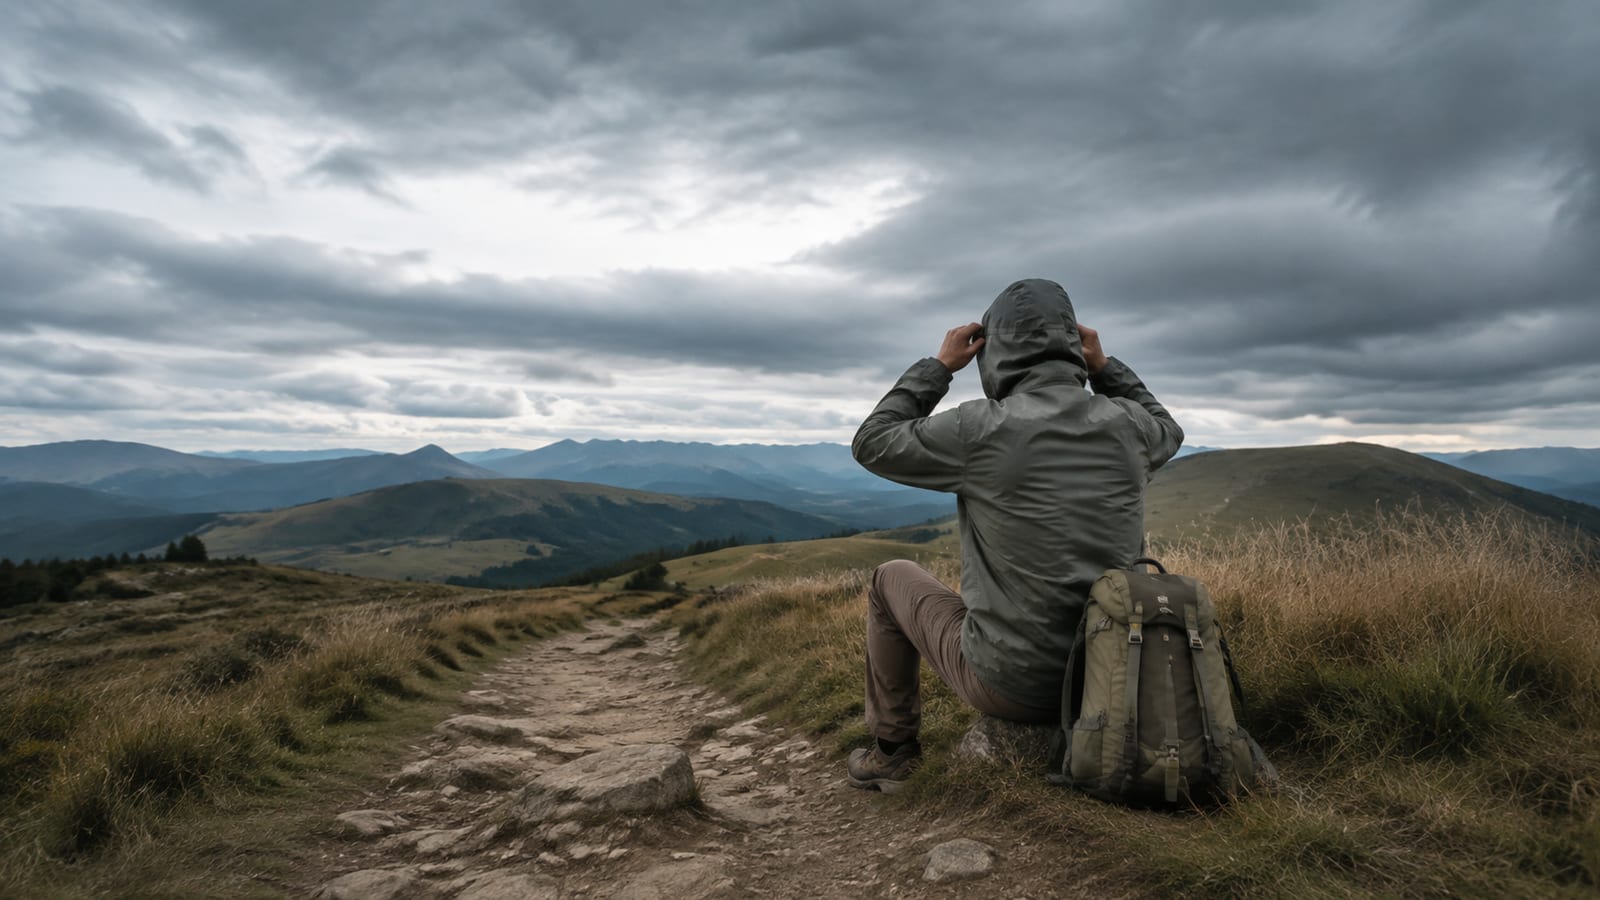
Turn around when weather worsens, daylight fades, water runs low, navigation stops making sense, or an injury changes how you walk. Call for help when you can’t safely move, symptoms suggest heat or cold illness, or your group cannot reach shelter without outside assistance.
Non-negotiable turnaround signs include:
- Thunder, strong wind, flooding, or fast-moving weather
- A missed junction or trail that no longer matches the map
- Less water than the return route requires
- A serious injury or worsening blister
- Fading daylight without a reliable light
- Confusion, weakness, vomiting, or unusual behavior
- Shivering that won’t stop, numbness, or loss of coordination
- A group member who cannot continue safely
Carry a headlamp even if you expect to finish in daylight. A phone flashlight drains the battery you may need for navigation or an emergency call, and it leaves your hands busy on uneven ground.
If someone is sick or injured, stop moving long enough to assess the situation. Add insulation, provide water only if they’re alert and able to drink, shelter from wind or rain, and use your emergency contact plan. For a fuller response, read this guide on what to do in a hiking emergency.
Turning around is a successful decision when the alternative is getting stranded. The summit will still be there, assuming it has developed patience.
Leave the trail better than you found it
Pack out food wrappers, tissues, and damaged gear. Stay on the marked route when possible, keep noise low, and give other hikers room at narrow spots.
Follow the principles from Leave No Trace when you camp, eat, wash, or use the toilet outdoors. The goal is simple: don’t turn your learning curve into someone else’s cleanup.
You also need to protect the trail from your own shortcuts. Cutting switchbacks causes erosion, and widening a muddy section makes the route worse for everyone after you.
Who are these beginner hiking tips for?
These tips fit new day hikers, casual walkers moving onto trails, and experienced people returning after a long break. They also work for families and solo hikers, though children and solo trips need extra planning.
They don’t replace local rules, route-specific research, or sound judgment. A beginner-friendly trail can become unsafe in heat, storms, snow, flooding, or poor visibility.
For a first outing, keep it simple:
- Pick a route near home
- Start in good weather
- Use familiar clothing and footwear
- Leave your itinerary
- Keep your turnaround flexible
- Write down what worked afterward
Your notes will tell you more than a gear list. Record where your feet hurt, how much you drank, what the weather did, and what you carried but never touched.
FAQ
Should beginners hike alone?
Beginners should start with a hiking partner when possible, especially on unfamiliar trails or routes without cell service. If you go alone, choose a well-marked route, leave a detailed itinerary, and set a clear missed-check-in plan.
Is a backpack necessary for a short hike?
A small backpack is useful because your hands stay free for balance and poles. It also gives you room for water, layers, food, navigation, light, and first aid without stuffing items into clothing pockets.
Should you hike in the morning or afternoon?
Morning usually gives you cooler temperatures, more daylight, and fewer parking problems. Still, the best start time depends on the route, heat index, weather, and how long you need to reach the trailhead.
What should you do if you lose the trail?
Stop walking as soon as the route stops matching your map or terrain. Retrace your last confirmed point, check your offline map and compass, and avoid wandering downhill or cross-country without a clear plan.
How can you improve after your first hike?
Review the trip while you still remember it. Replace only what caused a problem, adjust your water and food plan, and choose the next route based on what your feet and legs handled well. That’s how you build trail judgment without buying a new personality in a brighter color.
