
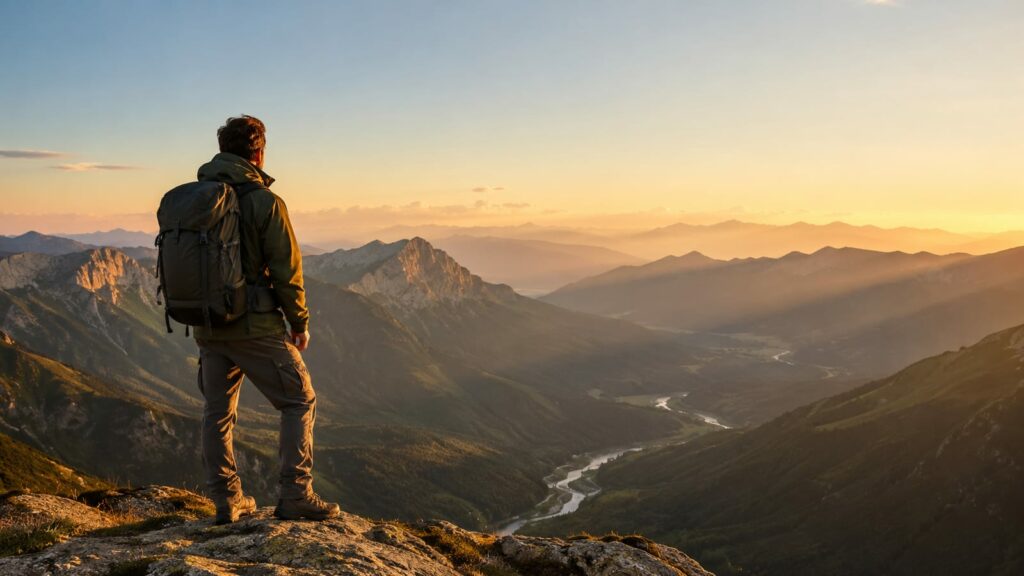
Your first solo hike should be short, well-marked, and a little boring. That's how you build real confidence instead of a scary story. Planning your first solo hiking trip comes down to picking an easy trail of 1 to 3 miles, checking the exact-trailhead forecast, carrying a paper map alongside your phone, and telling one person your full plan before you leave. Do those four things and most days go smoothly. Get them wrong and a calm outing turns into a long afternoon.
Last updated: 2026-07-28
Going alone builds confidence faster
Hiking alone gives you full control of the pace, the stops, and the turnaround. You photograph what you want, drink when you want, and read every junction yourself. That decision-making is the whole point, and it builds faster when nobody else is calling the shots.
The fear is normal. The fact is that well-traveled trails are forgiving. Getting lost usually means you missed a junction, not that you're stranded. Most people you pass are friendly and will point you the right way if you ask.
The goal is small: finish one short hike alone and want to go again. Start there and the bigger days come on their own.
How do you plan your first solo hiking trip, step by step?
Work backward from your return time, then keep every choice small. Here's the order I'd follow.
- Set one simple goal. A viewpoint, a short loop, or a set mileage. Pick one so the day stays clear.
- Choose the distance and time. Keep the first outing short, an hour or two on the trail, with room to go slow and still beat the heat.
- Pick a well-marked trail below your skill ceiling. Clear signs, steady foot traffic, few junctions.
- Check the forecast for the exact trailhead, not the nearest town. Scan the hourly trend, not just the day's high.
- Download your route offline in a mapping app and carry a small paper map as backup.
- Confirm parking, permits, and fees before you drive. Some parks charge real money to get in.
- Send one person your full plan: trail name, start time, turnaround time, back-by time, and your car details.
- Set a start time early enough to finish with daylight and a buffer.
- Text your contact "I'm back" when you reach the car. Close the loop every time.
None of this is complicated. The failure mode is skipping a step because the hike felt too easy to bother, then paying for it at mile two.
What a good first solo trail looks like
A trail you can't easily lose. Look for gentle grade, smooth tread, clear signs, and enough hikers that a question is never far away. Out-and-backs and simple loops with few junctions are ideal, because you always know the way home.
Popular national park routes are a smart start for a reason: reliable maps, ranger updates, and plenty of recent trip reports. The Gatlinburg Trail in Great Smoky Mountains National Park is a good example of the type, with only about 200 feet of elevation change and clear signage the whole way. You want that flavor of trail, wherever you live.
Skip these until you have more miles:
- Big river or creek crossings
- Long exposed ridgelines with no bail-out
- Maze-like trail networks with junctions every few minutes
- Anything with recent closure or washed-out-bridge reports
Roots and rock steps also eat time. If the tread looks rough in photos, add margin to your return estimate. A slow mile is still a mile, but it doesn't feel like one when the light is fading.
For more on easing in, our beginner hiking tips cover pacing and footwork worth reading first.
Reading the forecast for the trailhead
Check the forecast for the trailhead itself, then read the hourly trend for the exact window you'll be out. A town ten miles away in a valley tells you almost nothing about wind and clouds on a ridge.
Use two sources and cross-check. One for live radar and lightning, one for "feels like" temperature so you layer correctly. In mountain or shoulder-season conditions, add a mountain-specific forecast for wind and afternoon build-up.
Two rules keep this simple. First, if storms or strong ridge winds line up near your turnaround time, start earlier, shorten the route, or pick a lower option. Second, re-check radar before you drive and again at the trailhead.
If you hear thunder on exposed ground, get off it and get lower. That's not caution for its own sake; lightning doesn't negotiate.
Do you really need a paper map if your phone has GPS?
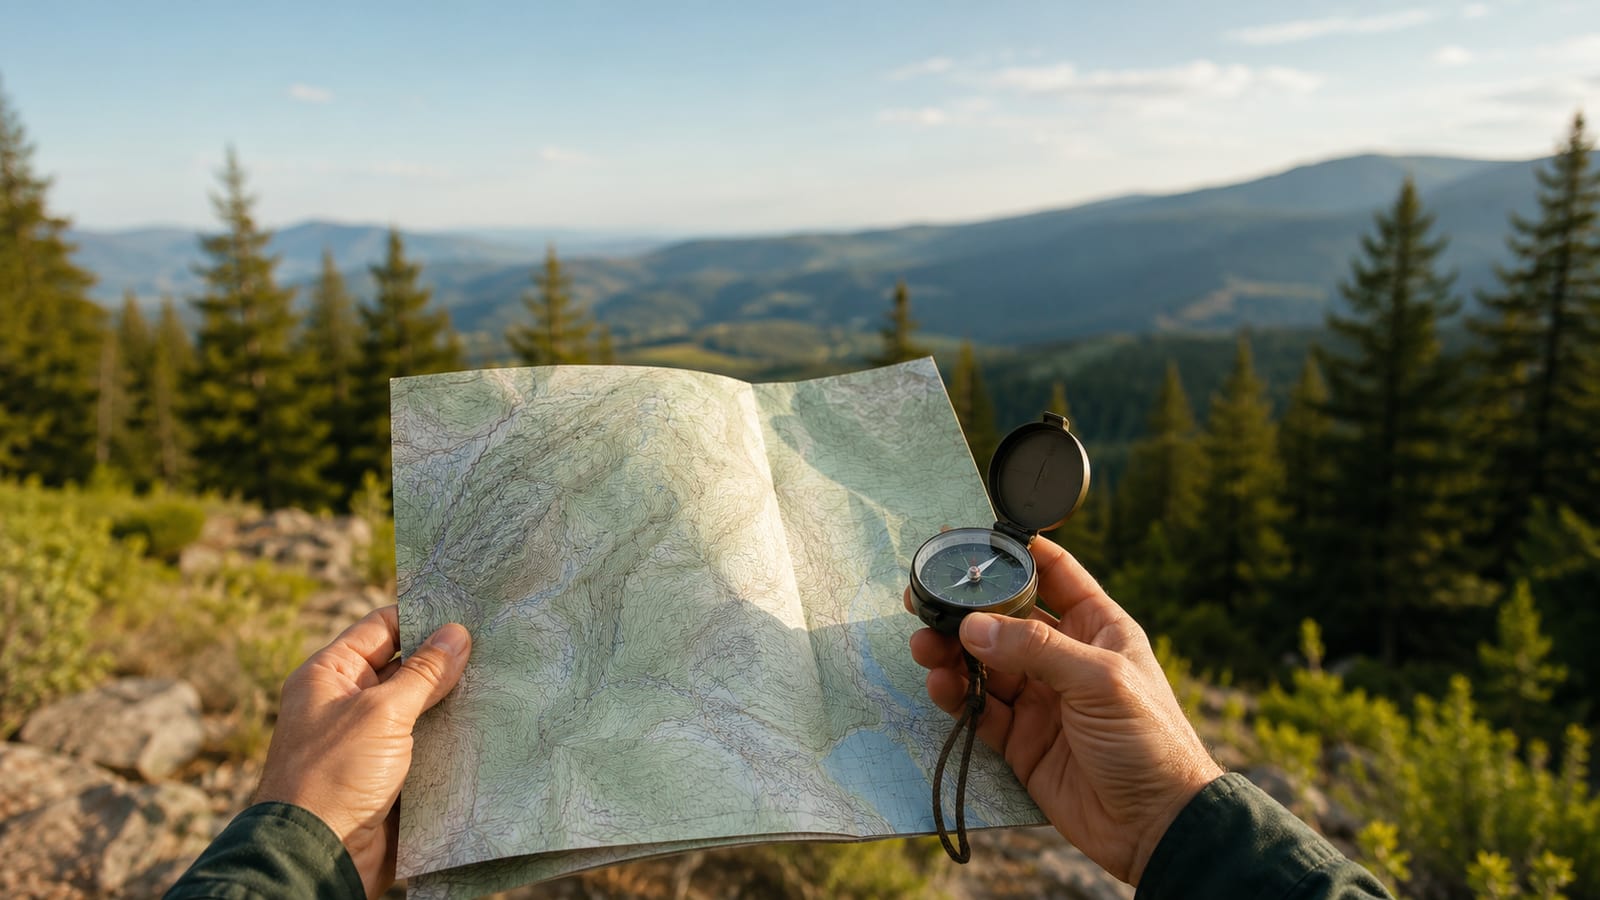
Yes, and it weighs almost nothing. Your phone is the main tool, but batteries die, screens crack, and cold drains power fast. A small tear-resistant paper map is the backup that still works when the electronics quit.
Download your route offline before you leave so your phone shows your position even with no signal. Read recent reviews for blowdowns, high water, or reroutes. Snap a photo of the trailhead kiosk and any junction boards so you can confirm turns while walking.
At the first junction, actually glance at your position. Building that habit early means you catch a wrong turn in a hundred yards, not a mile.
| Navigation tool | Job | Habit |
|---|---|---|
| Mapping app, route saved offline | Live position without signal | Download at home, not at the trailhead |
| Paper map | Backup when the phone dies | Keep it in a fixed pocket |
| Trailhead and junction photos | Confirm turns on the move | Snap them before you start walking |
Who needs your plan and what to include
One trusted person needs your whole itinerary before you leave, not a vague "going hiking today." Give them enough to send help to the right place if you go quiet.
Include the trail name, start time, turnaround time, back-by time, and your car's make, model, color, and plate. Add the parking lot name and county, plus the nearest ranger station and local sheriff's number. Then set a clear rule: call for help if I haven't checked in by a specific time.
A satellite messenger with two-way texting and an SOS button is worth carrying once you hike where cell service disappears. Keep it on your shoulder strap, not buried in the pack. A device you can't reach in a fall isn't doing its job.
A firm turnaround time is the safety tool people ignore most. Our take on why every hike needs an exit plan explains how to hold that line when the summit is tempting.
What a first-timer should actually pack
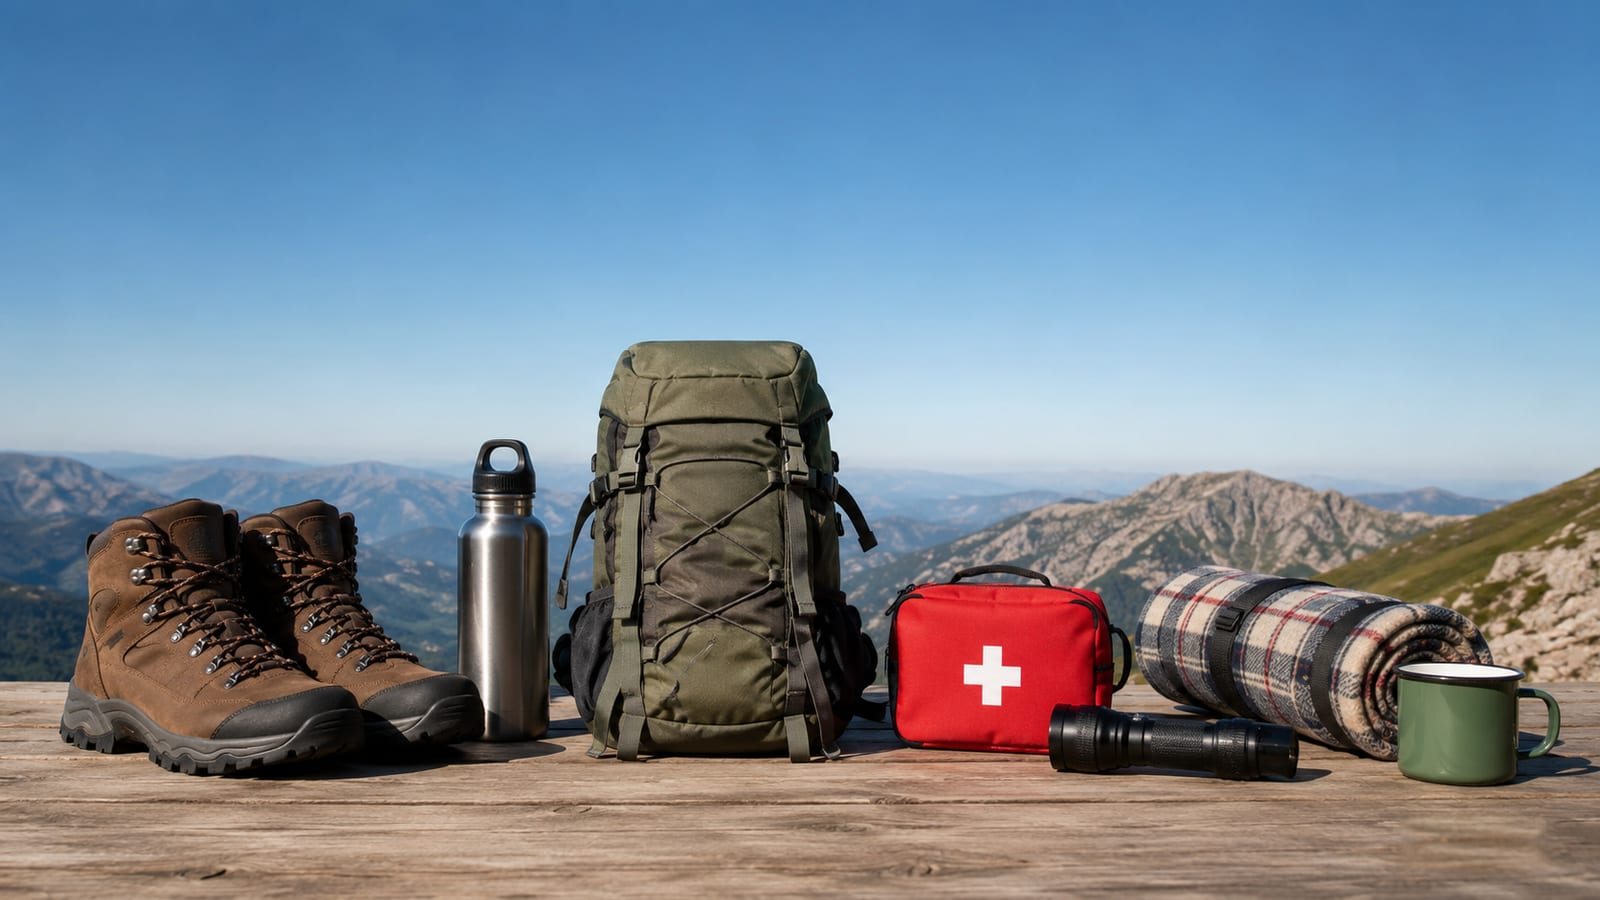
The Ten Essentials, packed so you can reach the small stuff without stopping. For a short day hike, that looks like this:
- Navigation: phone with offline map plus a paper map
- Light: headlamp with spare batteries
- Shelter: a lightweight mylar blanket
- Water and food: extra of both; a filter if the day runs long
- Clothing: an insulating layer and a rain shell, even on a clear morning
- Sun protection: hat, sunscreen, sunglasses
- Fire, knife, repair: fire starter and a small multi-tool
- First aid: a compact kit with blister care
Pack for reachability. Keep the map and headlamp in the same pocket so you find them fast when light fades. Charge your phone and carry a small battery with a short cable.
Blister care earns its spot. More good first hikes end from an ignored hot spot than from weather or a bear sighting. Feel a rub start, stop, and tape it before the descent.
When to skip the solo start
Wait on the solo trip if the only trail nearby involves river crossings, long exposed ridges, or a confusing network you don't know. Those multiply risk in ways a first outing shouldn't.
Also skip it if a storm is stacking up over your window, if you can't get an offline map to download, or if nobody can be your check-in contact that day. None of these means never. They mean not this trip.
If something does go sideways out there, staying calm and working the problem beats panic every time. Our hiking emergency guide walks through the first moves.
FAQ
How far should my first solo hike be?
Keep it to 1 to 3 miles and 1 to 2 hours of walking. Short enough to finish easily, long enough to feel like a real day out. You can add distance once you know how your feet and pace hold up.
Do I have to pay to hike in a national park?
Often, yes. Entrance and parking fees are common at popular trailheads. Glacier National Park, for example, charges $35 for a 7-day vehicle pass, $30 for motorcycles, and $20 per person arriving on foot. Check the specific park's official page before you drive.
Is it safe for a woman to hike alone?
On well-traveled, well-marked trails, most solo days pass without incident. Pick busy routes, keep your pack visible, greet people you pass, and share your full plan with a contact. Trust your gut at any trailhead that feels off and pick a different one.
What if my phone dies mid-hike?
That's why you carry a paper map and photographed the junction signs at the start. Switch the phone to airplane mode early to stretch the battery, and only power it up to check position or send a check-in. A cheap backup battery removes most of this worry.
Should I bring bear spray or other wildlife gear?
It depends on where you hike. In bear country, carry spray and know how to use it; on a suburban loop, it's dead weight. Check recent trip reports and local ranger guidance for your specific trail rather than packing by habit.
