
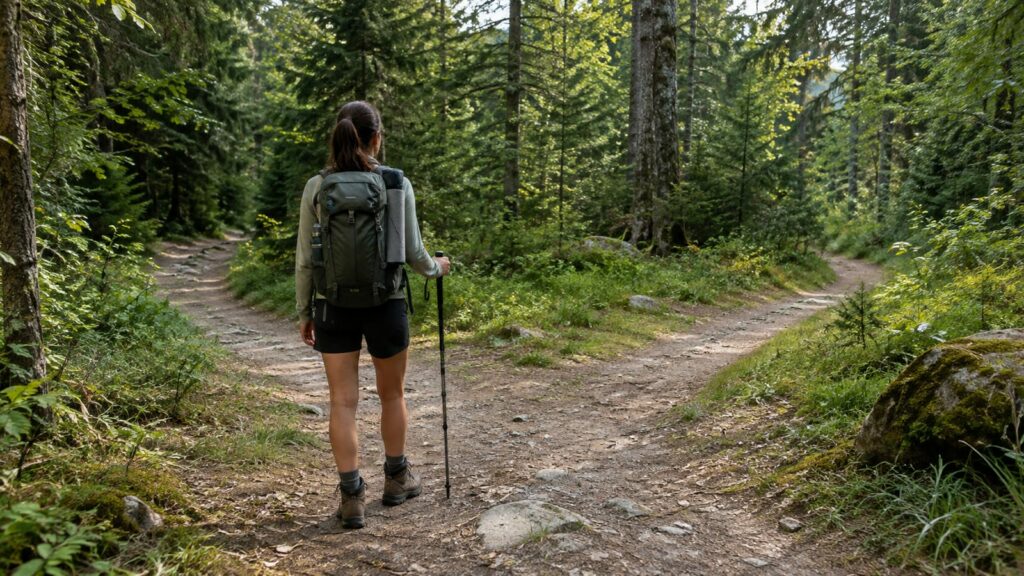
Many hikers who get lost on unmarked trails had the right gear and stopped checking where they were. Plan the route at home on a topo map, and carry a paper map and compass with GPS as backup. Confirm landmarks at every junction, set a turnaround time tied to weather and daylight, and tell someone exactly where you're going and when you'll be back.
No app replaces knowing your last confirmed position.
Unmarked trails rarely lose you in one dramatic moment. More often, a faint path splits at a game trail. Then a cairn turns out to be a random rock pile, and later you're following a drainage that looks right and isn't. Each small drift feels harmless, which is why it adds up.
How do you avoid getting lost on unmarked trails?
Here's the order that keeps you found. The sections below fill in each step.
- Study the route at home. Know the junctions, distance, water, bailout points, and where you'll turn around.
- Leave a written itinerary. Include a hard return deadline and instructions for what to do if you miss it.
- Carry navigation that works without signal. That means a paper map and compass first, with GPS as the backup.
- Learn the landmarks. Pick the features that confirm each leg of the route.
- Check your position on a schedule. Do it at every junction and every change in direction.
- Record your turnoffs. Use waypoints or photos, and never leave permanent marks.
- Set a turnaround time and keep it. Build in room for weather, slow travel, and fading light.
- Stop the moment you're unsure. Every step past confusion makes the walk back longer.
Plan the route before you leave
Most getting-lost stories start at the kitchen table, with a route nobody looked at closely. Before the trip, trace the whole line on a topographic map. Mark every junction, creek crossing, and saddle. Then note the total distance, the big climbs, and where water should be.
The USGS 7.5-minute quadrangles are still the standard reference for this in the US. They're drawn at 1:24,000 scale, and each sheet covers 49 to 64 square miles depending on latitude. That's detailed enough to show the side gully that pulls people off route. You can find and download them through the USGS topographic maps program.
There's a gotcha, though. Trail lines on older quads can be badly out of date. Faint trails get rerouted, washed out, or swallowed by brush. So cross-check the line against recent trip reports and the land manager's current conditions page before you trust it.
Finally, pick your decision points ahead of time:
- Bailout points: spots where you can leave the route by a faster or easier way, ideally ones you can reach before the hardest stretch.
- Turnaround point: the place you'll turn back if you're behind schedule, chosen at home while you're still rested and honest.
- Catch features: a road, river, or ridge that tells you you've gone too far.
If you want to get better at spotting terrain trouble on the map itself, our guide on how to read terrain before problems appear covers that side in detail.
Leave an itinerary someone can act on
"Going hiking near the lake, back tonight" won't help anyone find you. Searchers need specifics, and your contact needs a clear trigger for when to call. Write it down and send it as a text or email so nothing gets misremembered.
Include:
- Trailhead name and where you parked
- Vehicle make, color, and plate
- Planned route, plus any alternate you might take
- Names in your group and the color of your outer layers
- The time you expect to be out, and a hard deadline
- Who to call if you miss that deadline, usually the county sheriff or the land agency that handles search and rescue
Then do the boring part: text when you're out. If you change routes at the trailhead, send an update before you lose signal. Searchers working the wrong canyon is a common and avoidable mess.
Navigation tools that work without signal
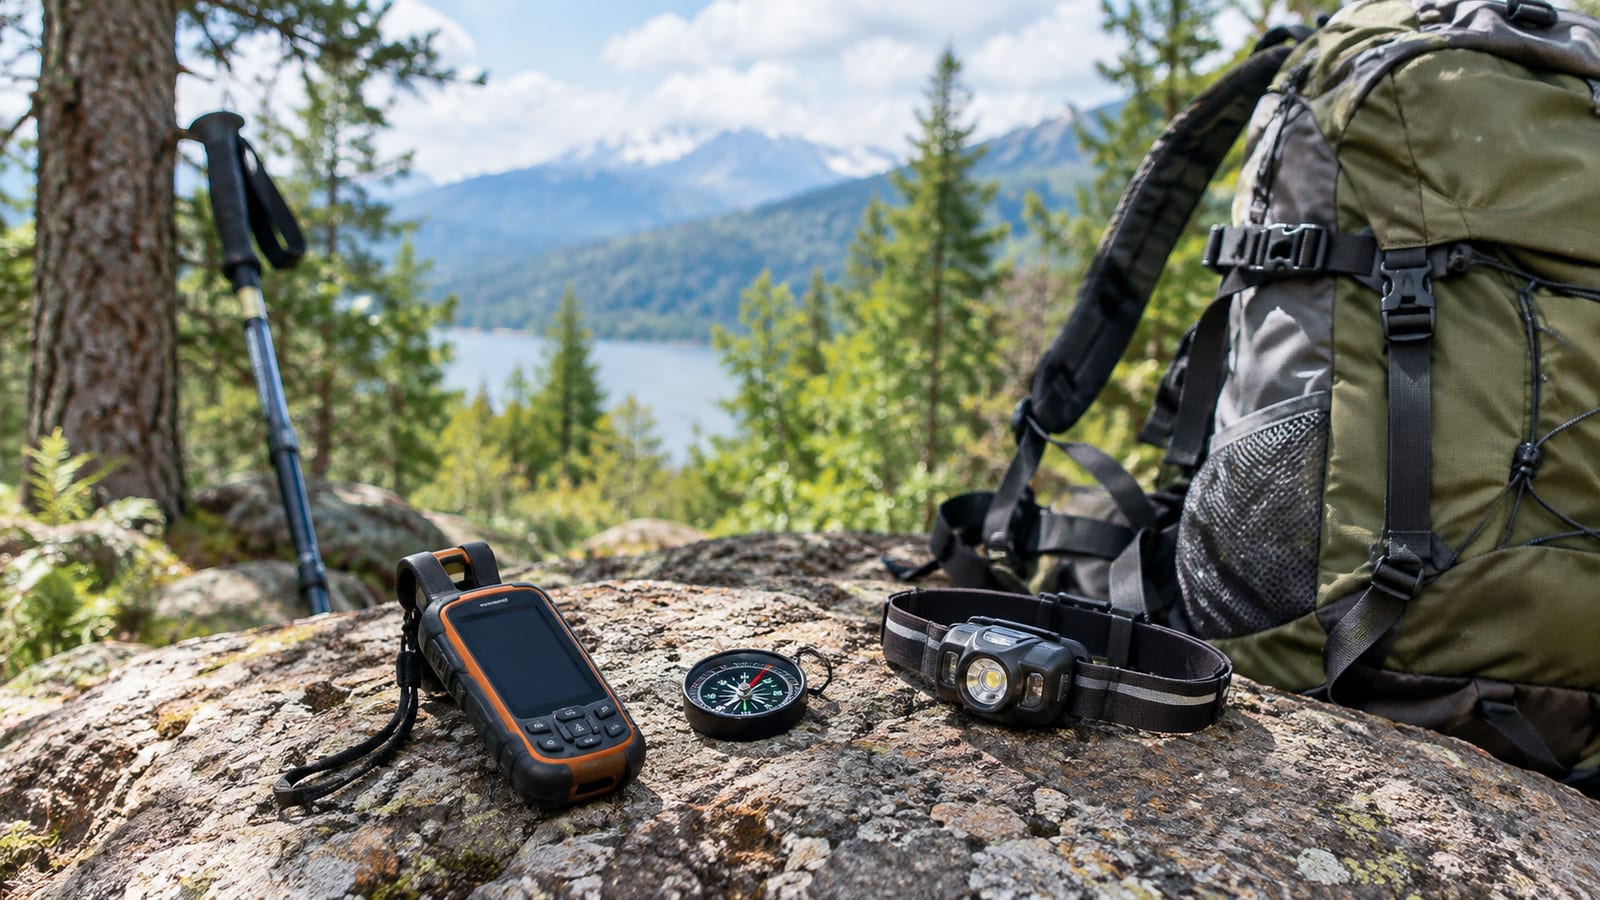
Cell coverage on unmarked trails is unreliable at best. So your main system has to work with zero bars, a dead battery, and cold fingers.
Paper map and compass
A printed topo map in a zip-top bag and a baseplate compass will never need a charge. They also won't crash, and a map kept in its bag stays readable in rain. The catch is that you have to know how to use them. That means taking a bearing, orienting the map, and matching contour lines to what's in front of you.
Practice on a marked trail before you depend on these skills somewhere faint. Our map and compass navigation guide walks through the basics. Also, keep the compass away from your phone and any magnetic clasps when taking a bearing, because both can pull the needle.
GPS and phone apps
A phone app with downloaded offline maps is a strong backup. It shows your position as a dot, and it can record a track you can follow back out. However, download the maps at home. A phone without them often just shows a blank grid once you lose signal.
Batteries are where phones fail. Cold weather, constant screen use, and a phone searching for signal all drain them fast. Use airplane mode, carry a charged power bank, and keep the phone warm in an inside pocket on cold days. For remote routes, a dedicated GPS unit or satellite messenger adds a layer the phone can't. Our guide to navigating with GPS, maps, and backup covers how to set that up.
Treat the screen as a backup, not the whole plan. When it dies at a junction, the paper map is what gets you home.
Landmarks, handrails, and catch features
Good navigators don't stare at the map the whole way. Instead, they pick a few features that prove they're on track, then watch for them. Learn these before the trip so you know what to look for at each leg.
- Handrails are linear features you follow, such as a creek, a ridgeline, a fence, or the edge of a meadow. If the creek should stay on your left and it's suddenly on your right, something changed.
- Checkpoints are features you should pass at a known point. Examples include a saddle, a lake, a rock outcrop, a burn scar, or a big clearing.
- Catch features sit beyond your target and stop you from overshooting. A road or major river works well here.
Also look behind you at every junction. The same fork looks completely different on the way back, especially in late light. Many hikers who navigate fine on the way in get turned around on the return for exactly this reason.
Check your position on a schedule
Footprints tell you where someone went, which may not be where the route goes. On unmarked trails, boot tracks, game paths, and old cairns often lead to a viewpoint, a campsite, or someone else's mistake. Follow them and you inherit the error.
Check the map and your surroundings before every junction, right after it, and whenever the trail changes direction. Do the same when the tread fades, crosses rock, or disappears under snow or leaves. Between those points, keep a rough sense of your pace. That way you know about when the next checkpoint should appear.
If the checkpoint doesn't show up when expected, stop and figure out why. Don't push on and hope it turns up around the bend.
Groups have their own failure mode. Everyone assumes someone else is tracking the route, so nobody is. To fix it, name one navigator and have a second person check at junctions.
Marking turnoffs without trashing the trail
The easiest way to find a turnoff on the way back is to have recorded it on the way in. Drop a GPS waypoint at every junction you take. Then snap a photo looking back at it, so you see it the way you'll meet it later. A quick note helps too, something like "left at the dead pine, creek on the right."
Physical markers are trickier. Temporary, removable flagging can make sense in rare cases, such as a confusing junction you'll definitely pass again. Even then, take it down on the way out.
Don't build cairns, carve trees, or snap branches. New cairns send other hikers the wrong way. They also go against Leave No Trace principles, and many land managers remove them for that reason. Your waypoints and photos do the same job without leaving a mess.
Weather, daylight, and the turnaround time
Navigation gets harder exactly when conditions get worse. Fog hides your landmarks. Snow covers the tread. A flooded creek blocks your handrail. Darkness makes all three problems arrive at once.
Before the trip, check the forecast, the sunset time, and recent trail conditions. Start early enough that your turnaround time leaves daylight to spare. Base that turnaround time on light and weather, not on how close the summit is. In shoulder season, days are shorter and the light drops faster in canyons and dense forest.
Water matters more than people think. Thirsty hikers rush and gamble on shortcuts, and shortcuts are how a confusing route turns into a lost one. In desert parks, carry plenty. One Joshua Tree trip-planning guide, for example, recommends a minimum of one gallon of water per person per day.
What should you do when you realize you're lost?
Stop walking. That's the hardest step and the most important one. Every move made while confused pushes you farther from your last known point and makes you harder to find.
Many search groups teach the STOP method:
- Stop. Sit down, drink some water, and eat something.
- Think. Where was the last spot you were sure of your position? How long ago was that?
- Observe. Check the map, compass, and GPS track. Look for handrails, checkpoints, and catch features.
- Plan. Retrace your steps only if the way back is clear and safe. If it isn't, stay put.
Staying put works best when someone has your itinerary. In that case, searchers start where you told them to. If you have signal and need help in a National Park Service area, dial 9-1-1. Where text-to-911 is available, a text may get through when a call won't. A satellite messenger's SOS works where phones don't.
While you wait, make yourself easy to spot. Put on a bright layer, move into an open area if one is close, and use a whistle, since it carries farther than your voice and lasts longer. Our guide on what to do in a hiking emergency covers shelter and signaling in more depth.
Keep a margin on every trip
The safest navigators turn back early, and they do it without drama. Choose routes that match the weakest navigator in your group. Don't pick the one the strongest person wants to brag about. Learn new skills on marked trails before you need them on faint ones.
Keep your backups where you can reach them. A compass buried at the bottom of the pack doesn't get used, and the hip-belt pocket is a better spot. Bring a headlamp even on short day hikes, since a late return is exactly when you'll need it.
Group size helps too. In bear country, a group of three or more is more likely to deter an encounter. Bears can see, hear, and smell a group more easily. Extra people also means extra eyes at junctions.
Turn around when visibility drops, energy fades, or the route stops matching the map. The trail will still be there next weekend.
FAQ
What's the difference between an unmarked trail and off-trail travel?
An unmarked trail still has a physical path, even if it has no signs, blazes, or maintenance. Off-trail travel means no path at all, so you're picking your own line across the terrain. Unmarked routes can feel easier, which is partly why they catch people. The tread fades out slowly enough that you don't notice when you've left it.
How should I practice navigation before trying an unmarked route?
Take a map and compass on a well-signed trail you already know. Predict each junction, climb, and creek before you reach it, then check whether you were right. Once that feels routine, try a short unmarked route with an easy bailout and good weather. The goal is making mistakes where they cost you nothing.
Is it safe to hike unmarked trails solo?
It can be, on a route well inside your skills, but solo trips leave very little margin. Nobody is there to second-guess a junction, and a rolled ankle stays your problem until someone notices you're overdue. Carry a satellite messenger where there's no signal, and set your turnaround earlier than you would with a partner. Save your first faint routes for days when someone can come along.
Do I need to adjust my compass for declination?
Yes, in most of the US. Magnetic north and true north differ, and the gap varies by location. Your map lists the local value in the margin, though on an old quad it may have shifted since printing. A compass with adjustable declination lets you set it once, so you don't have to do the math at every bearing. If you skip this step, small errors build over distance until you end up in the wrong drainage.
