
Cheap hiking works best when you control the drive, the gear, and the overnight cost. Start with a nearby trail, shoes you already own, a borrowed pack, and food from your kitchen. Spend money only where it protects your feet, your safety, and your comfort after several trail miles. Camp free when the rules allow it, carry your own water, and wait to buy gear until real use shows you what’s missing.
Last updated: 2026-11-03
What actually makes hiking expensive
The trail usually isn’t the expensive part. Most of your money goes to getting there, sleeping there, and buying technical gear before you know what you need.
Cut those costs and hiking becomes one of the cheapest ways to spend a day outside. The useful split looks like this:
- Worth paying for: shoes that fit, water treatment, weather protection, and food.
- Worth borrowing: a day pack, trekking poles, a tent, and a stove.
- Fine to replace: dry sacks, fancy organizers, single-use snacks, and specialized clothing.
- Worth skipping at first: anything bought only because a gear wall calls it essential.
The expensive version of hiking is a story you’re sold. You buy boots, poles, and layers to solve problems you haven’t hit yet. Spend on shoes that fit and a way to carry water. Skip the rest until real trail miles tell you what’s missing.
A cheap trip can still go wrong. A long drive, a wet forecast, a full parking lot, or one blister can erase the savings quickly. Good planning matters more than bargain hunting.
How do you start hiking on a budget without buying the wrong gear?
Follow these steps in order. Each one keeps money in your pocket without trading away basic safety.
-
Pick a free or cheap trail close to home.
A short drive means less fuel, less time, and an easier bailout if the weather turns. -
Wear shoes you already own.
Any sneaker with decent grip handles a smooth few-mile trail. Don’t buy boots for your first hike. -
Borrow a day pack or use a school backpack.
A pack in the 20-30 liter range can carry drinking water, extra clothing, food, and other essentials for a day hike. -
Carry the basics that keep you safe.
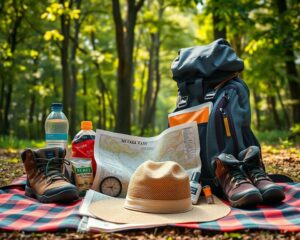
Bring water, food, a rain layer, sun protection, a small first aid kit, a headlamp, and a charged phone with a downloaded map. -
Check the weather and trail conditions before leaving.
That free check can save you from getting cold, trapped by high water, or lost after a trail closure. -
Go, then adjust.
After a few hikes, you’ll know if your feet hurt, your pack rubs, or you ran low on water. Buy to fix a real problem.
For a fuller list, see our budget hiking gear rundown for beginners. The gear talk comes after you’ve logged some trail miles, not before.
Spend on feet, water, and weather
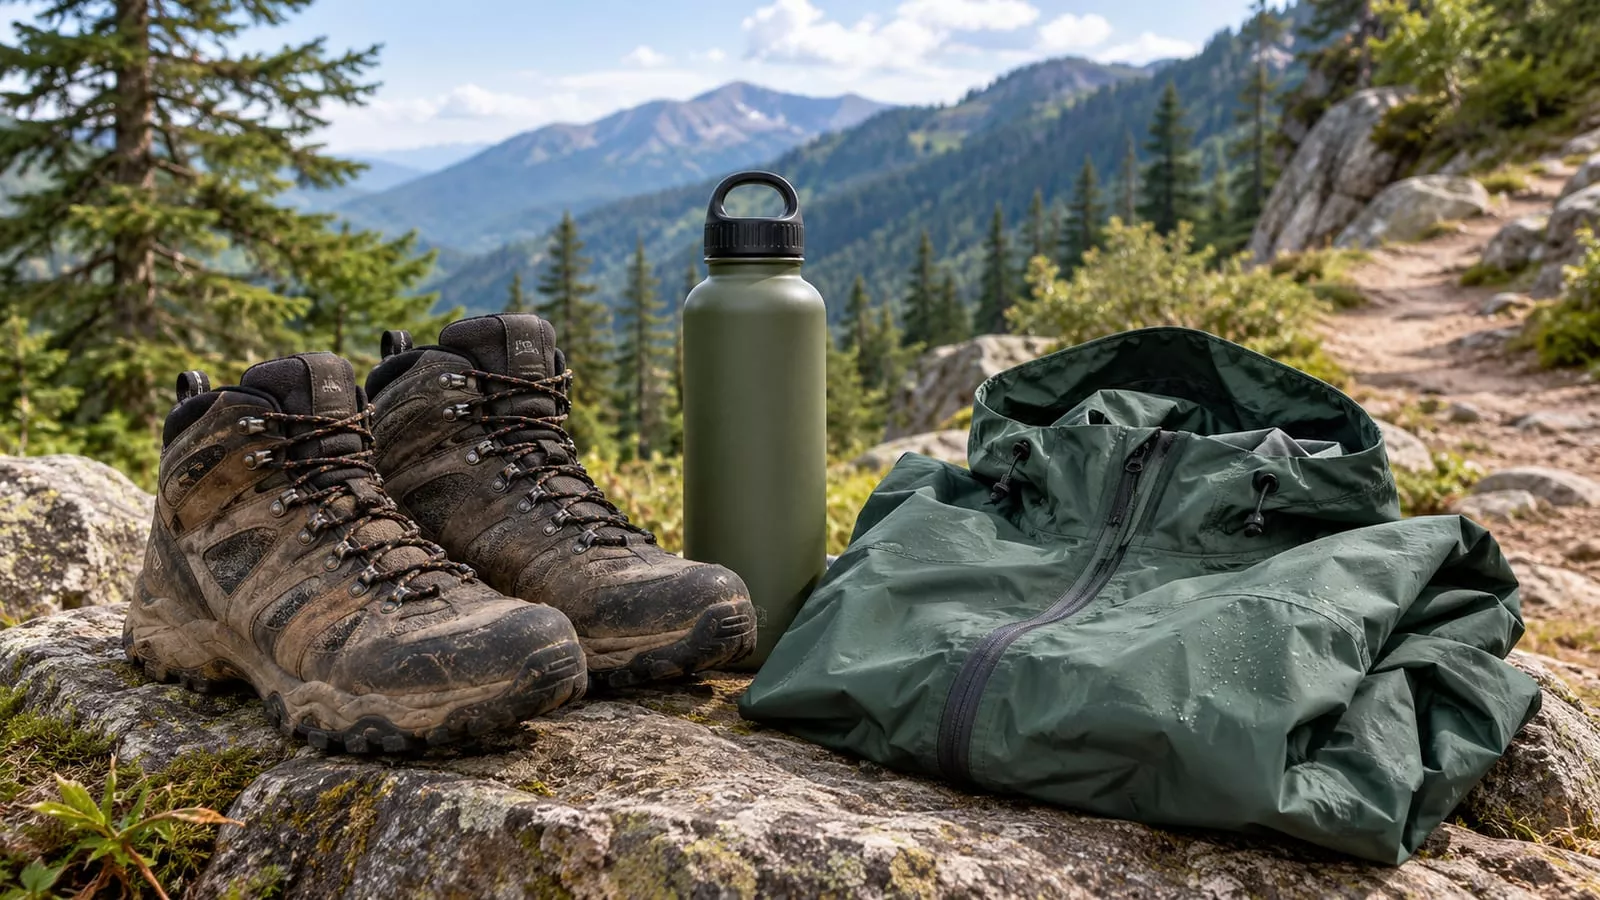
Your first purchases should solve problems that can end a hike. A comfortable shoe, reliable water carry, and a layer for changing weather earn their place quickly.
Shoes that fit
Trail runners suit many day hikers because they’re light and dry fast. They work well on maintained trails, especially when your pack is light and the ground is mostly firm.
Boots still make sense for heavy loads, snow, rough off-trail travel, or hikers who need more structure. Buying stiff boots for a smooth park trail because they look serious is a reliable way to make your feet unhappy.
Fit matters more than the label. Your heel shouldn’t lift badly, your toes shouldn’t hit the front on descents, and the midfoot should stay secure without crushed arches.
Water and treatment
Carry enough water for the route, weather, and water sources you can actually trust. A reusable bottle costs less over time than buying water at every trailhead.
For longer hikes, purification tablets make a light backup. A filter can save time and improve taste, but it needs care around freezing temperatures, clogging, and dirty bottle threads. Cheap water treatment is useful only if you know how to use it.
Clothing and rain protection
For most three-season day hiking, breathable and fast-drying beats waterproof. A cheap synthetic shirt and a rain layer cover most day hikes.
Waterproof boots trap sweat on hot climbs and can take days to dry after water gets over the top. A breathable shoe usually behaves better in warm weather and wet grass. In cold rain, however, proper insulation and rain protection matter more than saving a few dollars.
The 10 Essentials checklist from LA County Trails lists 10 essential categories for a safe day on the trails. You don’t need expensive versions of each item. You do need a way to handle water, navigation, light, weather, and a basic injury.
Borrow, repurpose, and buy used
The cheapest gear is often gear already sitting in your house, a friend’s closet, or a local club room.
Use a trash bag as a pack liner before buying a dedicated dry sack. Carry lunch in reusable containers. Wear a synthetic shirt from another sport. A school backpack can handle a short day hike if the straps don’t cut into your shoulders.
Borrow larger items first:
- A tent for a single overnight.
- A stove and fuel system.
- Trekking poles.
- A larger backpack.
- A sleeping pad and bag.
Renting makes sense for a trip you may never repeat. Buying used makes sense for gear you expect to use often. Check zippers, buckles, fabric, tent seams, and sleeping pad valves before paying. A cheap damaged item is still an item you now have to replace.
Local hiking clubs, outdoor groups, and gear swaps can also help. Sales are useful when you already know the size and model you need. Buying a sale item that doesn’t fit is not saving money. It’s delayed regret with a receipt.
Where can you camp or sleep for free on a hiking trip?
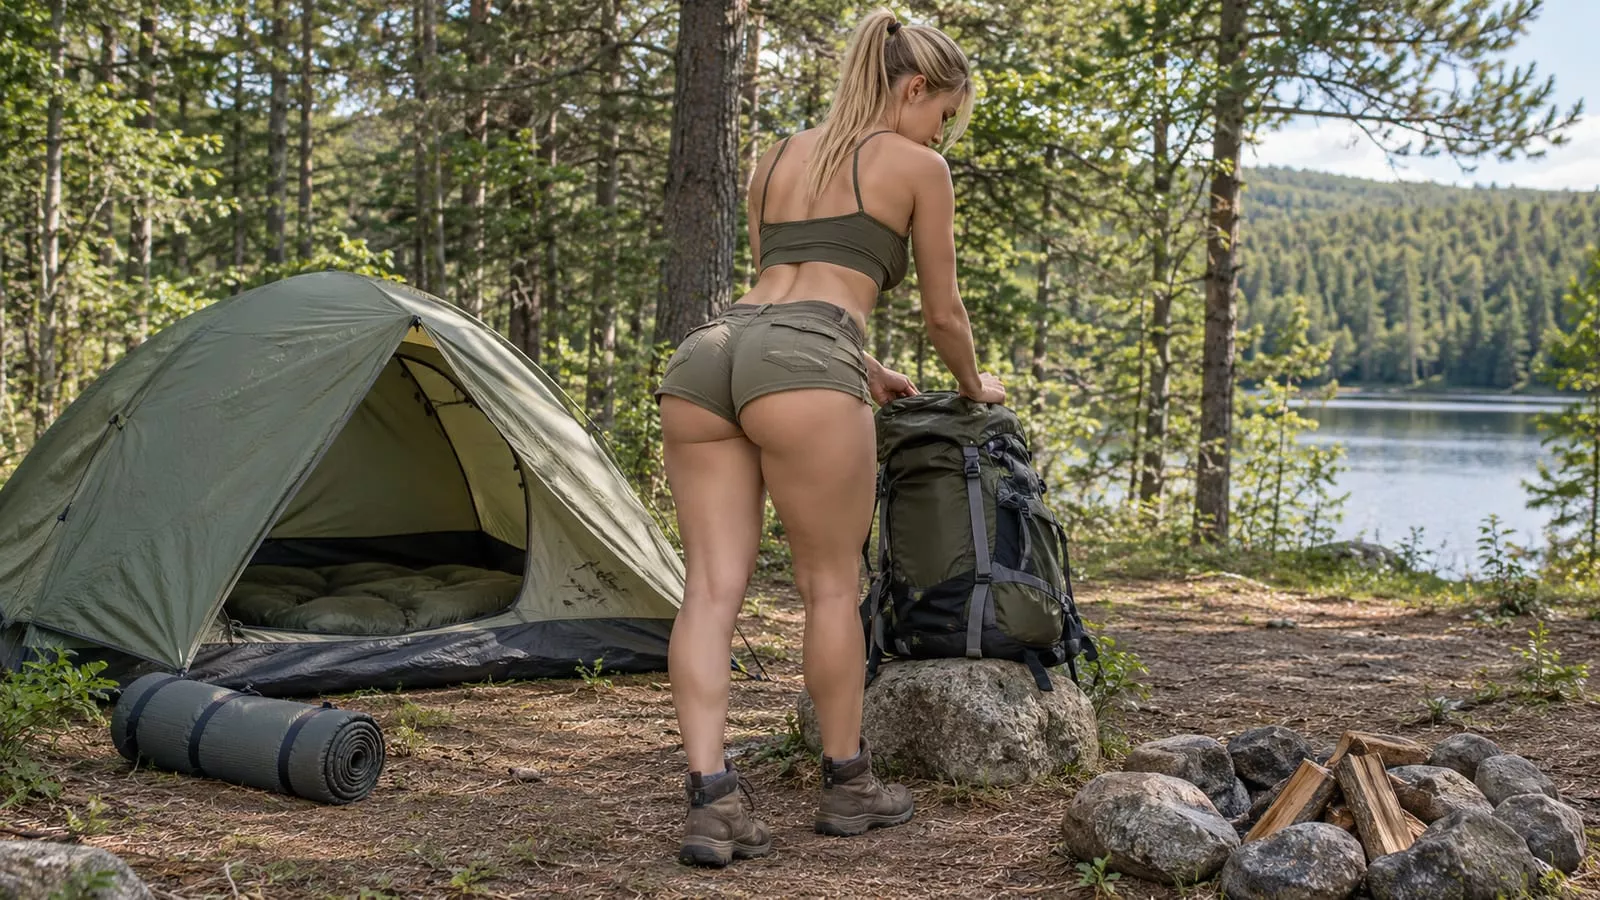
Dispersed camping on public land is the cheapest bed you’ll find. Free camping, or dispersed camping, is allowed in all national forests in the United States unless noted otherwise. Check the rules for the exact forest before you rely on that option.
Before choosing a site, confirm four things:
- Camping is allowed in that area.
- The site sits on durable ground.
- You’re well away from streams and lakes.
- The site isn’t below a dry creek bed or under dead limbs.
Use an existing site when one is available. Don’t create a new clearing to save yourself a short walk. Fire rules, seasonal closures, stay limits, and water restrictions can change by district.
Free camping still has costs. You may need fuel, water treatment, a permit, or a long drive. Add those before comparing a dispersed site with a low-cost campground.
When free camping isn’t allowed, low-cost campgrounds, huts, and hostels near popular routes can beat a hotel. Shoulder-season travel often reduces the lodging cost, but check weather and access before choosing the cheapest date.
For a multi-day trip, use our guide to planning a multi-day hiking trip. The budget usually fails through small purchases and extra driving, not through the trail itself.
Eat from the grocery store
Pack your own food and the trip gets cheap fast. Trailside snack bars, resort stores, and gas stations charge for convenience, then charge again for the regret.
Build meals around food that travels well:
- Tortillas, peanut butter, and hard cheese.
- Instant oats, ramen, and couscous.
- Trail mix, dried fruit, and jerky bought in bulk.
- Crackers, shelf-stable tuna, and simple snack bars.
- Leftovers that still taste good cold.
Eat before shopping so you don’t buy a pile of food for an imaginary expedition. For a day hike, regular grocery food works fine. Freeze-dried meals earn their price mainly when weight and cooking time matter on a longer trip.
Carry a reusable bottle and treat water when needed. Avoid buying individual bottles at the trailhead. That money adds up, and the empty plastic still comes home with you.
Cut the drive before you cut safety
The drive is often the largest part of an affordable hiking trip. A nearby trail you visit often beats a famous destination that takes half a tank of fuel and a full weekend.
Look for:
- Local parks and greenways.
- State forests and state parks.
- National forest trail systems.
- Trails near public transit.
- Routes with free or low-cost parking.
- Loops that give you several distance options.
Transit can work near cities, but check the return schedule before starting. A missed last bus is a poor place to discover that the downhill took longer than expected.
Carpooling spreads the fuel cost. It also creates a timing problem if one person wants to turn around and the other wants to continue. Agree on the route, bailout point, and return time before leaving the trailhead.
When parking is scarce, arrive early or choose a less popular trail. The famous lot may be full while a quieter route nearby still has space. Parking stress is not a wilderness skill.
Public land gives you more trail for less money
Local trails, state parks, and national forests usually offer the strongest value. They give you repeat access without turning every hike into a major trip.
The U.S. Forest Service explains where dispersed camping is allowed and where local rules apply. Read the page for the specific forest or district, because “national forest” does not mean every roadside pullout is legal for camping.
Some national parks are also cheap compared with a hotel-based weekend. Great Smoky Mountains National Park has no entrance fee, but visitors need a daily parking pass.
The White Mountain Annual Pass costs $30. That can make sense if you expect several visits in the White Mountain area, but it’s still a cost to include before you drive there.
For broader national park use, the America the Beautiful Resident Annual Pass costs $80 for U.S. citizens and residents. It can pay off for people planning several fee-area visits. It won’t save money if you buy it for one short trip and never use it again. Check the National Park Service pass information before buying.
| Option | Cost pattern | Best fit |
|---|---|---|
| Local trails and city greenways | Usually free | First hikes and after-work walks |
| State parks | Free to a small day fee | Weekend variety close to home |
| National forests | Often free, with local rules | Repeat hiking and dispersed camping |
| Major national parks | Entrance or parking fees may apply | Occasional destination trips |
| Public transit-accessible trails | Low travel cost, slower timing | Hikers near cities |
You don’t need a famous park to get a good hike. The state park twenty minutes away often beats the marquee trail three hours out after fuel, fees, and parking are counted.
Choose destinations by total cost
The cheapest hiking destinations are the ones you can reach, use, and repeat without a special budget meeting.
The Appalachians, desert Southwest, and northern Rockies all have large trail networks and public land options. Costs still vary by town, season, road access, and water availability. A free trail can become expensive if it requires a long drive and a hotel.
For international travel, transport and lodging can matter more than trail fees. Some areas in Central and Eastern Europe, parts of Southeast Asia, and much of Central America offer marked trails, low-cost public transport, and inexpensive lodging. Research entry rules, weather, local transport, and safety before treating a destination as cheap.
A low daily cost does not make a trip affordable if getting there costs more than staying there. Run the full number:
- Transport to the trailhead.
- Parking or entry fees.
- Food and water.
- Lodging or camping.
- Gear rental.
- Permits.
- A small amount for weather-related changes.
That is the budget that matters. The trail fee is only one line on it.
Budget hiking for beginners needs fewer decisions
If you’re hiking for beginners on a budget, keep the first outing short and close to home. Choose a marked trail with a clear turnaround point and a forecast you understand.
You don’t need a large pack or a closet of technical layers. You need water, food, a charged phone, a downloaded map, weather protection, and shoes that won’t punish you.
Start with a route where you can leave early without creating a rescue problem. Tell someone where you’re going and when you expect to return. For more first-trip safety checks, use this guide to prepare for a safer first hike.
Your first hike is for learning what your body and gear do. It is not an audition for a harder trail.
What fails on cheap trips
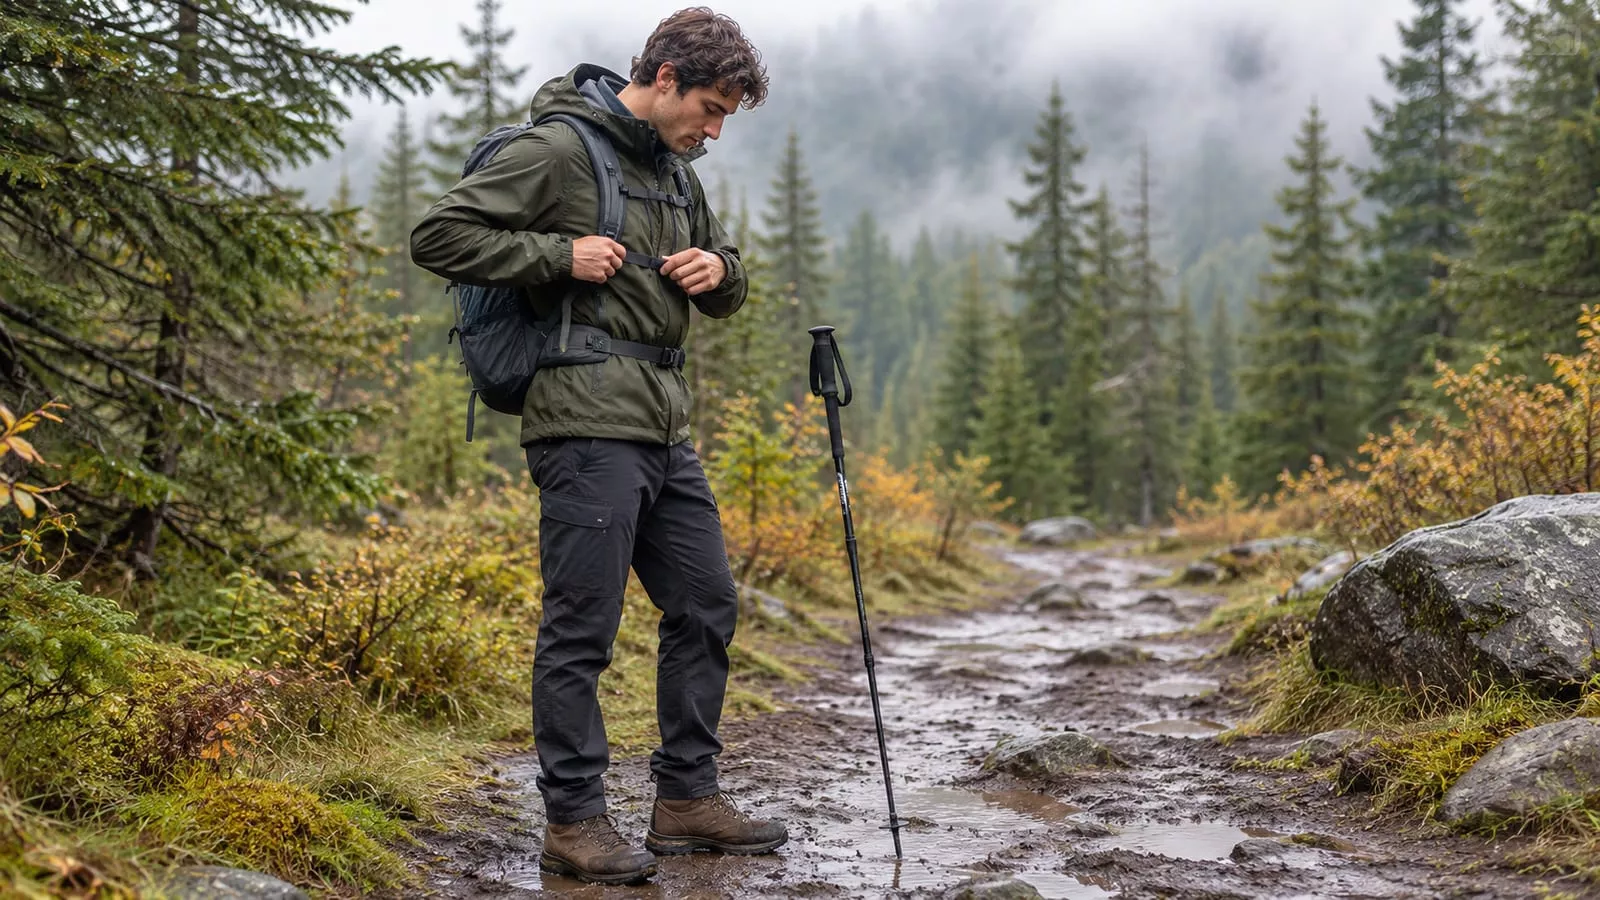
Saving money becomes false economy when it removes a safety margin. The common failures are predictable.
- Bad shoes: Blisters and sliding toes end otherwise easy hikes.
- No weather layer: A warm morning can turn cold on an exposed ridge.
- Too little water: A cheap route still becomes serious in heat.
- No offline map: Phone service disappears at exactly the wrong time.
- A full pack of untested gear: New equipment creates problems you could have found at home.
- A long drive for a short hike: Fuel and parking erase the bargain.
- A free campsite chosen without checking rules: Land agencies can close areas or limit camping.
- No return plan: Transit and carpool schedules do not care about your slow descent.
The fix is simple. Keep the route modest, check conditions, and carry the few items that solve real problems.
Who should skip the cheapest option?
Skip the cheapest choice when it affects fit, warmth, water, or a safe return. A badly fitting pack can create shoulder pain and pack rub. A thin cotton layer can stay wet after sweat and make a cool descent miserable.
You also shouldn’t force a free overnight if you don’t own or can’t borrow reliable shelter. A low-cost campground may be cheaper than replacing wet gear or ending the trip early.
Budget hiking works best when you control the tradeoffs. Keep the trip close, borrow before buying, eat from the grocery store, and pay for the parts that protect your feet and safety.
FAQ
Is hiking actually free?
The walking may be free, but the trip can still include transport, parking, food, permits, and gear. A local trail with shoes you own is close to free. A distant trail with lodging and fuel is a travel expense with a trail attached.
How much gear do I need for a first hike?
You need enough gear for the route, weather, and time outside. Start with water, food, a charged phone and offline map, weather protection, sun protection, a small first aid kit, and a light source. Add specialized gear only after the route shows you why you need it.
Should I buy hiking gear before joining a hiking club?
Usually, no. Borrow or use what you own for an easy first outing. A club hike may reveal whether you prefer trail runners, poles, a larger pack, or a different clothing system before you spend money.
How can I keep a cheap hike from becoming unsafe?
Choose a route with a clear bailout point, check recent conditions, and leave someone your plan. Turn around when weather, water, heat, or daylight stops matching the route. Saving the trip matters more than finishing the loop.