
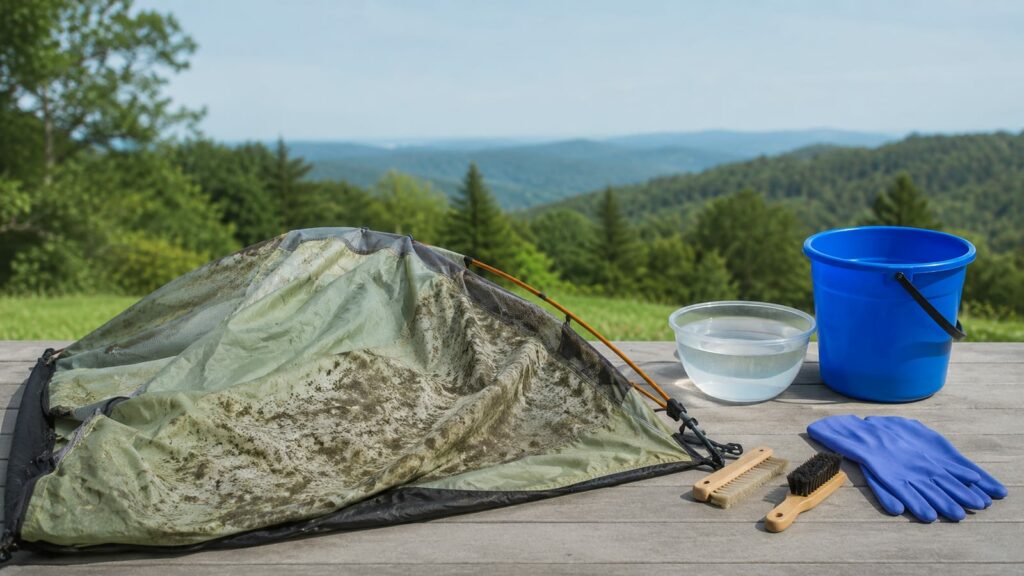
Start with the switch: clean a moldy tent as soon as you find it. To properly clean a moldy tent, brush off dry growth outdoors, wash the fabric with a tent-safe cleaner, treat any remaining mildew with a manufacturer-approved solution, rinse it well, and dry it completely before storage. Skip bleach, washing machines, harsh solvents, and high heat. Those shortcuts can damage waterproof coatings and turn a cleaning job into a replacement bill.
Last updated: 2026-08-12
Why should you clean mold and mildew from a tent promptly?
Mold and mildew do more than make a tent smell stale. They can irritate your skin and airways, spread to sleeping bags and clothing, and leave a smell that follows you into the next camp.
Moisture also gives mold time to weaken fabric, coatings, and seams. A small patch on the floor may stay small if you deal with it early. However, leave it packed damp, and the next inspection may find growth across the fly, inner tent, and stuff sack.
Mold can also damage waterproofing. Scrubbing harder does not reverse that damage. Once the coating flakes, peels, or turns sticky, cleaning may leave you with a tent that looks better but leaks on the first storm pitch.
For cleanup, follow the CDC’s mold cleanup guidance. People with asthma, mold allergies, breathing problems, or weakened immune systems should avoid handling a moldy tent if possible.
When does a tent need a deep clean for mold or mildew?
Use a small spot-cleaning job when you find a limited patch on an otherwise clean, dry tent. However, a full wash and treatment makes more sense when:
- Mold appears on several panels.
- The tent smells musty after airing out.
- Mildew is visible on both the inside and outside.
- The tent was stored wet.
- Growth has reached seams, mesh, zippers, or the stuff sack.
- Dirt and body oils are spread across the fabric.
- A spot treatment removes the mark but not the smell.
Do not judge the job by color alone. Mold can look black, green, gray, white, or pale yellow. For example, a dark stain may also be dirt or coating damage, while a pale patch can still be mildew.
If you see only one small mark, do not soak the entire tent out of habit. Meanwhile, if the smell comes from the whole shelter, do not dab one corner and call it fixed. That sounds better on a cleaning checklist than in a damp campsite.
Safe supplies for cleaning a moldy tent
Keep the kit simple. The fabric and waterproof coating need gentle handling more than they need a cupboard full of home remedies.
| Supply | What it does |
|---|---|
| Soft brush | Removes dry mold, soil, and grit |
| Cool water | Washes without stressing coatings |
| Bathtub or clean tarp | Holds the fabric during washing |
| Tent-safe cleaner | Lifts dirt without attacking the fabric |
| Manufacturer-approved mildew treatment | Treats stubborn remaining growth |
| Soft sponge | Handles spot cleaning |
| Gloves | Protects your hands during cleanup |
| A NIOSH Approved N95 respirator | Reduces exposure to airborne mold particles |
| Shaded drying space | Lets the tent dry without direct sun |
The American Cleaning Institute advises drying camping gear completely out of direct sunlight before storage. Its guidance also says to check thick-sewn seams to make sure they’re no longer damp. That matters because a floor fold can feel dry while the seam underneath still holds water.
Do not reach first for bleach, abrasive powder, strong detergent, paint thinner, or another harsh solvent. Also skip pressure washers, stiff brushes, and boiling water. They can rough up the fabric, strip coatings, force water into seams, or damage mesh.
Vinegar, lemon juice, baking soda, and hydrogen peroxide may be useful for some household cleaning jobs. They are not automatically safe for your tent. Use them only if the tent maker approves that specific product and method.
Mold cleanup starts with the care label
Read the care label and the manufacturer’s cleaning instructions first. The right method depends on the fabric, floor material, seam treatment, and waterproof coating.
Then set up the tent outdoors or in a well-ventilated area. Avoid brushing mold inside a bedroom, garage with poor airflow, or other enclosed space. You want the loose growth outside, not floating around your sleeping area.
Put on gloves and an N-95 respirator or one that provides even more protection. Keep children, pets, and anyone sensitive to mold away from the cleanup area.
Separate the tent from the rest of your gear. Wash or inspect the stuff sack, footprint, rainfly, sleeping bag, and clothing that shared the damp storage space. A clean tent packed beside a moldy sack is a short-lived victory.
Loose dirt and grit come off dry
- Set up the tent fully if the space allows. A stretched panel is easier to inspect and clean than a wet bundle.
- Remove the fly, inner tent, footprint, and stuff sack. Clean each piece according to its material and care instructions.
- Shake out loose soil and grit outdoors.
- Use a soft brush to lift dry mold and dirt from the fabric.
- Brush lightly in one direction. Do not grind particles into the weave.
- Wipe zippers, pole sleeves, and seam areas with a dry cloth.
- Bag or discard the loose debris without carrying it through the house.
Do not wet the tent before removing heavy grit. Mud and sand turn into a rough paste once water hits them. As a result, that paste can rub against the coating while you wash.
You’re not trying to make the tent spotless in this step. You’re removing the loose material that would otherwise become dirty rinse water and extra abrasion.
The soaking wash
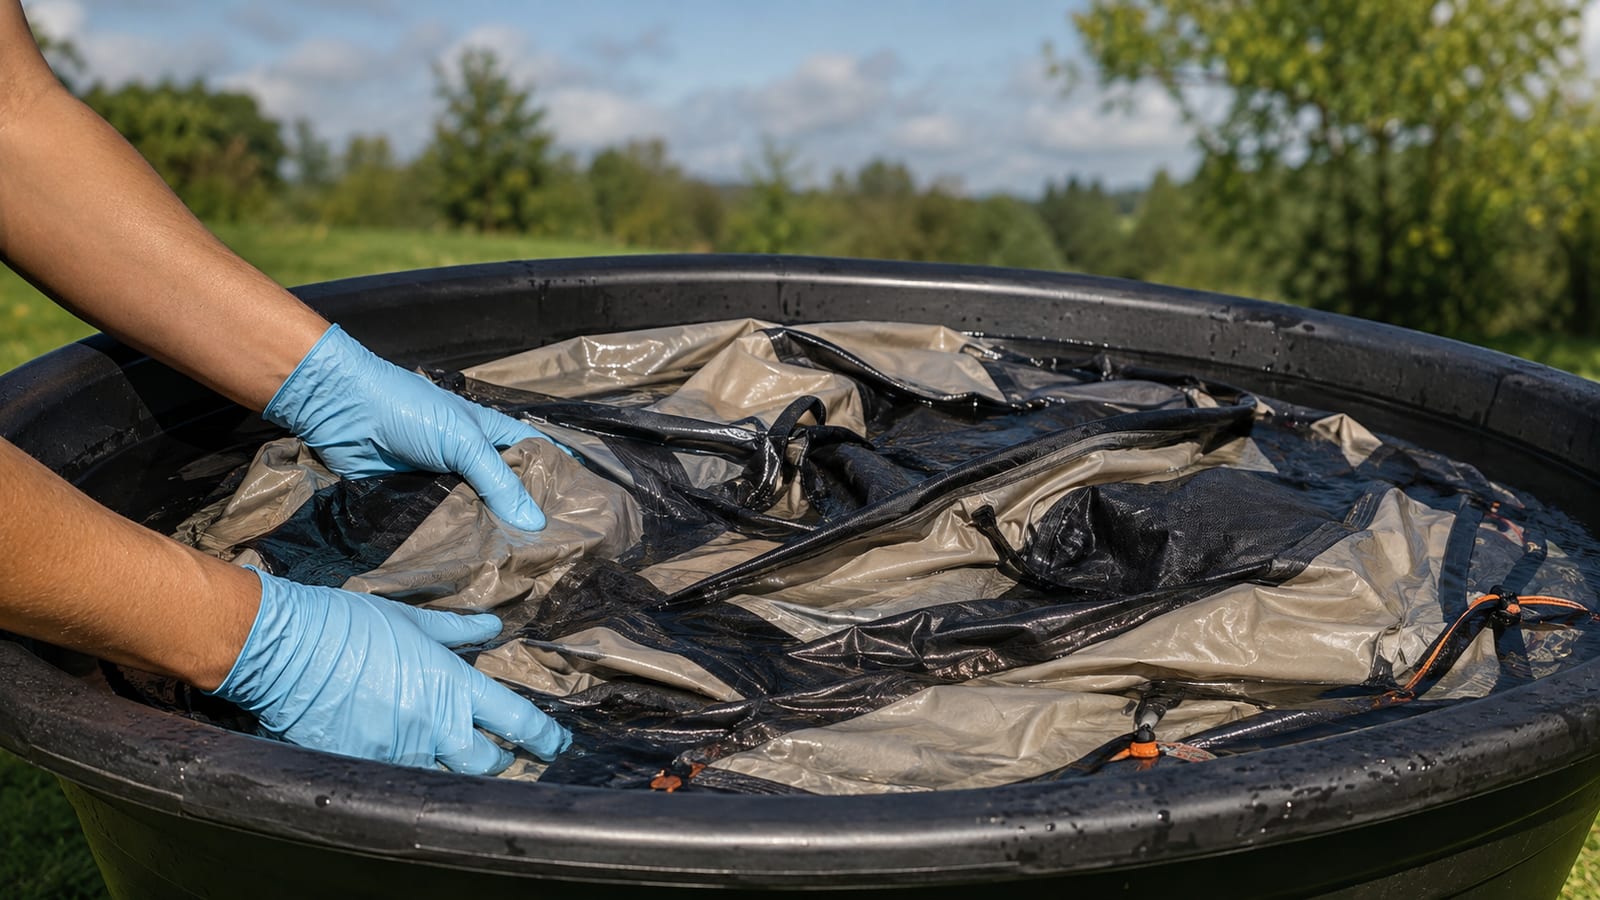
A safe wash is gentle, cool, and thorough. Do not drag the fabric across concrete, decking, or rough ground while it’s wet.
- Fill a clean bathtub or container with cool water.
- Add the tent-safe cleaner in the amount stated on its label.
- Place the tent fabric in the water without forcing it into a tight bundle.
- Let the cleaner work for the time stated by the product instructions.
- Gently agitate each affected panel with your hands or a soft sponge.
- Pay extra attention to the floor, lower walls, corners, seams, and areas beneath wet gear.
- Lift the fabric and check both sides.
- Drain the dirty water and refill with clean cool water as needed.
Do not twist, wring, or scrub the tent like a pair of muddy trousers. Wet fabric stretches, and coatings can crease or separate under rough handling.
If the manufacturer says not to soak the tent, follow that direction. Some shelters need surface washing rather than a bathtub treatment. The care label outranks a generic cleaning recipe every time.
Remaining mold needs spot treatment
Stubborn mold needs spot treatment, not a stronger bucket of mystery chemicals.
- Rinse the cleaned area first.
- Apply the manufacturer-approved mildew treatment as directed.
- Test it on a hidden section before treating a visible panel.
- Wait and inspect the test area for color change, tackiness, peeling, or fabric damage.
- If the patch looks sound, apply the treatment to the remaining mold.
- Work gently with a soft sponge.
- Follow the product’s contact time and rinsing instructions.
- Repeat the approved treatment only when the label allows it.
Do not mix cleaning products. Bleach mixed with other cleaners can create dangerous fumes, and even an unremarkable household product can damage a tent coating.
A stain may remain after the mold is gone. That is frustrating, but stain removal and mold removal are different jobs. Keep treating only while visible growth or odor remains and the fabric still passes the manufacturer’s care guidance.
Protecting waterproof coatings
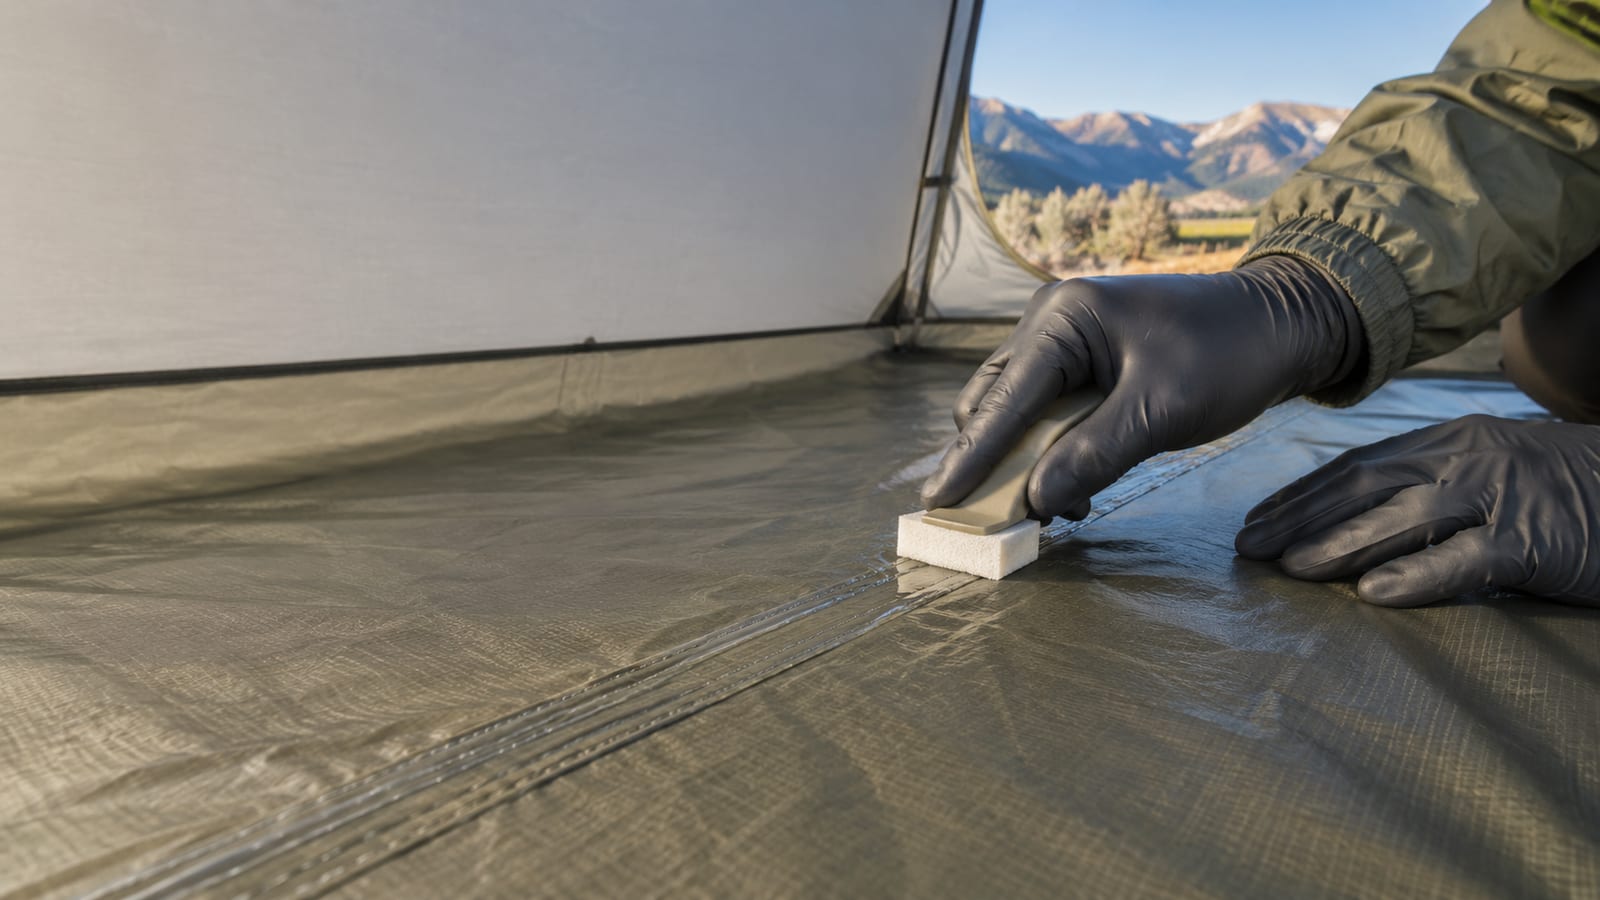
The coating is part of the shelter. Treat it like a waterproof layer, not a dirty kitchen floor.
- Use cool water and a tent-safe cleaner.
- Use a soft brush or sponge.
- Rinse until no cleaner remains.
- Never use bleach unless the manufacturer specifically approves it.
- Avoid regular laundry detergent unless the tent maker allows it.
- Do not pressure wash the fly or floor.
- Do not put the tent in a washing machine or dryer.
- Keep the fabric away from high heat.
- Do not scrape mold with a blade or hard brush.
- Avoid aggressive scrubbing on seams and printed panels.
After cleaning, inspect the waterproof coating. If the fly wets out quickly, the floor feels tacky, or flakes come away from the fabric, the problem is bigger than mildew. You may need reproofing or seam sealing, but only after the tent is clean and fully dry.
Seam sealing can fix some leaks along stitching. It cannot restore fabric that has rotted, delaminated, or lost its structure. For repair work, see this guide to fixing a ripped tent floor.
Removing odor takes a full dry
Clean odor needs a complete process. Perfume, fabric spray, and a sunny afternoon do not remove mold from a dirty inner tent.
After the wash or spot treatment:
- Rinse every panel with cool water.
- Check the floor, seams, pockets, and corners for cleaner residue.
- Repeat the approved treatment if visible mildew or musty odor remains.
- Hang or pitch the tent in a shaded, well-ventilated place.
- Open every door, vent, and window.
- Turn the fly and inner tent as needed so both sides can dry.
- Keep checking thick-sewn seams for trapped moisture.
- Continue airing the shelter until the fabric and smell are both clear.
The American Cleaning Institute recommends drying wet camping gear for several days when needed. Its guidance is specific: dry it completely out of direct sunlight, and check thick-sewn seams to make sure they’re no longer damp.
Do not pack the tent because the surface feels dry. The floor coating, seam tape, and folded corners can still hold moisture. If the smell returns after drying, treat that as evidence that the cleaning job is unfinished.
Cleaning poles, shock cords, zippers, and stakes
The poles and stakes need separate handling. Do not leave elastic components soaking while you focus on the tent body.
Tent poles and shock cords
- Wipe pole sections with a damp cloth.
- Remove mud from ferrules and joints.
- Dry each section before reassembly.
- Inspect for bends, cracks, sharp edges, and worn ends.
- Wipe shock cords rather than soaking them for a long period.
- Let the cord and pole sections dry fully before packing.
- Replace damaged sections or weakened cord before the next trip.
Dirt in pole joints can make assembly rough and cause a section to stick. For a damaged section, use this guide to repair a tent pole.
Zippers and stakes
Brush dry grit from zipper teeth before wiping them with a damp cloth. Run the zipper slowly while cleaning, and don’t force it over a muddy spot.
Rinse stakes with clean water, wipe off soil, and dry them before storage. Keep wet metal away from the tent fabric. Rust marks are easier to prevent than remove.
Drying and storage after mold cleanup
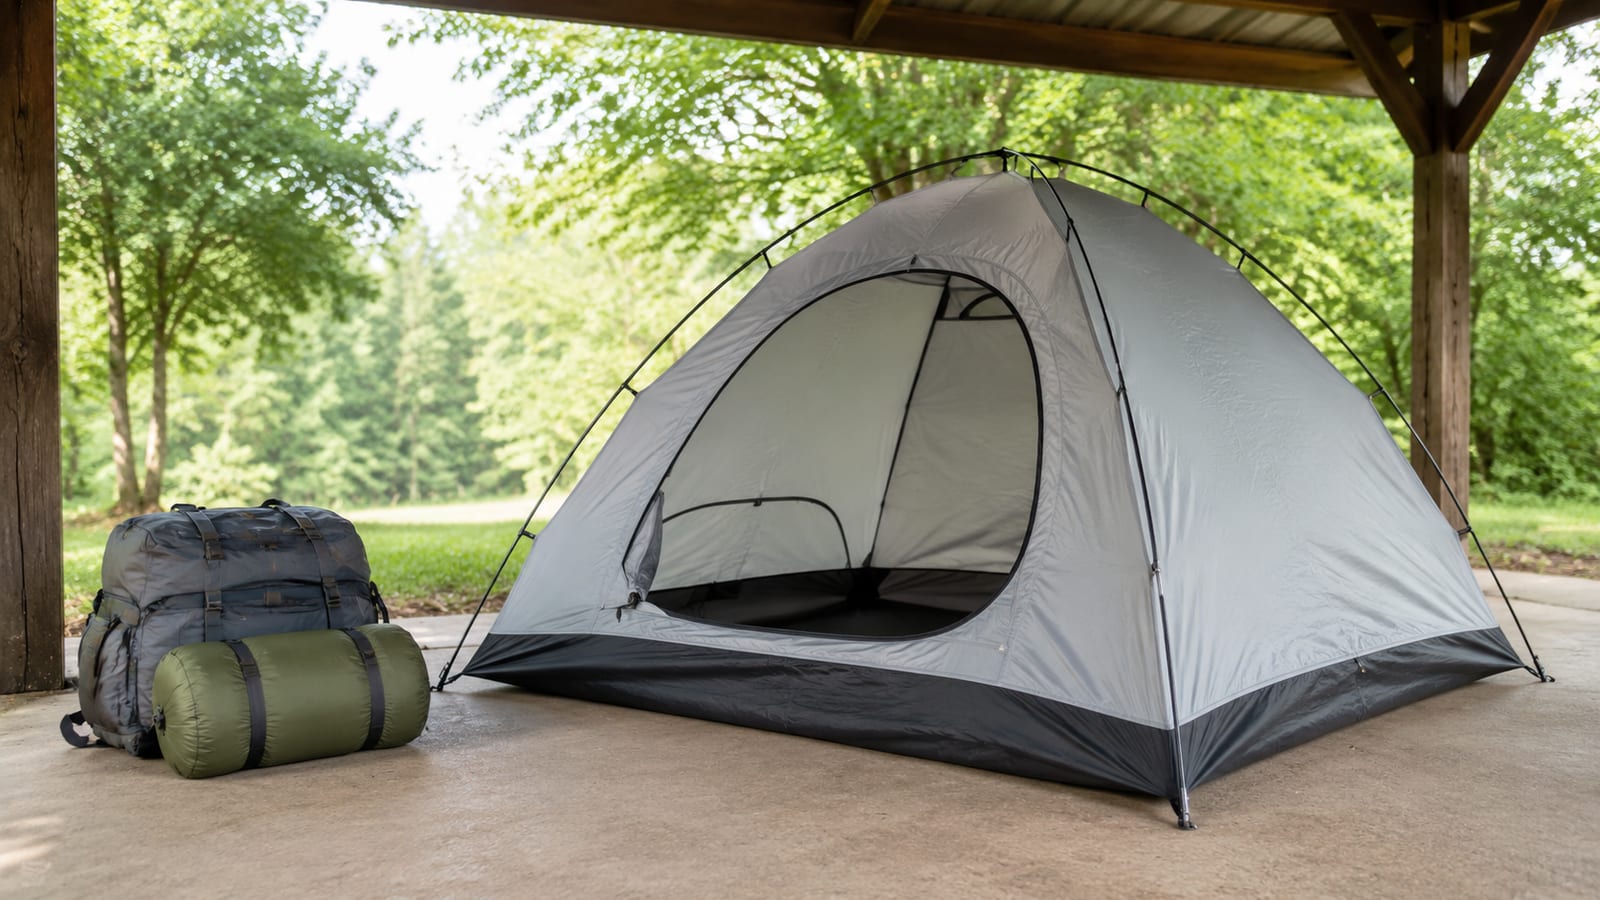
Complete shade drying is the non-negotiable final step. Direct heat and strong sun can damage fabric, coatings, and elastic parts, so use airflow instead.
Store the shelter only after:
- The fly is dry on both sides.
- The inner tent has no damp pockets or folds.
- The floor feels dry, not cool and clammy.
- Thick seams no longer hold moisture.
- The stuff sack and footprint are dry.
- The poles, stakes, and shock cords are dry.
- No musty smell returns after airing.
Keep the tent loosely stored in a cool, dry place with ventilation. A breathable storage bag is preferable to a sealed plastic container for long-term storage. Do not compress the tent tightly for months if you have room to store it loose.
Check the shelter before the next trip, especially after a wet camp. If you’re unsure about the right folding and storage method, follow this guide to store your tent for longer life.
When should you replace a tent instead of trying to clean mold?
Replace the tent when cleaning no longer makes it safe, dry, or useful. Cleaning is not a rescue spell for fabric that has started to rot.
Skip more treatment and consider replacement if:
- Mold covers large areas and keeps returning.
- The fabric tears easily after cleaning.
- The waterproof coating peels, flakes, or turns sticky.
- Seam tape has lifted across major sections.
- The floor leaks after proper cleaning and repair.
- Mold is trapped inside layers you cannot reach.
- The shelter still smells strongly after repeated approved treatment.
- Cleaning costs approach the cost of a sound replacement.
- The tent belonged to someone with severe mold sensitivity and cannot be cleaned with confidence.
A small stain on a structurally sound tent may be worth living with. A tent with weak fabric and failing seams is not worth carrying into a storm. No dry bag fixes a shelter that has given up.
FAQ
Can you clean a moldy tent without taking it apart?
You can clean a small patch while the tent is pitched, but a widespread problem needs the fly, inner tent, footprint, and stuff sack separated. Mold often hides in folds, corners, and seam areas that stay damp after the visible panel dries.
Should you clean the tent in a bathtub?
A bathtub works for tent fabrics that the manufacturer allows you to soak. If the care instructions prohibit soaking, use a clean tarp or another surface and wash the fabric in smaller sections.
How can you tell if tent mildew is still active after cleaning?
Look for returning spots, a musty smell, or moisture trapped in seams and folded areas. A clean surface that still smells moldy needs more approved treatment and more airing before storage.
Is a moldy tent safe to donate?
Do not donate a tent with active mold, a strong lingering odor, or damaged fabric and coatings. Tell the recipient about any past mold treatment if the shelter is clean, dry, and still structurally sound.
What should you do if mold returns in a stored tent?
Take it back outdoors, inspect the storage bag and nearby gear, and repeat the approved cleaning process. Also find the moisture source. Packing a tent damp, storing it in a humid room, or putting away a wet stuff sack will bring the problem back.
