
Clean your Hydro Flask with hot water, mild dish soap, and a bottle brush, then let every part dry fully before you close it. That is how to clean your Hydro Flask properly without leaving stale water, drink film, or trapped moisture behind. Use baking soda for stubborn odors, and don’t rely on a quick rinse after flavored drinks, coffee, or a long day on the trail.
Last updated: 2026-08-13
What do you need to clean a Hydro Flask properly?
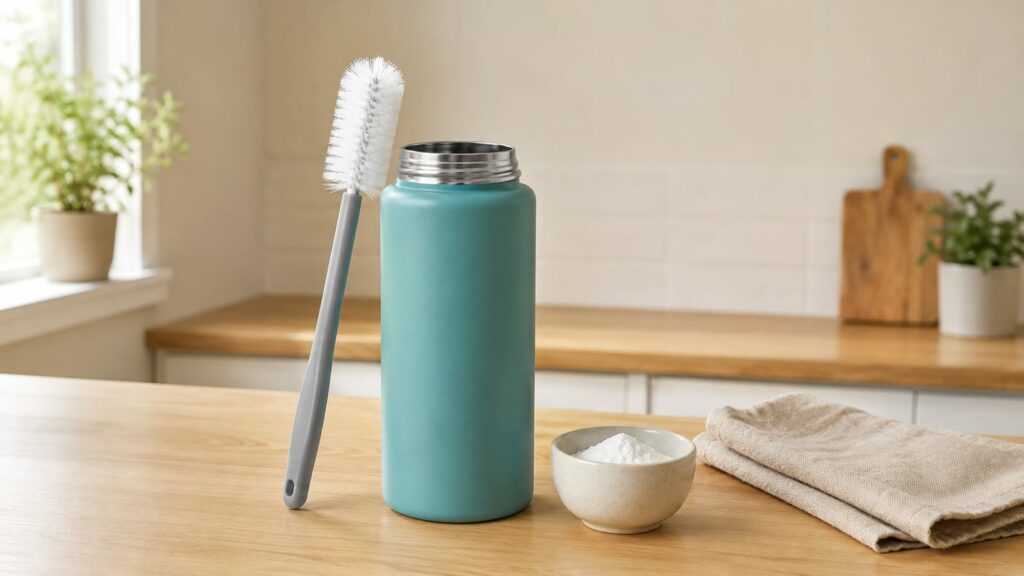
You don’t need a specialty cleaning kit. Most of the job takes a few household tools:
- Mild dish soap
- Warm or hot tap water
- A bottle brush that reaches the bottom
- A small soft brush for the lid, straw, threads, and gasket
- A soft sponge or cloth for the outside
- Baking soda for stubborn smells and dried residue
- A clean drying rack or towel
A straw brush helps if your lid has a straw. It’s cheap, small, and far more useful than trying to force a bottle brush through a narrow tube.
Skip steel wool, rough scouring pads, and stiff metal brushes. They can scratch the finish and leave bits behind. A soft brush removes grime without turning a simple wash into a repair job.
How often should you clean your Hydro Flask?
The right schedule depends on what the bottle held. Plain water is easier on the bottle than sweet drinks, dairy, coffee, or electrolyte mixes.
| What was in the bottle? | Practical cleaning schedule |
|---|---|
| Plain water at home | Wash daily |
| Flavored water, sports drinks, coffee, or tea | Wash after every use |
| Water on a long hike | Rinse during the trip and wash when you get home |
| Drinks with milk, sugar, or cream | Wash after every use |
| Bottle with a stale smell or slippery film | Deep clean before using it again |
Plain water can sit overnight, but the bottle should still be washed regularly. On a hot trail, sweat, dust, and dirty hands can reach the mouthpiece even when the bottle contains only water.
Also clean the cap whenever you wash the bottle. The lid is where pack dust, lip balm, and sticky drink residue tend to collect. A clean stainless steel bottle with a neglected gasket is still a dirty bottle.
How do you clean your Hydro Flask properly?
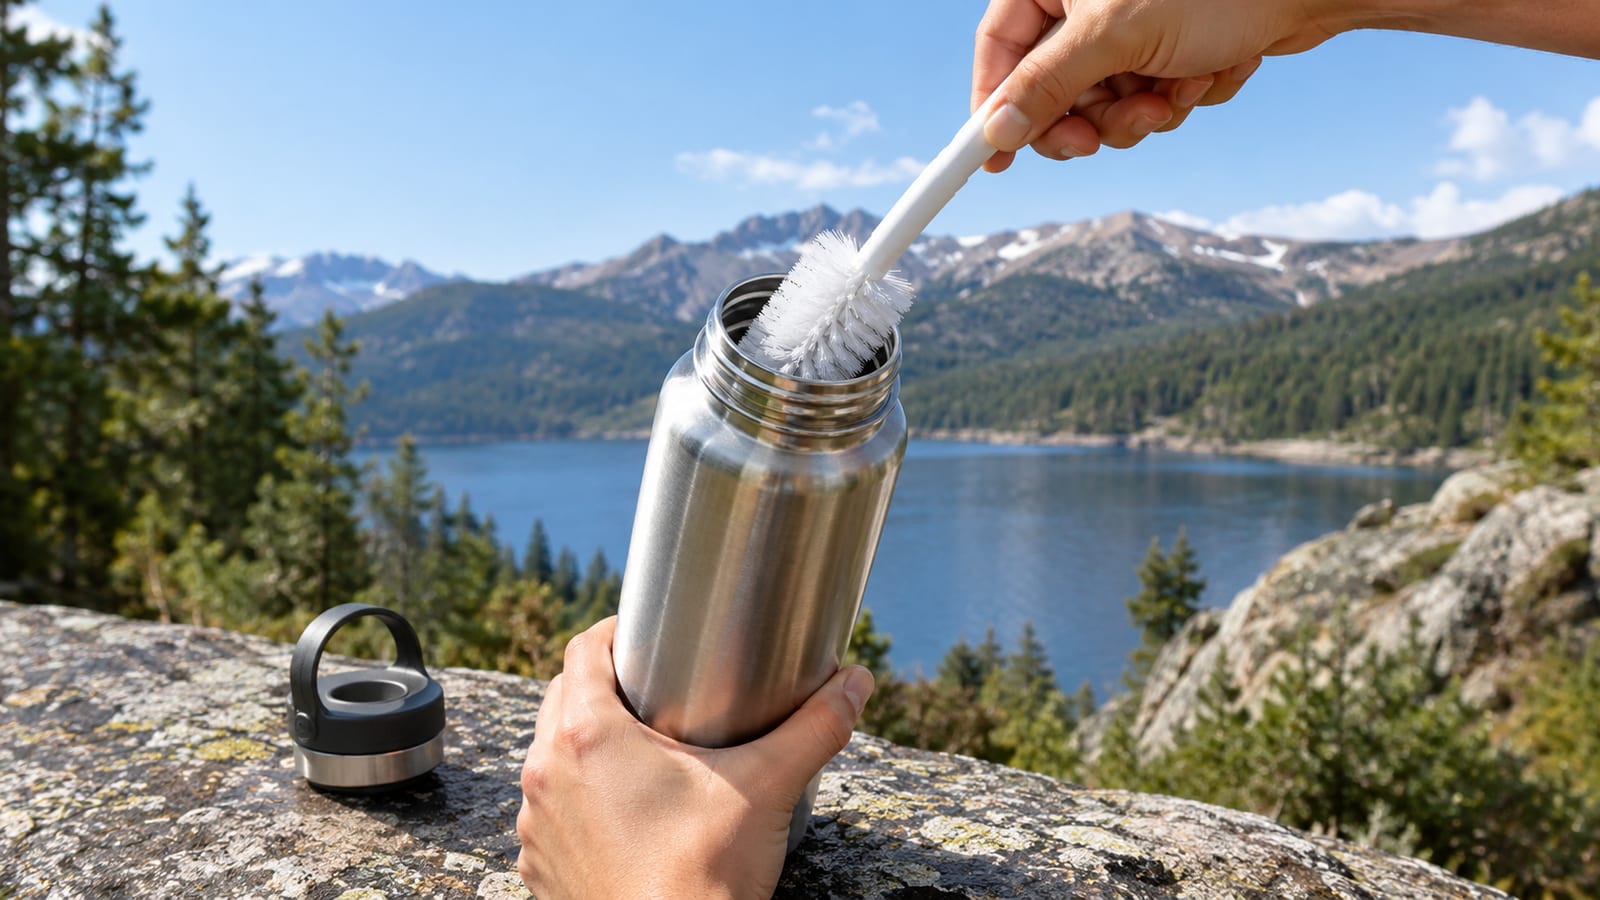
Use this routine for the bottle itself. It removes normal residue without damaging the stainless steel or finish.
Empty the bottle.
Pour out the remaining drink. Check the bottom for dried powder or sticky sediment.Take off the lid.
Remove the cap, straw, or other removable parts. If the lid has a silicone gasket, take it out if the design allows it.Rinse with warm water.
Rinse the bottle to loosen drink film. Warm water works better than cold water on dried residue.Add mild dish soap.
Use a small amount. Too much soap creates extra rinsing and can leave a taste behind.Scrub the inside.
Push a bottle brush to the bottom and work around the walls, shoulder, threads, and mouth. The shoulder is easy to miss because the brush changes direction there.Wash the outside.
Use a soft sponge or cloth with soapy water. Pay attention to the base, grip areas, and the space under the bottle lip.Rinse until the soap is gone.
Run clean water through the bottle and over the threads. If the water still feels slick or smells like soap, keep rinsing.Dry it open.
Place the bottle upside down with the lid off. Leave enough space around the opening for air to move.
Do not seal the bottle while it is damp. That traps moisture in a dark space and gives stale odors a comfortable place to settle.
For trail use, keep it simple. Rinse the bottle at the trailhead if you can, then give it a full wash at home. If you’re filtering creek water, keep the clean bottle opening away from the dirty filter bag and creek water. Our guide to trail water safety covers that part.
How do you clean the Hydro Flask lid, straw, and gasket?
The lid needs separate attention. Slime, mold, and odor commonly hide under the gasket, inside the straw, and around small drinking ports.
Disassemble the lid.
Remove every part that the manufacturer allows you to remove. Don’t pry at a fixed piece with a knife.Rinse each part.
Use warm water to loosen residue before scrubbing.Scrub the lid.
Use a small soft brush around the drinking opening, threads, hinge, and underside. Those areas collect more grime than the broad top surface.Clean the straw.
Push a straw brush through the full length. Rinse from both ends. A quick pass over the outside is useful too.Wash the gasket.
Rub both sides with dish soap and a soft brush. Lift the edges gently so water can reach the groove where the gasket sits.Rinse well.
Soap trapped in a gasket can make water taste like a kitchen sink.Air-dry every part.
Keep the gasket and lid separate until they’re dry. Reassembling damp parts defeats the whole wash.
Check the gasket groove every time you do a deeper clean. If you see black spots, a slippery coating, or a smell that returns after washing, cleaning may no longer be enough. We cover the same problem with larger gear in this guide to cleaning a moldy tent safely, but the basic lesson is the same: trapped moisture is the problem.
Can you put a Hydro Flask in the dishwasher?
Some Hydro Flask bottles and lids are dishwasher-safe, but the answer depends on the model and the part. Check the care instructions for your specific bottle before using a dishwasher. Hydro Flask’s care and use instructions are the right place to confirm it.
Hand-washing is the safer choice when:
- You’re unsure which model you own
- The bottle has a printed or painted finish you want to protect
- The lid has a straw, hinge, or several small silicone parts
- The gasket is loose or already showing wear
- The dishwasher uses a harsh cycle or high heat
- The bottle has a lingering odor you need to inspect closely
If you do use the dishwasher, take the lid apart first when the design permits it. Put small parts where they won’t fall through the rack. Then inspect the gasket and drinking port after the cycle.
A dishwasher can wash a part. It cannot tell you that a gasket is hiding dried sports drink underneath it. That inspection still belongs to you.
How do you remove odor and stubborn buildup?
Baking soda is the better first choice for stale smells and drink film. It’s simple, cheap, and less likely to leave a sharp smell behind than strong chemical cleaners.
- Rinse the bottle with warm water.
- Add baking soda to the inside.
- Fill the bottle with warm water.
- Swirl the mixture so it reaches the walls, shoulder, and bottom.
- Let it sit long enough to loosen the odor and residue.
- Scrub the inside with a bottle brush.
- Wash the lid, gasket, and straw separately.
- Rinse every part thoroughly.
- Dry the bottle and parts with the lid off.
For dried drink residue, make a loose baking-soda paste with water. Apply it to the affected area and scrub with a soft brush. Don’t use the paste as an excuse to attack the finish with an abrasive pad.
If the smell remains, inspect the lid and gasket before blaming the bottle. Odor often lives in silicone grooves or inside a straw. Replace the affected part if washing no longer changes the smell.
How do you dry and store a Hydro Flask safely?
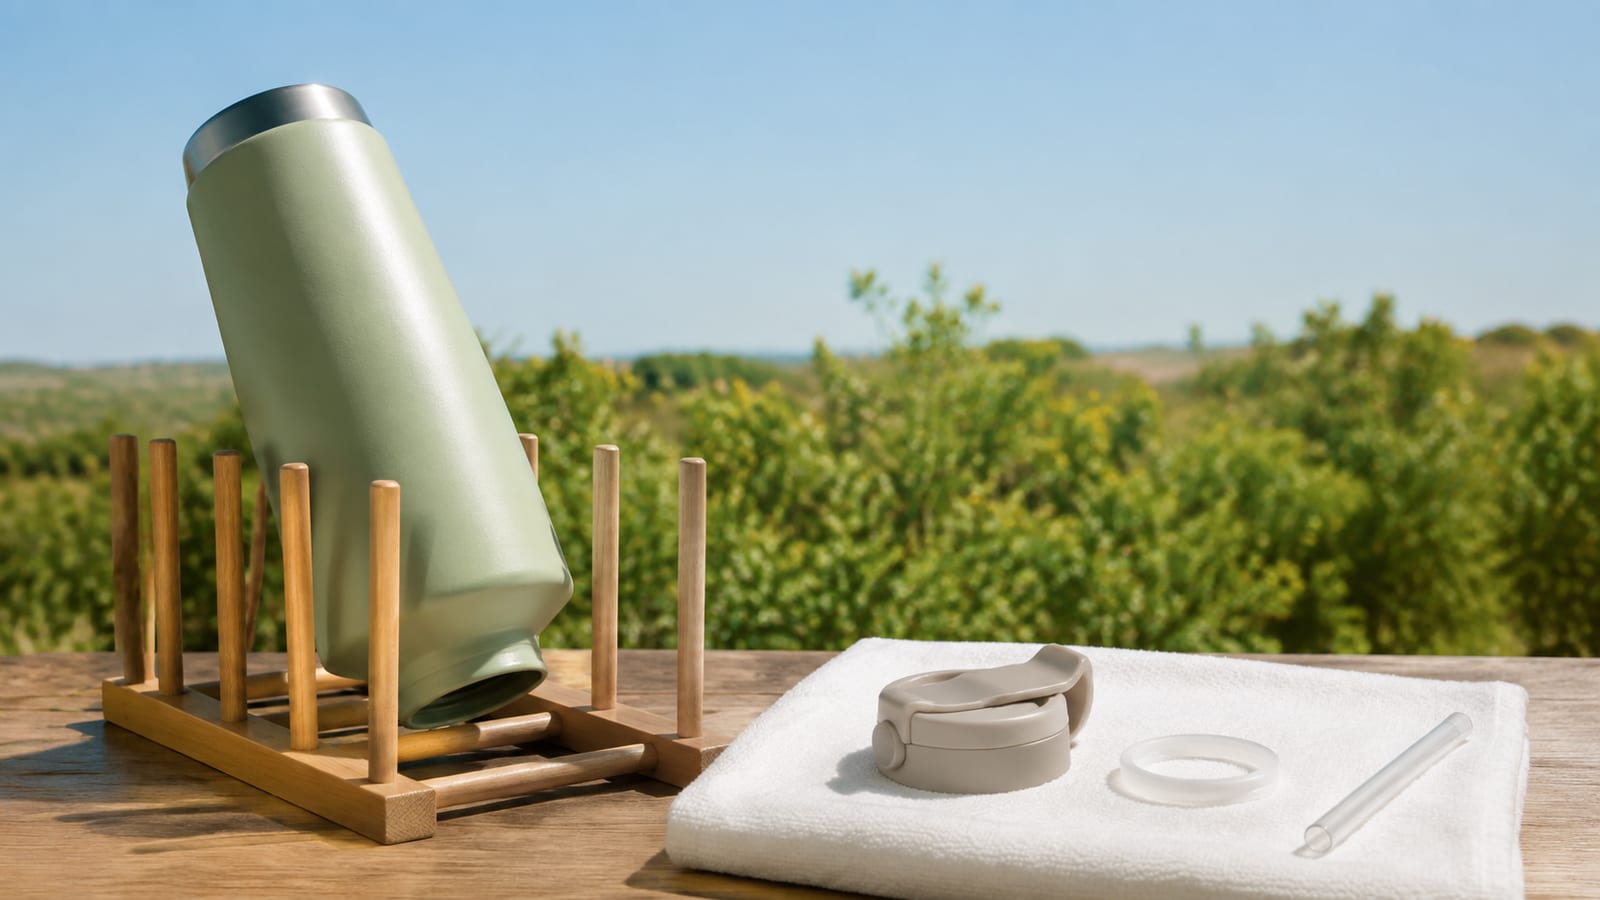
Drying is part of cleaning. A wet bottle closed in a pack can develop a stale smell even if you washed it correctly.
Use this storage routine:
- Shake out excess water.
- Set the bottle upside down with the lid removed.
- Leave the cap, straw, and gasket separated.
- Let air reach the bottle opening and every small lid channel.
- Store the bottle open between trips.
- Reassemble it only when all parts are dry.
Don’t store a damp bottle in a closed cabinet or inside a packed hiking bag. That is how a clean bottle becomes a science project before the next trailhead.
Before a trip, check the lid threads and gasket. Pack a spare lid only if the bottle is critical to your water carry and a leak would cause a real problem. For broader bottle choices, see our guide to insulated hiking water bottles.
What should you avoid when cleaning a Hydro Flask?
A few cleaning habits cause more trouble than they solve.
- Don’t use bleach casually. It can damage materials and leave residue if you don’t rinse it properly. Use the care instructions for your model instead.
- Don’t pour boiling water into the bottle. Very hot water can create handling risks and may affect lids, seals, or finishes.
- Don’t use steel wool or abrasive pads. Scratches collect residue and make the outside harder to keep clean.
- Don’t use harsh chemical cleaners for normal washing. Mild dish soap is enough for routine use.
- Don’t mix cleaning chemicals. Never combine bleach, vinegar, or other cleaners.
- Don’t soak the insulated bottle for hours unless the care instructions for your model allow it.
- Don’t clean only the bottle. The lid, straw, gasket, and threads need attention too.
- Don’t close the bottle while damp. Trapped moisture brings back the odor you just removed.
- Don’t scrub a fixed gasket with a sharp tool. A torn seal can turn a cleaning job into a leak.
If a cleaner promises to make stainless steel “like new,” treat that as a hang tag claim. Your bottle needs clean surfaces, a working seal, and no chemical aftertaste. It doesn’t need a spa treatment.
When should you replace a Hydro Flask lid or gasket?
Replace the lid or gasket when it no longer seals, stays cracked, or keeps smelling after a proper wash. A worn seal can leak into your pack, and that matters more than how clean the bottle looks at the trailhead.
Look for these signs:
- Water leaks around the lid
- The gasket is cracked, stretched, or misshapen
- The lid no longer closes firmly
- Mold spots remain after careful cleaning
- A sour or stale odor returns quickly
- The straw is split or stays slimy inside
- Threads feel damaged or no longer line up
Replace the affected part instead of throwing out a sound bottle. That saves money and keeps a small seal problem from soaking your maps, snacks, or sleeping bag.
If the stainless steel body is dented near the mouth and the lid no longer seals, replacement may be the practical call. A bottle that leaks after mile 10 is not earning its place in your pack.
FAQ
Can you clean a Hydro Flask with only water?
You can rinse out plain water, but a rinse won’t remove the film that builds up on the mouth, threads, lid, and gasket. Use mild dish soap and a brush for a proper wash.
Can you use lemon juice to clean a Hydro Flask?
Lemon juice may help with odor, but it isn’t necessary for routine cleaning. Baking soda, dish soap, warm water, and a bottle brush give you better control without adding another residue to rinse away.
Why does my Hydro Flask still smell after washing?
The smell usually comes from the lid, straw, or gasket rather than the stainless steel body. Take those parts apart, scrub their grooves and channels, then let them dry separately.
Is a scratched Hydro Flask unsafe to use?
A light exterior scratch usually affects appearance more than function. However, stop using the bottle if the mouth is damaged, the inside has deep damage, or the lid can’t seal without leaking.
Can you clean a Hydro Flask before a long hike?
Yes. Wash the bottle and lid, rinse them well, and let them dry completely before packing. Fill it only after the parts are dry, especially if it will sit in a warm car or closed pack before the hike.
