
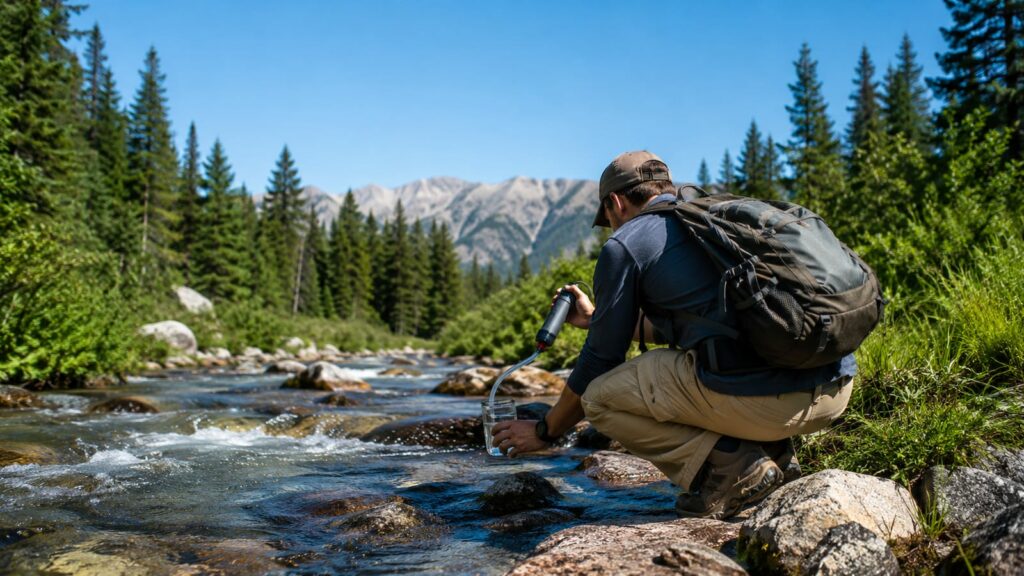
Keep it simple: safe trail water comes down to choosing the cleanest source available, using a squeeze filter, and carrying chemical treatment as backup. Use a portable filter with an absolute pore size of 1 micron or smaller for parasites such as Giardia and Cryptosporidium. Boil water when viruses are a realistic threat or the source looks badly compromised.
Last updated: 2026-08-12
A clear stream can still carry animal waste upstream. A cold spring can still sit below a road, mine, or camp. Water appearance helps you choose a source, but it doesn’t prove that source is safe.
Backcountry water hazards
Backcountry water can carry several different hazards. Your treatment method needs to match the hazard, not just the color of the water.
- Protozoa: Parasites such as Giardia and Cryptosporidium can cause serious stomach trouble. Many portable filters remove them if the filter has a small enough absolute pore size.
- Bacteria: Animal waste, dead wildlife, livestock, and human activity can add bacteria to streams and lakes.
- Viruses: Viruses are smaller than many filter openings. A standard squeeze filter may not remove them.
- Sediment: Mud, silt, algae, and plant matter can clog a filter or reduce chemical and ultraviolet treatment.
- Chemicals: Fuel, pesticides, mining runoff, and road pollution can dissolve into water. A filter made for microbes won’t remove every dissolved chemical.
- Toxins: Some algae and industrial contaminants create risks that ordinary filters can’t solve.
- Human waste: Popular campsites and busy trail corridors can contaminate water even when nobody is standing nearby.
The Centers for Disease Control and Prevention separates water treatment by hazard for good reason. There is no single lightweight tool that handles every problem.
A filter also doesn’t make bad source selection irrelevant. If water is below a livestock area, mine, or settlement, walk farther upstream if you can. If the whole drainage looks compromised, use a different source or boil the water.
Choose the safest natural source
Choose clear, cold, fast-moving water from a protected source. A spring, narrow stream, or small cascade usually gives you better odds than a warm pond or broad slow river.
Still, inspect the area before filling your dirty bottle. Look upstream for:
- Animal tracks, droppings, carcasses, or wallows
- Campsites, toilets, or heavy foot traffic
- Livestock fencing or watering areas
- Roads, mines, construction, or industrial buildings
- Foam, oily color, unusual smell, or dead fish
- Algae, scum, or heavy sediment
- Drainage from a fire area or burned slope
Take water from the main flow when possible. Avoid scooping from the edge, where mud and decaying material collect. If the stream is shallow, use a scoop container or dirty-water bag rather than dragging your filter through the gravel.
A protected spring is often a better choice than a large lake. However, “spring” on a map is not a safety rating. Check the actual outlet, the surrounding ground, and anything uphill from it.
Source choice also depends on your route. A clean stream that adds a steep side trip may not be useful if you’re already low on water. Plan a bailout point before the water carry becomes a problem, especially on hot climbs and exposed routes.
Avoid stagnant and downstream water
Stagnant water collects more contamination because it has little flow to carry waste away or dilute it. Ponds, puddles, hoof prints, and warm shallow pools also collect sediment, algae, insects, and animal waste.
Slow water isn’t automatically unsafe, but it deserves more caution. A clear pool below a busy campsite can be worse than a slightly cloudy stream above it.
Avoid water below:
- Camps and popular swimming spots
- Livestock and horse areas
- Trails with heavy use
- Mines and roads
- Settlements or developed facilities
- Known sewage or wastewater outlets
If you have no better option, treat the water in layers. Let heavy sediment settle, prefilter the cloudy water, use a filter if it can handle the source, and add chemical treatment or boil it when the contamination risk calls for more coverage.
Don’t trust a pretty waterfall by itself. Water can pick up the problem before it reaches the part that looks good in a photo.
The overall pick for most hikers
A squeeze filter is the right default for most hikers. It gives you a useful balance of weight, speed, pack space, cost, and control without turning water collection into camp furniture.
A squeeze system uses a dirty-water bag or bottle. You squeeze the water through the filter and into a clean bottle or reservoir. That setup works well for solo hikes, day trips, and small backpacking groups.
Look for a portable filter with an absolute pore size of 1 micron or smaller. The CDC gives that maximum size for removing parasites such as Giardia and Cryptosporidium.
A good squeeze filter should:
- Fit the bottles or bags you already carry
- Have a clean outlet that’s easy to protect
- Let you backflush or otherwise clear reduced flow
- Handle a full water carry without becoming frustrating
- Pack flat enough to keep in an outside pocket
- Come with a cap or plug for the clean end
The filter’s job is only part of the system. Dirty water bags can leak, clean bottles can get dipped into the creek, and the filter can freeze. Those failures happen after the gear photo, usually when you’re tired and your hands are cold.
The best portable water filters for hiking aren’t the ones with the most impressive hang tag claim. Pick the system you’ll clean, protect, and use correctly after mile 10.
Gravity filters for groups
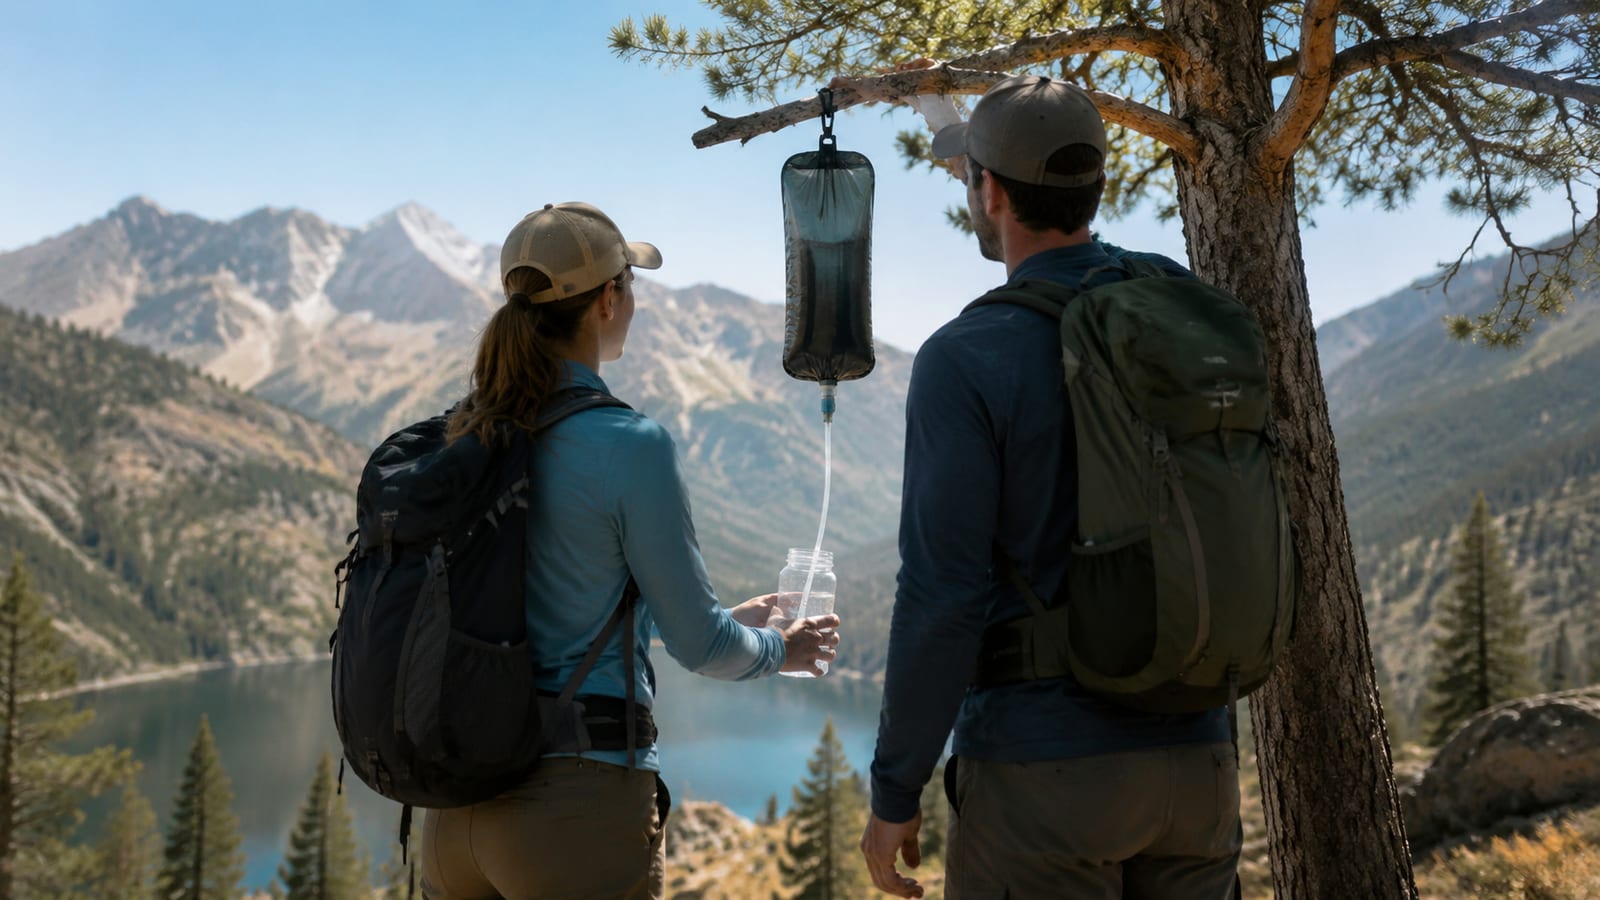
A gravity filter earns its pack weight when you’re treating a lot of water for several people. Fill the dirty bag, hang it from a branch, and let gravity push water through while you cook or set up shelter.
That hands-free flow matters at a busy campsite. It also keeps you from standing over a bottle and squeezing until your forearm starts filing complaints.
Choose a gravity system when:
- You’re filtering for a group
- You need water for cooking and drinking
- You want to treat camp water while doing another task
- You prefer less hand pressure
- You’re willing to carry more tubing and setup parts
A squeeze filter is better when you’re moving fast or collecting small amounts. Gravity systems take longer to set up and can clog when the source is silty. They also need a branch, rock, or other place to hang the dirty bag.
Keep a squeeze filter for solo trips and short water stops. Carry gravity gear for base camps, family trips, and group overnights where volume matters more than a clean pocket.
What filters remove and miss
Most lightweight hollow-fiber and similar filters are built to remove many protozoa and bacteria. They do that by trapping particles larger than the filter openings.
They usually don’t cover every virus. They also don’t reliably remove dissolved chemicals, fuel, pesticides, heavy metals, or every toxin. A filter can produce clear water that still carries a chemical problem.
| Water problem | Does a typical squeeze filter handle it? | Better response |
|---|---|---|
| Giardia and similar parasites | Often, if the filter meets the proper pore-size rating | Filter |
| Many bacteria | Often | Filter |
| Viruses | Usually not | Use chemical treatment, ultraviolet treatment, or boiling |
| Mud and silt | Partly, but it can clog the filter | Settle and prefilter first |
| Fuel or pesticide runoff | Not reliably | Find another source |
| Mining or industrial contamination | Not reliably | Find another source |
| Algae and unknown toxins | Not reliably | Avoid the source |
That last category matters most. Treatment is not a magic eraser for a polluted drainage. If the water smells like fuel, has an oily sheen, or sits below a mine, don’t make it a science project in your dirty bag.
Chemical treatment as backup
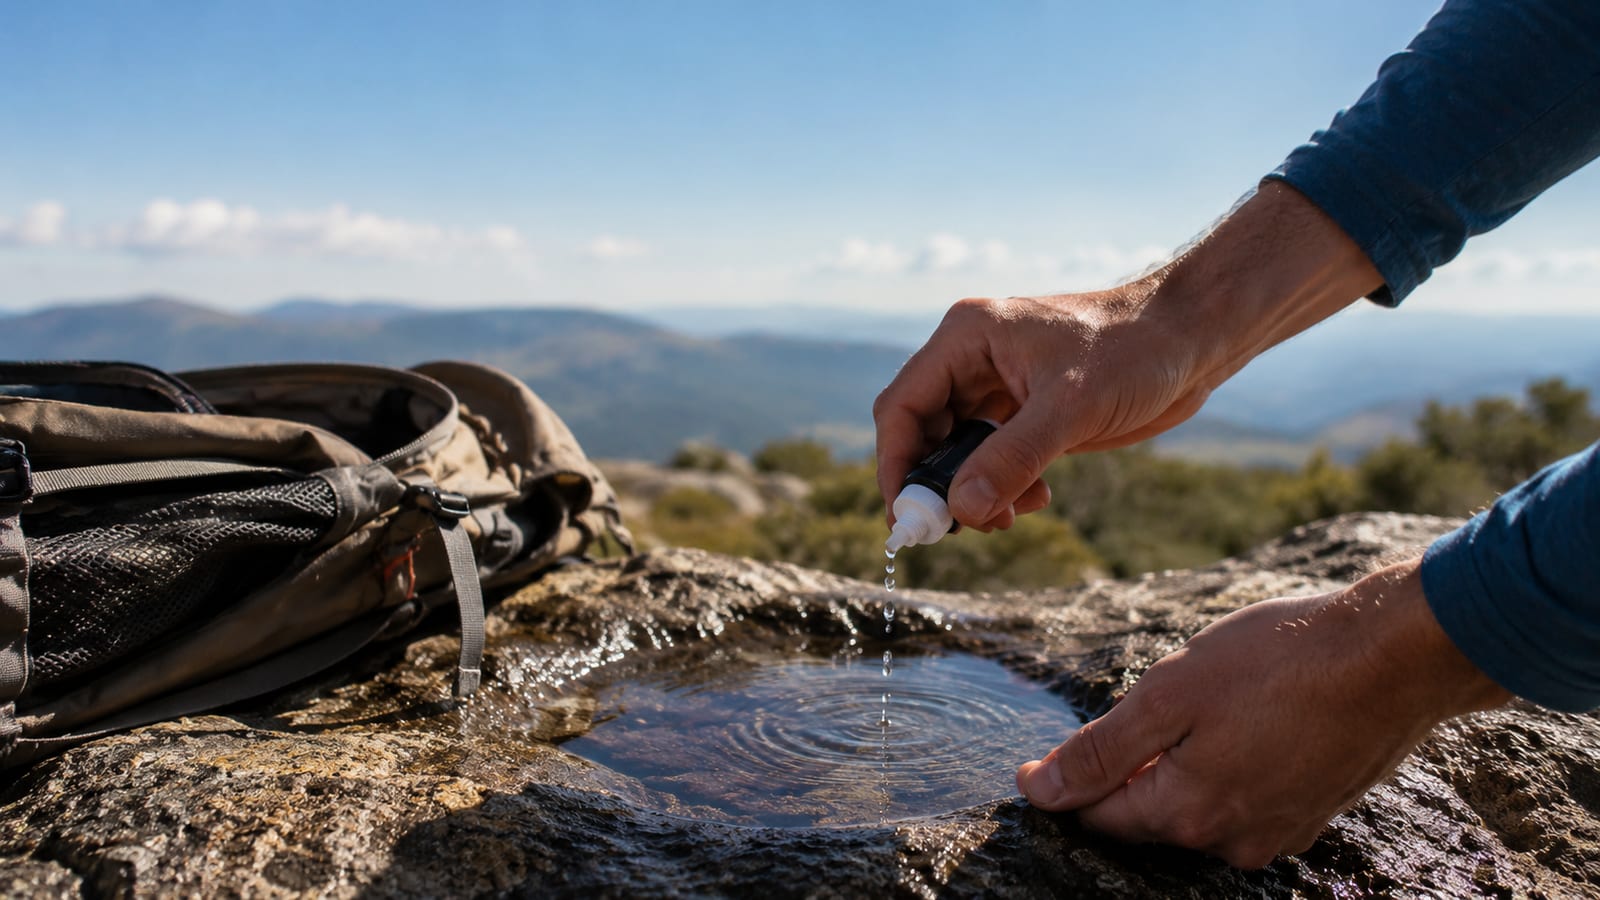
Chemical treatment is the smartest backup for many hikers. It’s light, stores easily, and works when a filter is clogged, damaged, or at risk of freezing.
Use chemical treatment as your main method when:
- Viruses are a realistic concern
- You’re traveling where human waste is common
- Your filter froze or may have frozen
- The water source is too silty for reliable filter flow
- You need an emergency option after gear failure
- You’re carrying a tiny kit for a short trip
Cloudy water needs extra preparation before chemical treatment. First filter cloudy water through a clean cloth, paper towel, or coffee filter. This removes some suspended material so the chemical can contact the remaining water more effectively.
Follow the product directions for dose, water temperature, and contact time. Chemical treatment is not instant just because the tablet is small. Plan your next water stop before you run out.
The tradeoffs are plain. Some treatments leave a taste, and some require a longer wait. Still, that is a fair price for a backup that doesn’t clog, needs no battery, and won’t become useless because it spent the night against a frozen tent wall.
UV treatment for clear water
Ultraviolet treatment makes sense for clear water and hikers who value speed and low pack weight. The device uses ultraviolet light to damage microorganisms, but it needs the right conditions to work.
Use UV when:
- The water is clear
- You can keep the device charged
- You can protect the lamp and electronics
- You can follow the full treatment cycle
- You’re treating water in a clean bottle
The CDC says ultraviolet water purifiers are limited by high levels of suspended solids and turbidity. Cloudy water can block the light from reaching pathogens. Let sediment settle, then prefilter before using UV.
Battery failure is the obvious edge case. A dead device does not care how expensive it was. Carry chemical treatment as backup, especially on long trips or in cold weather when battery performance can suffer.
UV is a good tool for clear mountain water and fast-moving trips. It’s a poor choice for muddy sources, remote routes where charging is difficult, or anyone who won’t carry a second method.
Boiling for broad coverage
Boiling is the safest broad method when you have fuel, time, and a source that isn’t chemically polluted. It handles pathogens across several categories, including viruses that a normal filter may miss.
Bring water to a rolling boil, then maintain it as directed for the conditions. At elevations above 6,500 feet, the CDC recommends maintaining a rolling boil for 3 minutes to disinfect water.
Boiling has real costs:
- It burns fuel
- It slows your water plan
- Hot water needs time to cool
- It adds work in bad weather
- It may not remove chemicals or toxins
Use boiling when virus risk is high, when the source is questionable but still usable, or when your filter has failed. It’s also a strong choice for camp water if you already need hot water for dinner.
Boiling does not rescue water with a fuel sheen or chemical smell. Find another source instead. A pot can kill microbes, but it can’t argue with industrial runoff.
How do you filter water on the trail safely?
Keep it simple and separate the dirty side from the clean side. Most treatment mistakes come from cross-contamination, not from a filter suddenly forgetting its job.
Follow these steps
Choose the best source available.
Prefer clear, cold, fast-flowing water from a protected location. Move upstream from camps, livestock, roads, mines, and settlements when the terrain allows.Inspect the water before collecting it.
Skip water with a fuel sheen, chemical smell, algae, dead fish, or heavy contamination nearby. A filter is not designed to make polluted water trustworthy.Fill only the dirty container.
Keep the dirty bag, scoop, and bottle away from your clean bottle and reservoir. Don’t rinse clean gear in the source.Settle and prefilter cloudy water.
Let heavy sediment drop out when practical. First filter cloudy water through a clean cloth, paper towel, or coffee filter.Run the water through your squeeze filter.
Keep the clean outlet capped or pointed into the clean container. Don’t let it touch the creek, ground, dirty bag, or your hands after handling the source.Add a second treatment when the risk calls for it.
Use chemical treatment, UV, or boiling when viruses are a concern or the source is more questionable than your filter can handle.Store treated water in clean containers.
Keep the bottle opening, hydration hose, and reservoir cap away from dirty gear. Set the clean container somewhere stable while filtering.Pack the backup where you can reach it.
Chemical treatment buried at the bottom of your pack is not much of a backup during a leaking filter problem.
This is the core of how to filter water on a real hike: choose well, keep sides separate, treat for the actual risk, and carry a second option. If your source is questionable and your only tool is a filter that misses viruses, you don’t have full coverage.
Keep treated water clean
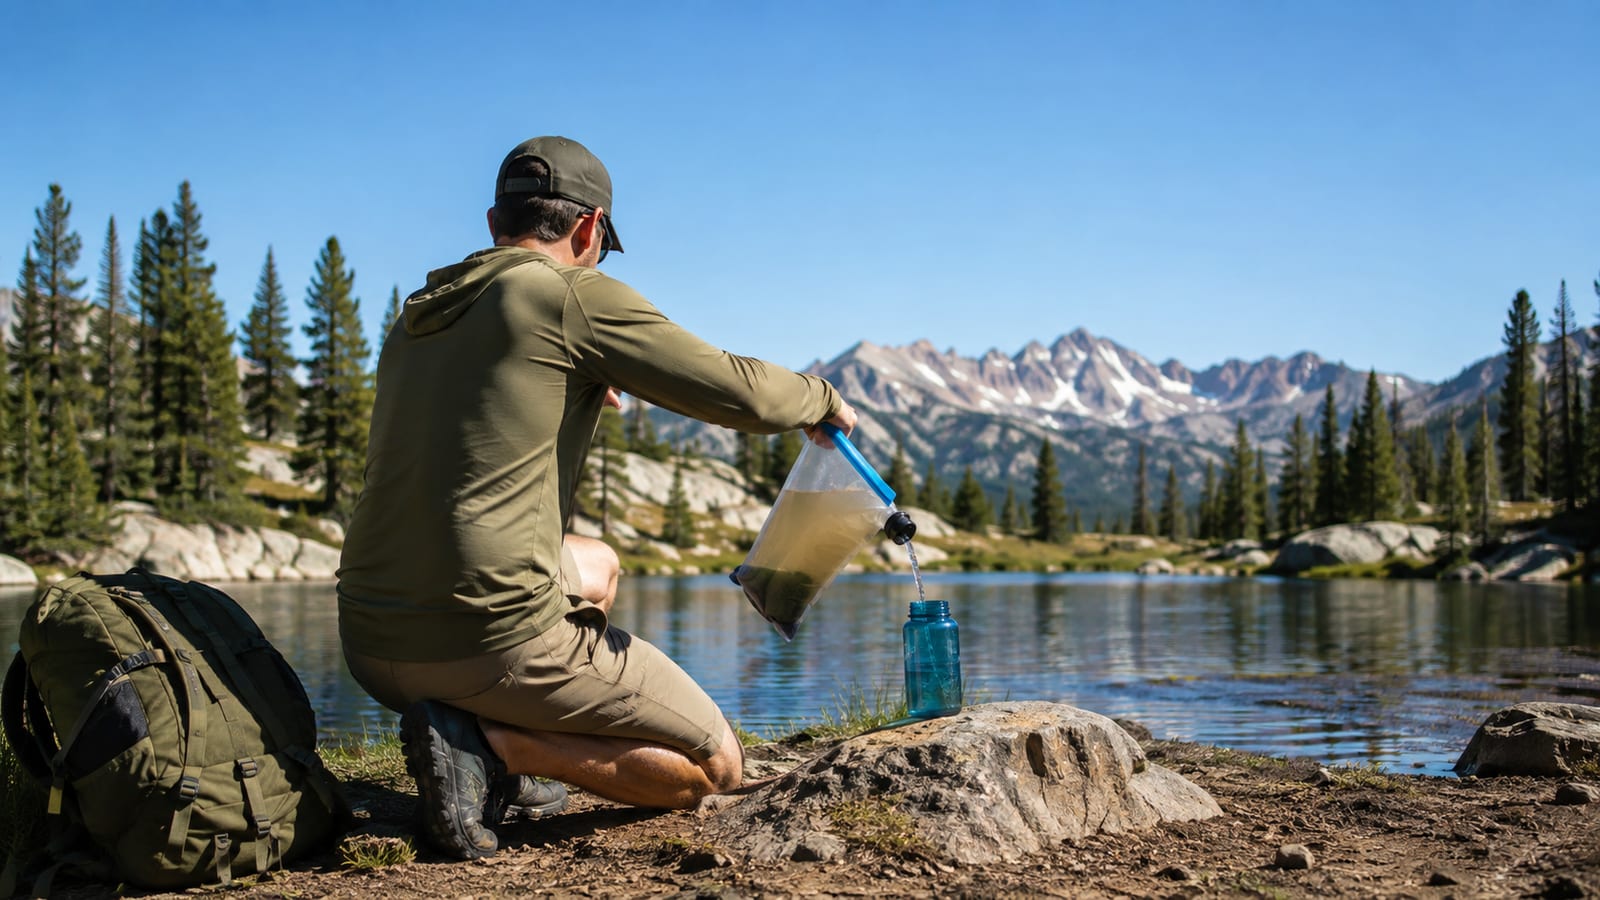
Start with clean containers. A treated bottle becomes contaminated again if you dip the mouth into the creek or touch it with dirty hands.
Use separate places for dirty and clean gear:
- Keep the dirty bag outside the clean storage area
- Cap the filter’s clean end after use
- Don’t share a scoop between dirty and clean containers
- Fill bottles without touching the bottle opening to the filter outlet
- Keep reservoir hoses off the ground
- Wash hands after handling animal waste or dirty water
Backflush the filter when flow slows, following the manufacturer’s instructions. Reduced flow usually means clogging, and forcing the system harder only makes water collection more annoying.
Protect hollow-fiber filters from freezing. Water trapped inside can expand and damage the fibers without leaving an obvious crack. If the filter may have frozen, stop trusting it and switch to chemical treatment or boiling.
Dry the filter and dirty bag before long-term storage. Damp gear grows unpleasant surprises, and a sour filter is not improved by wishful packing.
Store tablets and drops sealed, dry, and away from heat. Check their condition before a trip, then replace them if the label says they’ve expired or degraded.
For more on staying ahead of water carries, use these hydration tips for long hikes. The right treatment system still fails if you reach the next water source already empty.
Match treatment to trail conditions
Use the table below as a field decision, not a gear-ranking contest. Pick the row that matches the water and the failure you’re trying to avoid.
| Situation | Primary choice | Backup or extra step |
|---|---|---|
| Clear stream on a day hike | Squeeze filter | Chemical treatment |
| Solo overnight with reliable water | Squeeze filter | Chemical treatment |
| Group camp with large water needs | Gravity filter | Chemical treatment |
| Clear water with a charged device | UV treatment | Chemical treatment |
| Virus concern | Chemical treatment or boiling | Filter first if sediment is present |
| Filter may have frozen | Chemical treatment | Boiling if fuel allows |
| Muddy water | Settle and prefilter, then filter | Boil or chemically treat if needed |
| Suspected chemical pollution | Find another source | Don’t rely on a normal filter |
A squeeze filter handles the widest range of ordinary hiking situations with the least fuss. Add chemical treatment because it weighs little and covers failures your filter can’t.
Skip the filter entirely if the source shows signs of chemical contamination. Walk farther, change your route, or use a known treated supply. That extra effort is cheaper than turning a water stop into the reason you need a bailout.
FAQ
Can I drink from a clear mountain stream without treating it?
No. Clear water can still carry parasites, bacteria, or viruses that you can’t see. Treat it unless you have a reliable reason the supply is already safe.
Should I drink more water if the trail is hot and humid?
Usually, yes, because heat, sweat, pack weight, and climbing increase your losses. Plan water around the trail’s reliable sources rather than assuming one bottle will cover the day. Watch for headache, dizziness, nausea, unusual fatigue, and dark urine.
Can I use a water filter after it freezes?
Don’t trust it if water inside the filter may have frozen. Internal damage can be hard to see, so switch to chemical treatment or boiling instead.
Is dirty water always unsafe after filtering?
No, but clear water isn’t automatically safe either. Filtering can remove many microbes while leaving dissolved chemicals or toxins behind. If the source has a fuel sheen, strong chemical smell, or obvious industrial contamination, avoid it.
What should I do if my filter clogs during a hike?
Stop squeezing harder. Let sediment settle, prefilter the water, and backflush the filter according to its instructions. If flow doesn’t return, use your chemical backup and save the clogged filter for cleaning at home.
