
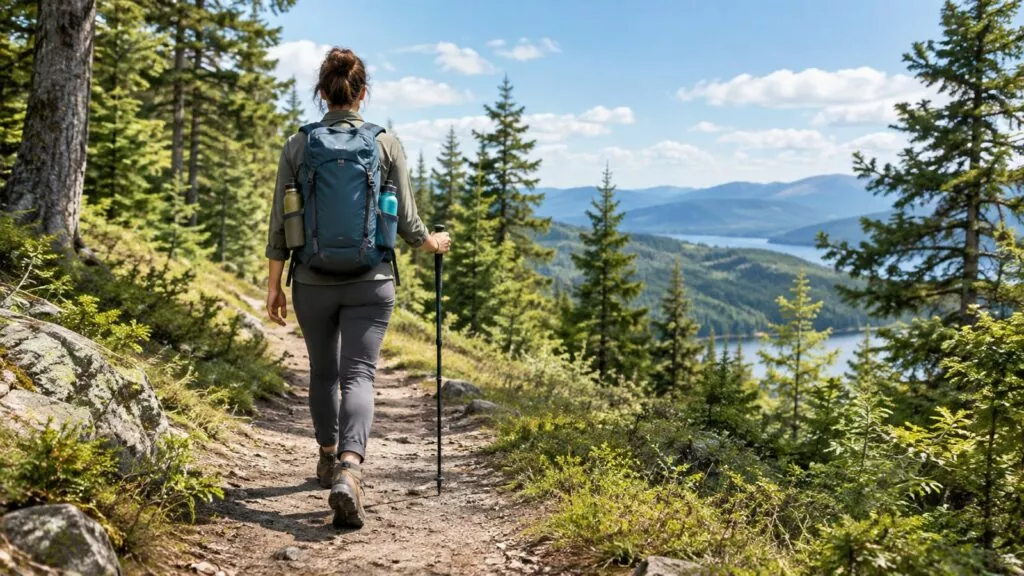
Carrying too little water is a bad place to save pack weight. For most hikers, 2 to 3 liters (68 to 102 ounces) of water per day is a general guideline, especially in moderate temperatures. Add more for heat and climbing, then carry reserve water for delays, wrong turns, or a dry source. Carry less only when the route has confirmed water and you have a way to treat it.
Starting short to save weight is a gamble with your safety. The payout is a slightly lighter pack early on.
How much water should you carry hiking?
Use the 2 to 3 liter daily range as a starting point for a real day on trail in moderate weather. Build up from there. The same guidance says you'll need around 2 liters a day in mild temperatures if you're relatively inactive. Hiking all day doesn't count as inactive, so that lower number suits only a cool, easy outing. For warmer conditions, the guideline raises the target to about 3 liters or more, because you sweat out water faster than you notice.
For most day hikes, carry what you expect to drink plus reserve water for delays and trouble. Drink steady sips through the day instead of saving it all for the summit. That's the whole rule.
The reserve water is the part people skip. It covers the wrong turn, the slow partner, the source that turned out to be mud, or the friend who barely brought enough. If you have to use it, take that as your cue to start heading for the trailhead.
Starting amounts by hike length
Hike length is a rough measure, but it gets you to a sane starting point. Start with the table, then let the forecast and the climb push that amount up.
| Hike | Mild, shaded, easy | Hot, sunny, or steep | What usually goes wrong |
|---|---|---|---|
| Short walk | Water for the expected outing, plus reserve | More drinking water, plus reserve | People bring nothing because "it's short" |
| Half day | Water for the expected time, plus reserve | Extra drinking water, plus reserve | The summit push takes longer than planned |
| Full day | The 2 to 3 liter daily guideline, plus reserve | About 3 liters or more, plus reserve | Afternoon heat on the way down |
| Overnight | Daily hiking amount, camp water, and reserve | The same, with more carry capacity | A dry camp nobody planned for |
Short walks catch people because they feel too casual for planning. Even a short loop turns long when you twist an ankle or lose the trail at a fork.
Full days are where the numbers start to matter. The back half of the hike is usually hotter, you're more tired, and your bottles are lighter than your thirst. Overnight trips work differently again, so they get their own section below.
Heat, humidity, climbing, and pace change the math
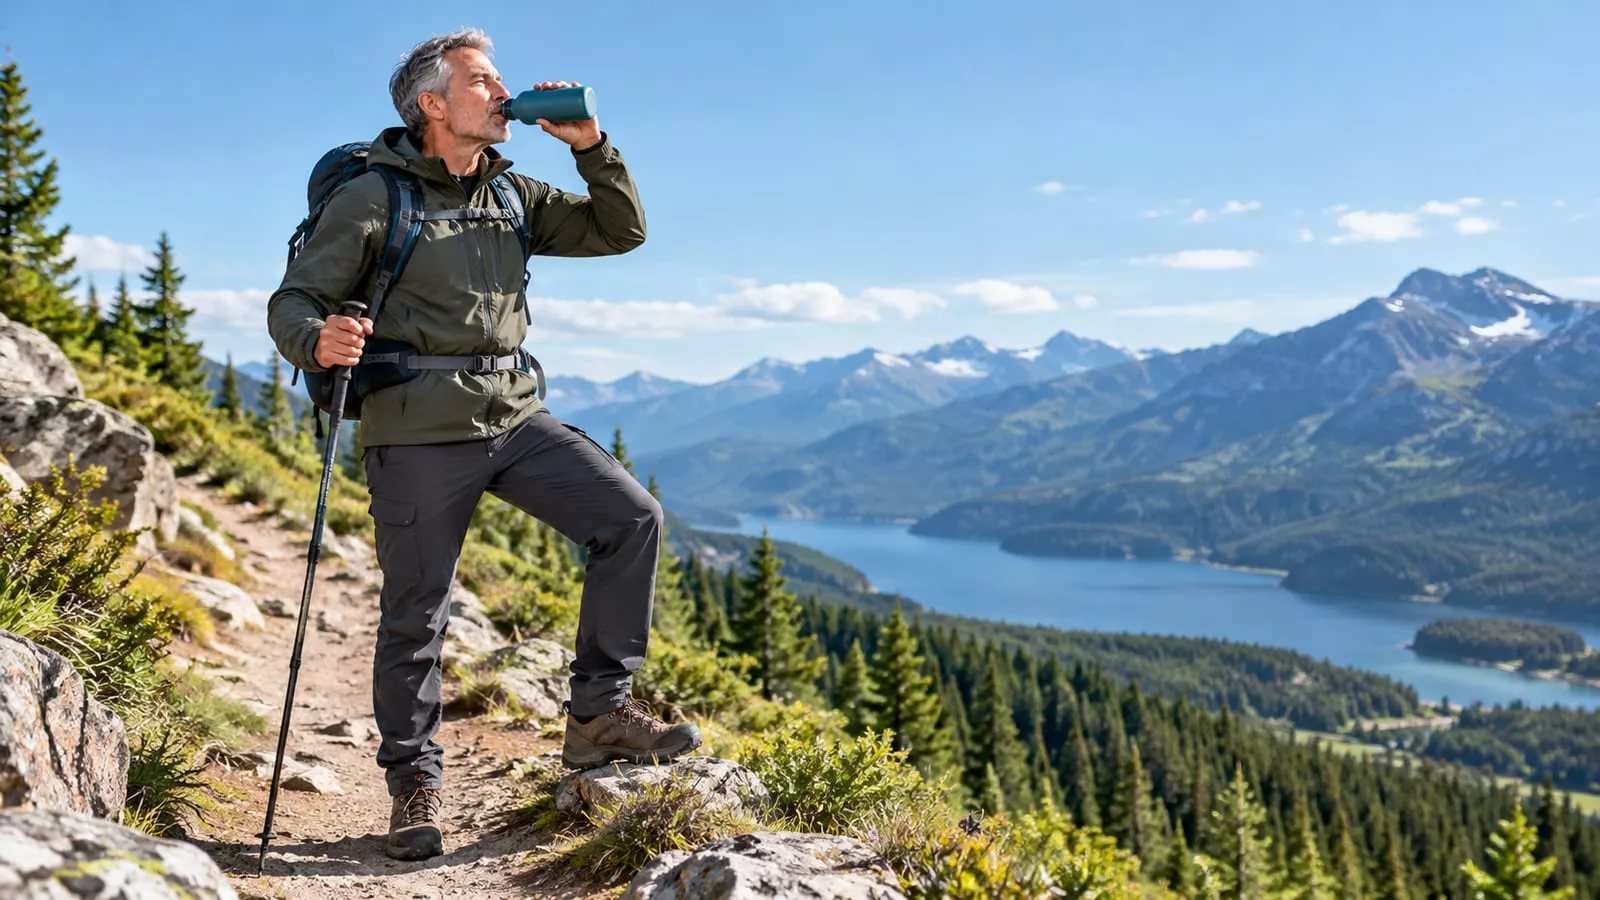
The daily range assumes moderate weather and moderate effort. Most summer hikes offer neither. Each of these pushes you toward the top of the range or past it:
- Sun exposure. Open ridges, burn scars, and desert washes have no shade. You'll drink noticeably more than on a forest trail of the same length.
- Humidity. Sweat drips off instead of drying, so it doesn't cool you. As a result, you keep sweating and keep losing water.
- Dry air. In the desert or at elevation, sweat dries so fast you barely see it. You're losing water anyway, plus more with every breath.
- Elevation gain. Steep switchbacks raise your heart rate and your sweat rate. A short hike with a big climb can drain bottles faster than a long flat one.
- Pack weight. Carrying a heavy load is harder work, and harder work costs water.
- Pace. Pushing to keep up with faster friends burns through water. So does racing an afternoon storm.
These stack. A hot, humid day with a steep climb and a heavy pack can blow past what any daily guideline covers. In those conditions, carry more than feels reasonable and start early to dodge the worst heat.
Clothing matters too. A loose, light shirt and a sun hood cut how hard your body works to stay cool. The guide to what to wear hiking in extreme heat covers that in more detail. For dry, exposed routes, the desert hiking safety guide covers the planning that goes beyond water.
Plan by time on trail
Plan your water around how long you'll be out, because your body drinks by the hour and doesn't care about the mileage. Two hikes with the same posted distance can take wildly different amounts of time. One is a graded path, and the other is a rocky scramble with route-finding.
Mileage hides several delays:
- Steep climbs slow you down, and steep descents on loose rock often slow you down even more.
- Breaks, photos, and lunch add up fast across a full day.
- Groups move at the speed of the slowest person, and that's fine, but it takes longer.
- Navigation mistakes cost time, usually in the hottest part of the day.
To estimate your time, use your own past pace on similar terrain, not a guidebook's best case. Then add time for breaks and a buffer for things going sideways. Pack water for that total.
If you have no idea how long a trail will take, assume it'll take longer than you hope. Then carry for the longer day.
Plan around water you can count on
A blue line on a map is a hope. Many creeks and springs run strong in spring and disappear by late summer. Some only flow after rain, and others turn into a stagnant puddle with a cow standing in it.
Before you count on any source, check how recent the information is. Ranger stations, land agency trail pages, and recent trail reports are the best bets. Look for current reports from the same season you're hiking. A report from last spring tells you almost nothing about August.
Next, find the long dry stretches on your route. Those are where you need to carry the most. At each reliable source, do two things:
- Drink a lot right there, while the water is in front of you. This is called cameling up, and it puts water in your body instead of your pack.
- Leave with enough for the next dry stretch, plus your reserve.
If a source might be dry, plan as if it is. On what you're carrying, you should be able to reach the next sure source or turn back to the last one.
When can you safely carry less water?
You can carry less only when every one of these is true:
- The source is confirmed. Recent, reliable reports say it's flowing, in this season.
- Your treatment works. You've tested your filter at home, and it isn't clogged or frozen.
- You have time to treat. Chemical treatment needs a wait, and filtering a dirty source can be slow. Build that into your day.
- You carry a backup. Treatment tablets weigh almost nothing and save the trip if your filter fails.
- You keep a margin. If the source is dry when you get there, you still have enough to turn back or push on safely.
If any one of those is shaky, carry the full amount. Shaving water to save weight only makes sense when the next refill is a sure thing.
This is where ultralight habits go wrong. Skilled hikers carry less because they know exactly where the water is. Copying their carry without their planning is a false economy.
Treating natural water without wasting time
Filter and then disinfect any water you take from a natural source, even if it looks clean. Clear mountain streams can still carry the bugs that make you sick later. The CDC guidance on backcountry water treatment lays out what each method removes or kills.
| Method | Good at | Where it falls short |
|---|---|---|
| Squeeze or gravity filter | Fast, no wait, no taste | Clogs in silty water; most don't stop viruses; freezing can ruin it |
| Chemical tablets or drops | Light, cheap, useful after filtering | Needs a wait; slower in cold water; some taste |
| Boiling | Kills everything | Costs fuel and time; hot water on a hot day |
| UV pen | Quick, no taste | Needs clear water and charged batteries |
For most hiking in the US, filter the water first and then use chemical disinfection. In silty glacier runoff or muddy creeks, let the water settle first or pre-filter it through a bandana. That keeps the filter from clogging halfway through your refill.
Filtering first removes dirt and many organisms. Chemical treatment then handles organisms the filter may miss, including viruses. In freezing weather, sleep with your filter in your sleeping bag. A cracked filter looks fine and protects nothing.
Water weight earns its place
Water is the heaviest thing most hikers carry. It's also the one item that gets lighter as the day goes on, which happens to suit tired legs. Running dry is the expensive mistake here, not carrying extra water.
You can trim water weight without underpacking:
- Drink at the trailhead and at every source. Water in your body costs nothing to carry.
- Fill to match the next stretch. If a reliable source is close, you don't need full bottles.
- Choose lighter containers. A plain plastic bottle from a gas station weighs a fraction of an insulated steel one and holds up better than it looks.
- Skip premixed sports drinks. A packet of electrolyte powder weighs almost nothing, while a bottle of the premixed stuff weighs about as much as the water it replaces.
What you shouldn't trim is the reserve. That water is cheap insurance. Leaving it at home to save a little weight only looks smart until late in the day.
Backpacking: plan capacity, then fill it
On an overnight trip, you don't need to carry every liter all day. You need enough capacity to carry water when the route demands it. Those are different numbers.
Capacity means the total your bottles and bladders can hold. Collapsible bladders are worth the weight here. They pack flat when empty and hold a lot when you need them. Carry enough capacity for your longest dry stretch plus camp, then fill only what each stretch needs.
Camp water adds up fast. Plan for:
- Dinner and any hot drinks
- Breakfast and coffee
- Water to drink overnight
- A start on the next morning's hiking before you reach a source
A dry camp means carrying all of that from the last source, on top of your hiking water. That's the heaviest stretch of most trips, so pick dry camps on purpose and keep them short. If you can camp near water, do it, and treat your water before dark. For the rest of your packing, see this multi-day hiking checklist.
A simple pre-hike hydration plan
Run through this the night before. It's quick and works for most hikes.
- Check the forecast. Look at the high temperature and humidity for the hours you'll actually be out, afternoon included.
- Estimate your time. Use your pace on similar terrain, plus breaks and a buffer.
- Check elevation gain. Big climbs mean more water, and so does exposed terrain.
- Read recent water reports. Confirm each source you plan to use, in this season.
- Test your treatment. Run water through your filter at home, and pack tablets as backup.
- Match bottle capacity to the longest dry stretch. Add camp water for overnights.
- Pack electrolytes. Salty snacks or a drink mix help on long, sweaty days.
- Protect the reserve. Keep reserve water untouched until you need it.
- Pick a bailout point. Know where you'll turn around if water runs low.
Then drink well before you leave the car. Starting the hike already behind is a hard hole to climb out of.
Signs you need to drink, slow down, or turn around
Thirst is the first sign, and it means you're already a little behind. Drink when you feel it, and drink before steep climbs so you're not playing catch-up on the hardest part. For a fuller breakdown, see dehydration on a hike: signs, steps, and red flags.
Early warning signs:
- Dark urine, or not needing to pee for a long stretch
- Headache, dry mouth, or feeling unusually tired
- Muscle cramps
- Feeling dizzy when you stand up after a break
If you notice these, stop in shade, drink, eat something salty, and slow down. If you feel better after a rest, continue at an easier pace. If you don't, turn around. A summit is never worth a rescue.
Some signs mean heat illness, which is more serious than being thirsty. Heavy sweating with nausea, weakness, or a fast, weak pulse points to heat exhaustion. Confusion, slurred speech, hot skin, or a fast, strong pulse can mean heat stroke, which is a medical emergency. The OSHA heat illness page covers heat stroke warning signs and first steps. If you see those signs, cool the person down fast and call for help.
FAQ
Is a hydration bladder better than water bottles?
Neither wins across the board. A bladder makes steady sipping easy, which helps hikers who forget to drink. The catch is that you can't see the level, so it tends to run out without warning, often halfway up a climb. Bottles are easier to check, fill from a creek, and treat, so a bladder for sipping plus a hard bottle as your sealed reserve is a sound setup.
Can you drink too much water on a hike?
Yes. On long, hot days, drinking huge amounts of plain water without salt can dilute the sodium in your blood. This condition is called hyponatremia. Its symptoms, like nausea, headache, and confusion, look a lot like dehydration. Eat salty snacks along with your water, and don't force down more than your thirst asks for.
Do you need less water in cold weather?
Usually a bit less, but not as much less as people think. Cold air is dry, and heavy layers make you sweat on climbs. Cold water is also unpleasant to drink, so many hikers fall behind without noticing. An insulated bottle of warm tea gets drunk, while a bottle of half-frozen water mostly gets carried. Storing bottles upside down also keeps ice from sealing the lid shut.
Should you drink extra before starting a hike?
A big drink at the trailhead helps, especially on hot days or routes with an early climb. You start the hike topped off, and that's water you don't have to carry. Stop short of chugging, though, or the first switchback will feel like hiking with a full fish tank.
