
Your sneaker size is a guess, and hiking boots punish guesses. To choose the right hiking boot size, measure both feet late in the day and fit the longer one. Then buy the pair that leaves clear room ahead of your longest toe, holds your heel still, and passes a downhill test without toe bang. The number on the box comes last.
Most fit mistakes start in the store, where flat carpet and fresh feet make almost any boot feel fine. The trail is less polite. A boot that felt a touch short on carpet starts bruising toenails on the switchbacks after mile 10.
How do you choose the right hiking boot size?
Measure first, try on second, and test downhill third. Fit the bigger foot, wear the socks and insoles you actually hike in, and buy from a store that takes boots back after indoor wear. That covers the whole process. The steps below are the order to do it in.
- Measure the length and width of both feet in the late afternoon or evening.
- Start with boots at your measured size, then try a half size up and down.
- Check toe room with the boot unlaced.
- Lace up and check that your heel stays put.
- Walk down a slope or stairs and watch for toes hitting the front.
- Wear the boots indoors for an evening before you commit.
- Return anything that pinches, slips, or makes your foot go numb.
Measure both feet at the end of the day
Try boots on toward the end of the day, after your feet have done some walking. Feet swell as the hours go by, sometimes enough to change your size. Hiking makes that swelling worse, so a morning measurement flatters you.
Here's how to measure at home:
- Put on the socks you hike in and stand on a sheet of paper on a hard floor.
- With your weight on that foot, trace its outline while you stand. Hold the pen upright. Foot care guides such as Einhorn Foot Care's make this point because standing captures the foot's full shape.
- Measure from the back of the heel to the tip of your longest toe. For some people that's the second toe.
- Measure across the widest part of the forefoot, usually the ball of the foot.
- Repeat with the other foot.
A shoe store's Brannock Device does the same job and adds an arch length reading. Arch length tells you where your foot bends. That matters because a boot should flex where your foot flexes.
Most people have one foot slightly larger than the other. Fit the larger foot and take up the extra space on the smaller side with a thicker sock or an insole. If the gap between your feet is big, or bunions make every boot a fight, a podiatrist is worth the visit. The American Podiatric Medical Association is the professional body for foot doctors in the US.
How much toe room do hiking boots need?
Boots don't come with an official toe-room number. The most common starting point comes from walking shoes: adidas tells buyers to aim for a thumb's width between the longest toe and the front of the shoe. It's a rule of thumb, literally. Shoe-fitting research recommends a gap anywhere from 10 to 20 mm and admits the number is fairly arbitrary.
So borrow that walking-shoe guideline as a rough idea and let the downhill test make the final call. On a descent, your foot slides forward and swells at the same time. If your toes hit the front, every step jams them. Do that for a few miles and you get black toenails, which are bruises under the nail that take months to grow out.
To check, loosen the laces and slide your foot forward until your toes touch the front. Then press down on the toe box with the boot laced again. You want to feel open space ahead of your toes, not the end of the boot.
Width, volume, and heel shape decide the rest
Length gets all the attention, but width and volume cause most hot spots. A boot that's too narrow rubs the pinky toe, burns the ball of your foot, and can squeeze nerves until your forefoot tingles. Meanwhile, a boot that's too wide lets your foot skate sideways on off-camber trail. That sliding turns into blisters fast.
Volume is the room inside the boot from top to bottom. A high instep, the arched top of your foot, hits the laces hard in a low-volume boot. As a result, you get pressure across the top and sometimes numb toes. Low-volume feet have the opposite problem: you crank the laces until the eyelets nearly touch and the boot still feels loose.
Heel shape matters too. A narrow heel in a wide-heeled boot lifts with every step, no matter how you lace it.
A common wrong turn is sizing up in length to get more width. That puts the flex point in the wrong place and leaves your toes swimming. Buy a wide version of your real length instead. Our list of hiking boots built for wide feet covers models that come in true wide sizes.
Bring your real socks and insoles
Store try-on socks are usually thin. Your trail socks probably aren't. A midweight wool sock takes up noticeably more room than a liner, and that difference can turn a good fit into a tight one.
The same goes for insoles. If you hike with custom orthotics or aftermarket insoles, pull out the stock insole and put yours in before judging the fit. Supportive insoles often sit higher and take up volume. Hikers with low arches can read more in our guide to stable boots for flat feet.
One quick check: pull out the boot's stock insole and stand on it. If your toes hang over the front edge or press right to it, the boot is too short before you even lace it.
The downhill test
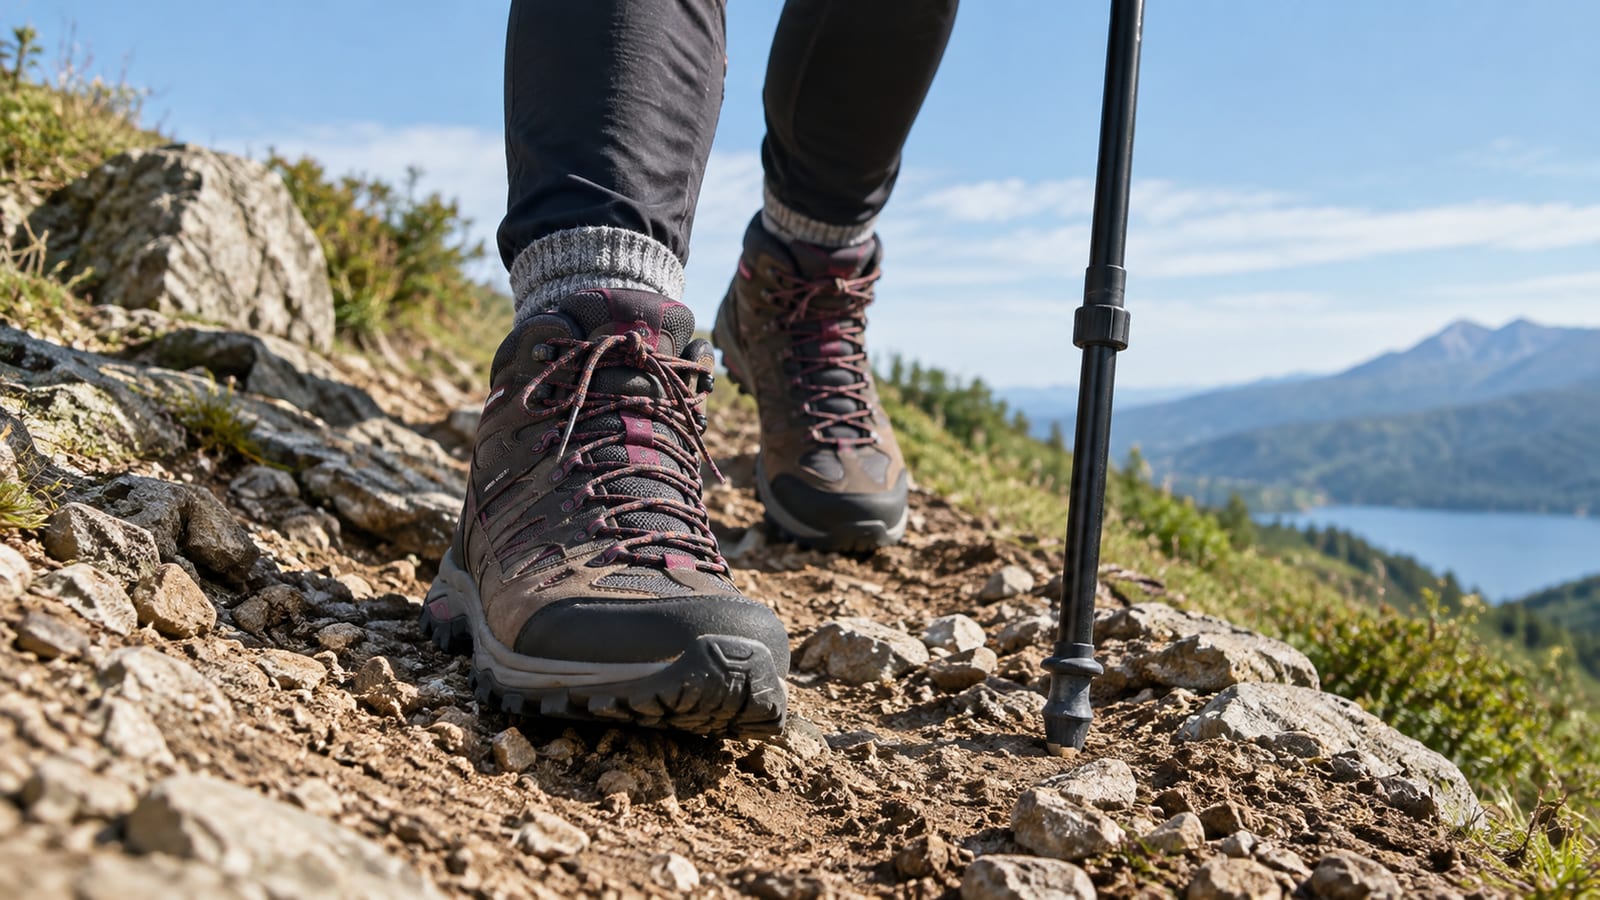
KEEN's fit advice is to gently kick a wall or walk down a decline ramp. Either one shows whether your toes have room for descents. Store ramps are short, though, so stairs are a better test.
Run through this before you buy, and again at home:
- Lace the boots snug and walk around for a while so your feet settle.
- Walk down stairs or a ramp. If your toes touch the front, the boot fails.
- Gently kick a wall with the toe. A light brush is fine. A jammed toe is not.
- Walk up the stairs and watch your heel. A slight lift is normal in stiff boots. A heel that rides up and down will blister.
- Crouch and flex forward. Check for laces or the tongue biting into the crease of your ankle.
- Stand on a slope sideways, if you have one. Feel for pressure along the outside of your foot.
- Stand still for a few minutes. Any tingling or numbness in the forefoot means the boot is too narrow or too tight over the instep.
Fit priorities change with the hike
The right hiking boot size depends partly on how you'll use the boot. Heavier loads and longer days push your feet harder, so they need more forgiveness.
| Hike type | What matters most | Sizing tilt |
|---|---|---|
| Short day hikes on smooth trail | Comfort, light weight | Your measured size; trail runners may suit you better |
| Backpacking with a loaded pack | Heel hold, toe room | Lean toward more toe room, since feet spread under weight |
| Steep descents and scrambles | Heel lock, no toe bang | Snug through the midfoot, never sloppy |
| Winter hiking | Room for thick socks, blood flow | Size with winter socks on; tight boots mean cold toes |
| Long-distance trips | Room for swelling over weeks | Expect your feet to grow; many thru-hikers need a bigger pair partway |
Why do boot sizes vary so much between brands?
The size number tells you less than you'd think. Every boot is built around a last, the foot-shaped form that sets its length, width, toe shape, and heel shape. Different brands use different lasts, and the same brand often uses several. So one brand's size 10 can fit like another brand's 10.5.
Conversions between US, UK, and European sizes add more slop because they don't line up exactly. Use your tracing and measurements as your baseline, then ignore the number from your last pair.
Try several brands if you can. If one company's lasts match your foot shape, stick with it, and still try on each new model before buying.
Break-in versus a bad fit
Some things soften with use, and some never will. Full-grain leather uppers, stiff ankle collars, and the crease across the toes all loosen up over time. Most synthetic boots need little break-in at all.
Length doesn't change. Neither does toe box height, heel width, or a seam sitting right over a bone. A boot that pinches in the store will pinch more on the trail, because your feet swell and the miles add up. If you already have sore feet after hikes, our guide to reasons your feet hurt after hiking helps sort out fit from other causes.
Break-in can soften leather. It can't add length.
Lacing fixes small problems only
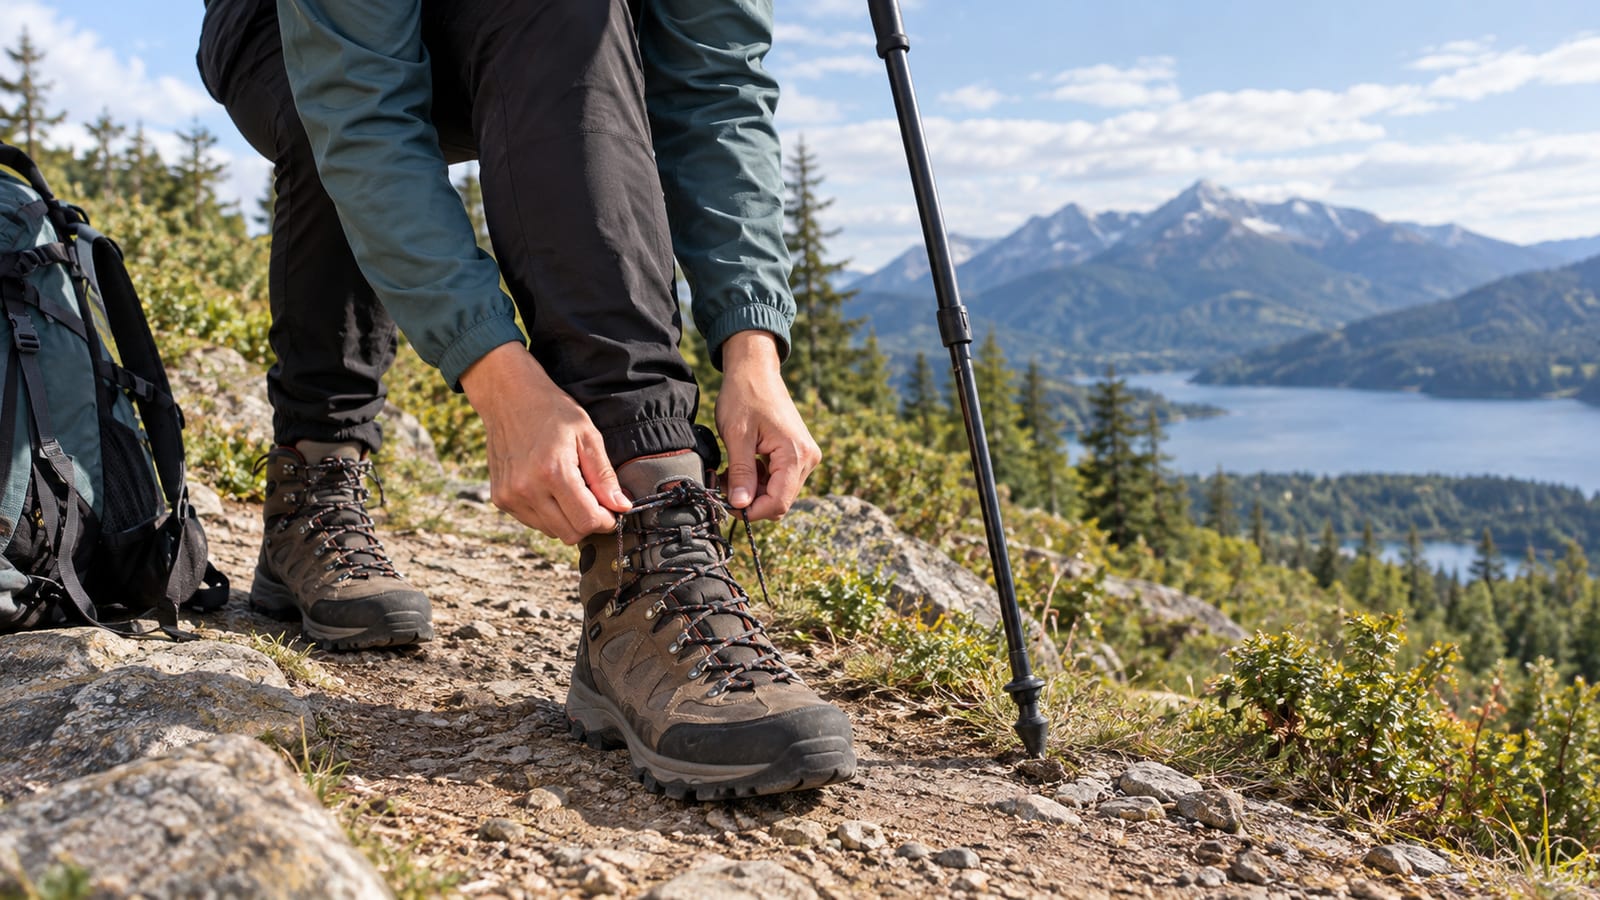
Good lacing can tune a decent fit. For heel slip, use a heel lock, also called a runner's loop, through the top eyelets. For a boot that needs different tension in different zones, tie a surgeon's knot at the midfoot. That holds the lower laces in place while you set the top separately.
High instep? Skip a crossing over the pressure point, so the laces run straight up the sides there. Crowded toes? Loosen the laces over the forefoot and keep them firm higher up.
However, lacing can't make a short boot longer or a narrow toe box wider. If you need a complicated lacing pattern just to stop pain in the store, that's the wrong boot. For more ways to keep friction down on long days, see our tips to prevent blisters on long hikes.
Walk away from these fit problems
Don't buy a boot that does any of the following:
- Your toes touch the front on stairs, a ramp, or a wall kick.
- Your forefoot tingles or goes numb after a few minutes of standing.
- Your heel lifts clearly, even with a heel lock.
- It pinches the pinky toe, the big toe joint, or a bunion.
- A seam or stitch line presses on a bone.
- The laces press on the top of your foot in a spot you can't relieve.
- The ankle collar digs into your ankle bone.
Any one of these will get worse with trail miles. No break-in period fixes them.
Keep the return option open
Check the return policy before you pay. Many stores accept boots worn indoors only, but rules vary, and some won't take anything with dirty soles. Keep the box and tags until you're sure.
Wear the boots around the house on clean floors for an evening or two. Climb your stairs, stand while you cook, and do the downhill test again with tired evening feet. If you're ordering online with free returns, ordering two sizes and sending one back saves a week of guessing.
Never take new boots on a big trip until they've passed indoor testing and a few short local hikes. A shakedown walk near home costs a little time. A boot problem far from a trailhead costs a lot more.
FAQ
Can women wear men's hiking boots, or the reverse?
Yes. Men's models tend to run wider with more volume, while women's models often have a narrower heel. A woman with wide feet may find men's boots fit better. The size number changes between the two, so use the brand's own conversion chart rather than guessing.
Should kids' hiking boots have growing room?
A little, but resist buying far ahead. Kids in oversized boots trip more and blister on downhills, just like adults. Measure every few months during growth spurts and replace boots when the toe room disappears.
How often should I remeasure my feet?
Measure again whenever you buy a new pair. Adult feet can lengthen and widen over the years as arches relax. Weight changes and pregnancy can shift size too. Your old number may be outdated even if your old boots still feel familiar.
What if I'm between two sizes?
Try both with your hiking socks and insoles in. If the larger size still holds your heel firmly, it's usually the safer pick, and a thicker sock can fill small gaps. Go with the smaller size only if it still passes the downhill test with room to spare.
