
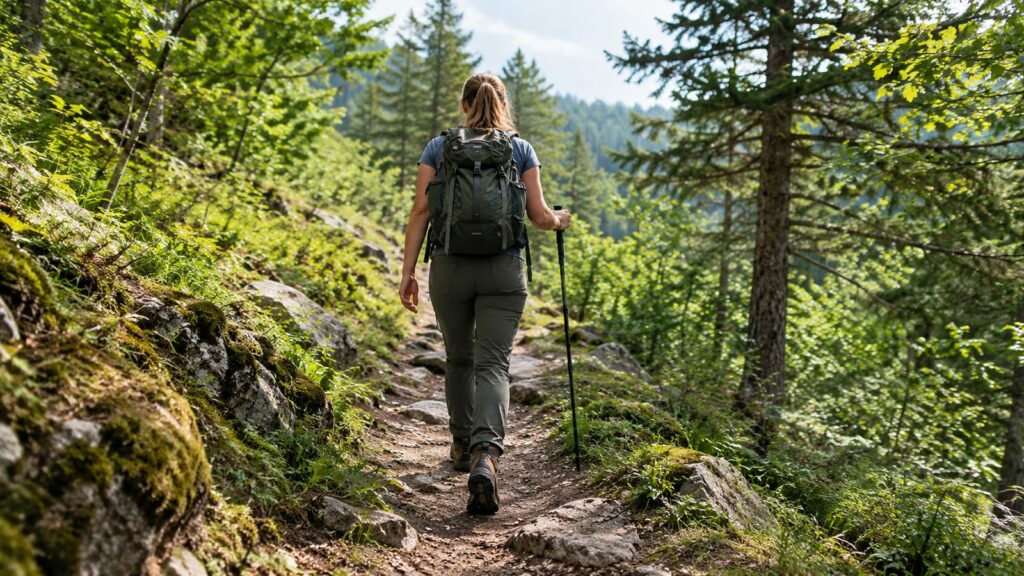
Break hiking boots in slowly. Wear them at home with your hiking socks, take short walks, add distance over several outings, and never let a long hike be their first real test. The proper way to break in hiking boots is mostly patience and catching small problems while they're still small. The leather softens, your feet adjust, and you find the rough spot on a sidewalk instead of halfway up a switchback.
Plan on two to four weeks. That's the break-in process one footwear specialist recommends, with the exact time depending on the boot. It sounds slow until you compare it with limping the last few trail miles of a trip you planned for months.
Check the fit before you break anything in
Break-in softens a boot. It doesn't change the boot's length or fix a heel that slips. So confirm the fit first. A week of break-in on the wrong boots is a week you won't get back.
Shop late. REI's boot-fitting advice says to try boots on toward the end of the day. Your feet swell with use and are at their largest by then, which is closer to how they'll feel after mile 10. Then run these checks:
- Toe room: Boot World's fit guidance calls for up to half an inch between your longest toe and the tip of the insole. Pull the insole out and stand on it to check.
- Heel lock: Lace up snug and walk. Your heel should lift very little, if at all.
- Width: The widest part of your foot should sit in the widest part of the boot without pressure on either side.
- Downhill test: Walk down a ramp or stairs. If your toes touch the front, the boot is too short or too loose over the midfoot.
If you have wide feet, standard widths often fail that last check no matter how long you wear them. Our guide to hiking boots built for wide feet covers the models that start out with more room. For a neutral look at how footwear should fit, the American Academy of Orthopaedic Surgeons guide to athletic shoes is a solid reference.
Wear your real hiking socks from day one
Try on and break in your boots with the exact socks you'll hike in. LOWA's fit guidance says shoes need to be tried on with appropriate socks to find the correct size. A thick wool sock and a thin synthetic one can change the fit more than you'd expect. If you fit the boot with thin socks and hike in thick ones, you've built in a pressure point.
Pick merino wool or synthetic hiking socks with a snug fit and no loose fabric at the heel or toe. Skip cotton entirely. It holds sweat against your skin, and damp, soft skin blisters faster.
The same goes for insoles and liner socks. If you plan to swap in aftermarket insoles, put them in now. They change the volume inside the boot, so the boot needs to break in around them.
How do you break in hiking boots properly?
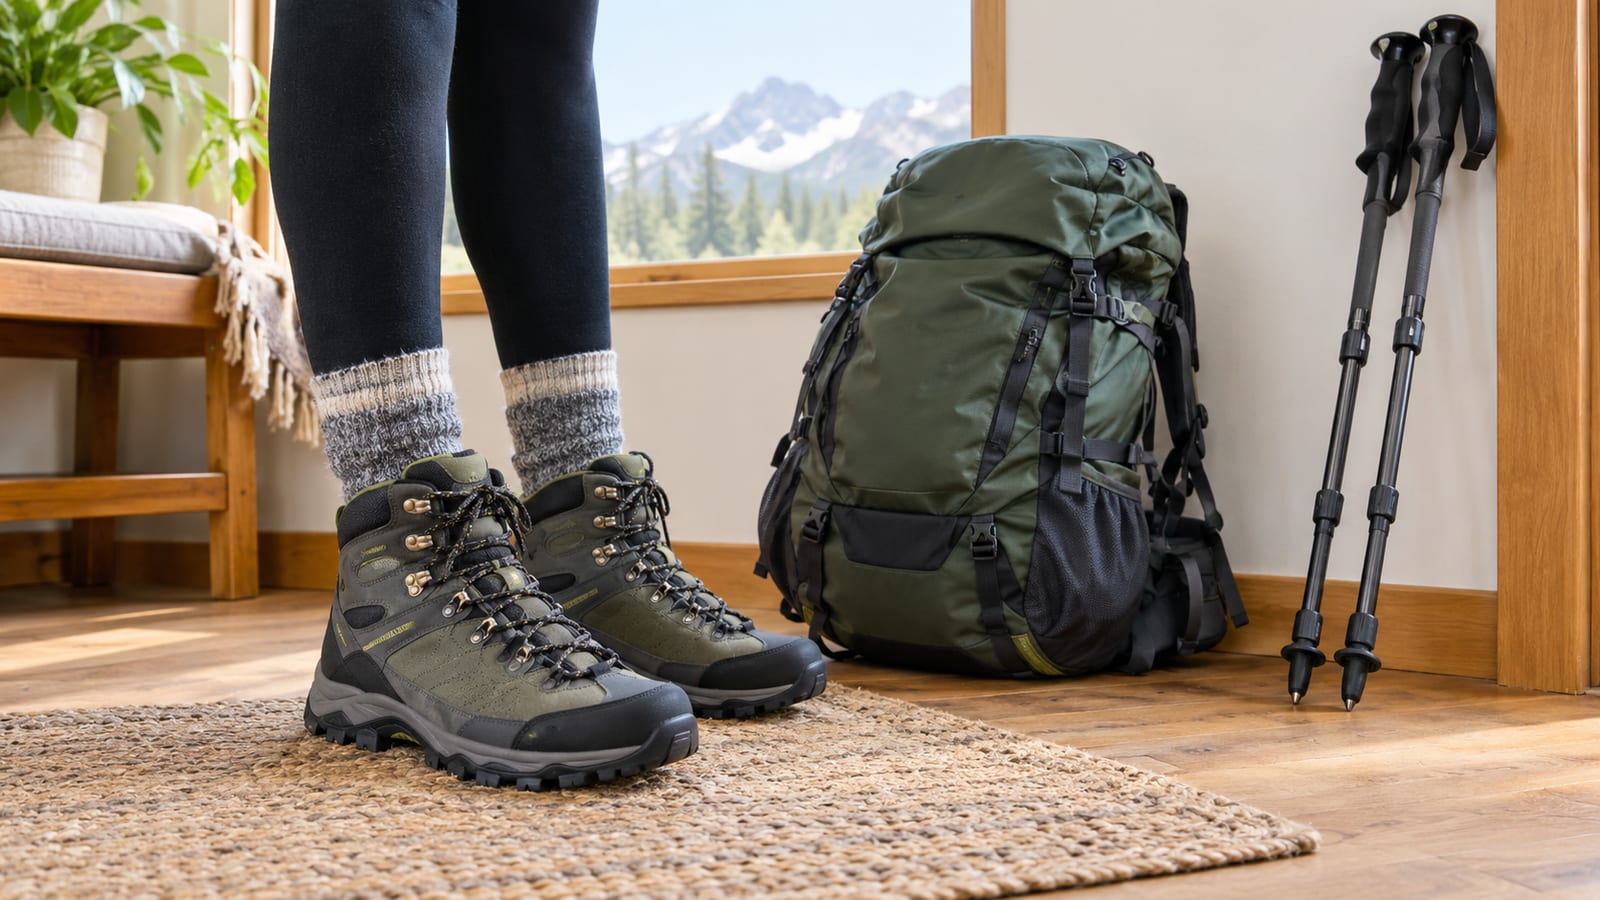
Go in order, and don't skip ahead because one walk went well. Each stage gives a problem a chance to show up while it's still cheap to fix.
1. Wear them around the house
Start indoors in short stretches. Wear them while you cook, take the stairs, and stand at the counter. Lace them the way you would on the trail, snug over the midfoot and firm at the ankle.
Indoor wear has a hidden benefit. Clean soles matter if the boots turn out to be wrong and you want to return them. Once you've worn them on a muddy trail, that option usually closes.
2. Take short walks on mixed surfaces
Next, walk your neighborhood. Mix pavement, grass, gravel, and a curb or two. Keep these walks short enough that you finish fresh.
Afterward, take your socks off and look at your feet. You're checking for:
- Red or warm spots on heels, toes, or the sides of your feet
- Numbness or tingling, which often means laces are too tight over the top
- Heel slip you can feel or see
- Pressure that lingers after the boots come off
3. Add distance only after a clean walk
Increase distance when the last walk ended without trouble, and not before. Your skin needs time to toughen, and the boot needs time to soften. Both happen between outings, so rest days count as part of the process.
Shorter boots and blended-material boots, which mix fabric and leather, move faster. One common footwear guideline says to wear them three days a week for 2 to 3 weeks, then take them on several short hiking trips. Stiff full-grain leather boots sit at the slower end of the overall timeline and need more patience.
4. Test them on terrain like your planned hike
Pavement tells you almost nothing about a steep descent. Once short walks feel normal, find hills, uneven ground, and loose dirt. Downhills matter most because that's when toes slam forward and heels lift.
Then add your pack. Load it close to the weight you'll carry on your real trip. Extra weight pushes your foot harder into the boot and exposes pressure points that an empty walk hides.
5. Make the first trail hike a short one
Your first real hike should be short, near home, and easy to bail on. Treat it as a test, not a goal. Bring tape, and leave your old shoes in the car at the trailhead.
Save the long day hike or multi-day route for after a few short hikes go well.
How long break-in takes by boot type
The specialist's range covers most boots. Where you land in it depends on how stiff the boot starts out.
| Boot type | Typical break-in | What to watch |
|---|---|---|
| Shorter or blended-material boots | A few days a week for a couple of weeks, then several short hikes | Seams rubbing at the ankle or toe |
| Full-grain leather boots | The longer end of the overall range | Stiff flex point creasing across the toes |
| Trail runners and light hiking shoes | Little to none | Fit problems show up almost right away |
Lighter shoes need less break-in, but they still need a fit check. A shoe that pinches on day one usually pinches on day thirty.
Let the boots mold on their own
Old tricks for speeding up break-in do more harm than good. Your feet do the molding, not a bathtub. Repeated walking, normal foot warmth, and time shape the boot evenly, and that even shape is the whole point.
Skip these shortcuts:
- Soaking and wearing them wet: Wet leather dries stiff and can crack. It also pushes the boot into shape fast and unevenly.
- Heat from hair dryers, ovens, or heaters: Heat can weaken the glue that holds the sole on. A peeling sole on a rocky descent is not a fixable trail problem.
- Bending the soles by hand: You can crease the boot in the wrong spot. That creates a ridge that digs into your toes later.
If your boots are leather, follow the maker's care instructions for conditioner. Use it to keep the leather healthy. Heavy coats meant to rush break-in can leave the leather softer than the boot was designed to be.
Stop at hot spots before they become blisters
A hot spot is a warning, and it's the cheapest one you'll get. When you feel warmth or rubbing, stop right away. Waiting until the top of the climb turns a small fix into a skin problem.
Most hot spots come from movement, so fix the movement first:
- Relace. Tighten the ankle hooks to lock your heel, or skip a hook over a pressure point on top of your foot.
- Fix your socks. Smooth out wrinkles, or swap to a dry pair if they're damp.
- Tape the spot. Put tape on clean, dry skin before the rub breaks it.
If the same spot shows up on every walk, tape it before you start. Our guide to preventing blisters on long hikes picks up where break-in ends, once you're logging real miles.
When should you return the boots instead?
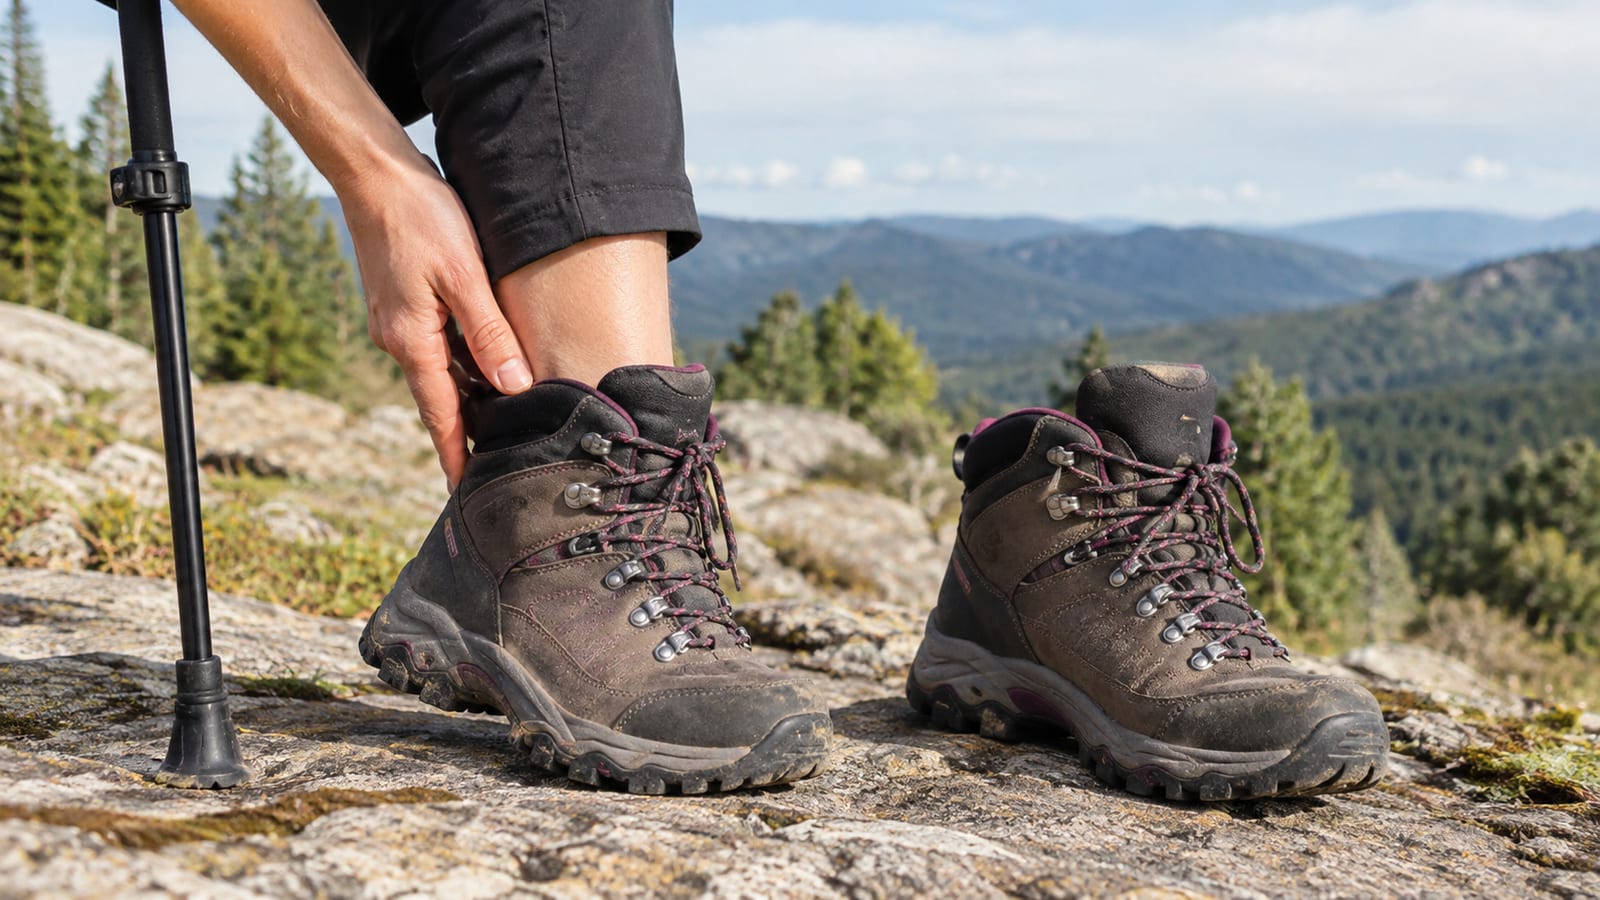
Some problems are fit failures, and more break-in won't fix them. If any of these show up after a couple of weeks, stop investing time. Start the return or exchange:
- Toes hitting the front on downhills
- Heel lift that firm lacing doesn't stop
- Pressure across the widest part of your foot that doesn't ease
- Numbness that comes back on every walk
- A seam or stiff edge that digs into the same spot no matter how you lace
- Glue lines lifting or the sole starting to separate
Boots that are too short never get longer. Sometimes your feet still ache after hikes in boots that seem to fit. In that case the cause may be lacing, insoles, or your stride. Our breakdown of why your feet hurt after hiking walks through those fixes.
FAQ
My trip is next week. Can I still break in new boots?
You can partly do it. Wear them every day in short walks, and add a hill or a pack if you have time. Even so, pack your old broken-in footwear as a backup and leave room in your plans for a bailout point. A week gets you a sense of the fit, but it won't fully soften stiff leather.
Do waterproof boots take longer to break in?
The waterproof membrane inside doesn't stretch or mold the way leather does. As a result, the outer boot can soften while the liner stays the same shape. Fit matters even more with waterproof boots because break-in can't do as much to rescue them.
Can a shoe repair shop stretch boots that feel tight?
A cobbler can often stretch leather in one spot, such as over a bunion or across a tight toe box. That works for pressure in a specific place. However, it won't add length, and it won't help much with fabric boots.
Should I break in boots I bought used?
Used boots already carry someone else's wear pattern in the footbed and flex points. Still, give them the same short-walk test before a real hike. If the heel counter feels collapsed or the sole is worn unevenly, skip them. Those flaws will shape your stride instead of your foot shaping the boot.
