
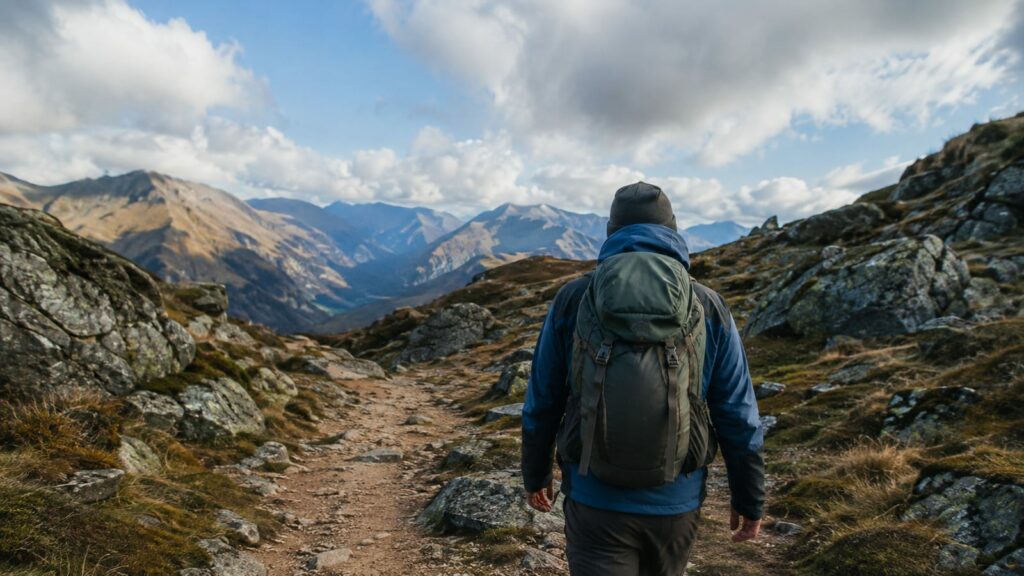
A breathable base layer, a grid-fleece midlayer, and a light waterproof shell make the best layering system for hiking comfort. Add a wind shell for dry, exposed trails and a synthetic insulated jacket for cold stops. The trick is removing layers before your shirt is soaked, not waiting until you’re shivering beside the trail.
Last updated: 2026-08-13
What is the best layering system for hiking comfort?
The best layering system for hiking comfort has four jobs:
- Base layer: moves sweat away from your skin.
- Midlayer: traps warm air while letting some sweat vapor escape.
- Shell: blocks rain and strong wind.
- Optional insulation: keeps you warm during rests, cold descents, and sudden weather changes.
For most hikers, I’d use a synthetic or merino-synthetic base layer, a breathable grid fleece, and a lightweight waterproof shell. Carry a wind shell when the forecast is dry but gusty. Pack a synthetic insulated jacket when you expect cold stops or damp weather.
| Layer | Best choice | What it does after several miles | Verdict |
|---|---|---|---|
| Base layer | Synthetic or merino-synthetic blend | Dries sweat and reduces clammy skin | Best overall |
| Active midlayer | Breathable grid fleece | Adds warmth without trapping as much heat | Best default |
| Wind protection | Lightweight wind shell | Cuts wind on ridges without the stuffiness of a rain jacket | Worth carrying in dry wind |
| Rain protection | Lightweight waterproof-breathable shell | Keeps rain and severe wind from stealing body heat | Essential protection |
| Rest-stop warmth | Packable synthetic insulated jacket | Adds warmth when you stop, even in damp air | Safer than down in wet conditions |
Fit matters as much as fabric. Your base layer should sit close to your skin without squeezing your shoulders. The midlayer needs room to move and hold a little air. Your shell must slide over both without crushing the fleece or binding under pack straps.
The best layering system for hiking comfort is the one you can adjust before your body gets too hot or too cold. A jacket that stays in your pack because it’s annoying to reach is not helping much.
What are the best breathable layers for hiking?
The best breathable layers for hiking are a fast-drying base, a grid fleece with open channels, and a wind shell with useful vents. Active insulation can work too, but it’s usually warmer and less forgiving when you’re climbing hard.
Sweat-moving base layers
Synthetic fabrics dry fastest after a hard climb. Merino handles odor better, but it can stay damp longer in humid weather. A blend gives you a useful middle ground for trips where you’ll hike several days without washing clothes.
Loose shirts often breathe better than tight athletic tops. You want fabric that moves air under your arms and doesn’t glue itself to your back under a pack. A shirt that dries before your lunch stop and doesn’t sandpaper your shoulders is doing the job.
See our guide to moisture-wicking hiking shirts if your current shirt stays wet through the afternoon.
Grid fleece
Grid fleece uses raised fabric and open channels to hold some warmth while giving moisture a path out. That makes it a better active midlayer than a dense, heavy fleece for steep climbs.
The Hiker Hunger Outfitters micro-grid fleece hoodie uses a micro-grid fleece inner with a spandex and polyester outer. Its listed weight ranges from 10 ounces to 13 ounces, depending on size. That’s a sensible weight for a hiking midlayer, provided the fit leaves room for your base layer and shell.
The catch is wind. Grid fleece breathes well because air can move through it. On an exposed ridge, that same trait can turn into a chill. Carry a wind shell when the trail leaves the trees.
Active insulation
Active insulation combines a light outer fabric with insulation that allows more air movement than a static puffy. It can replace a fleece for some hikers, especially in cool, dry weather.
Still, it’s less flexible than a plain grid fleece. Active insulation can feel too warm on climbs and not warm enough during long rests. Buy it if you know your pace and weather patterns. Otherwise, keep it simple with fleece plus a separate stop layer.
Wind shells
A wind shell is usually the most breathable way to handle dry wind. It weighs less than a rain jacket and feels less clammy when you’re working uphill.
However, it won’t protect you from sustained rain. Some wind shells shed a brief shower, but that isn’t the same as waterproof protection. Treat the hang tag claim with the respect it deserves, which is not much during an afternoon storm.
Ventilation features that earn their place
Look for:
- Full-length or two-way front zips.
- Pit zips on rain shells.
- Sleeves that roll or push up easily.
- A hem you can loosen over a hip belt.
- Cuffs that open without removing gloves.
- A hood that turns with your head.
Small vents matter after mile 10. You don’t need more insulation when the problem is trapped sweat.
Which base-layer fabric is best for hiking?
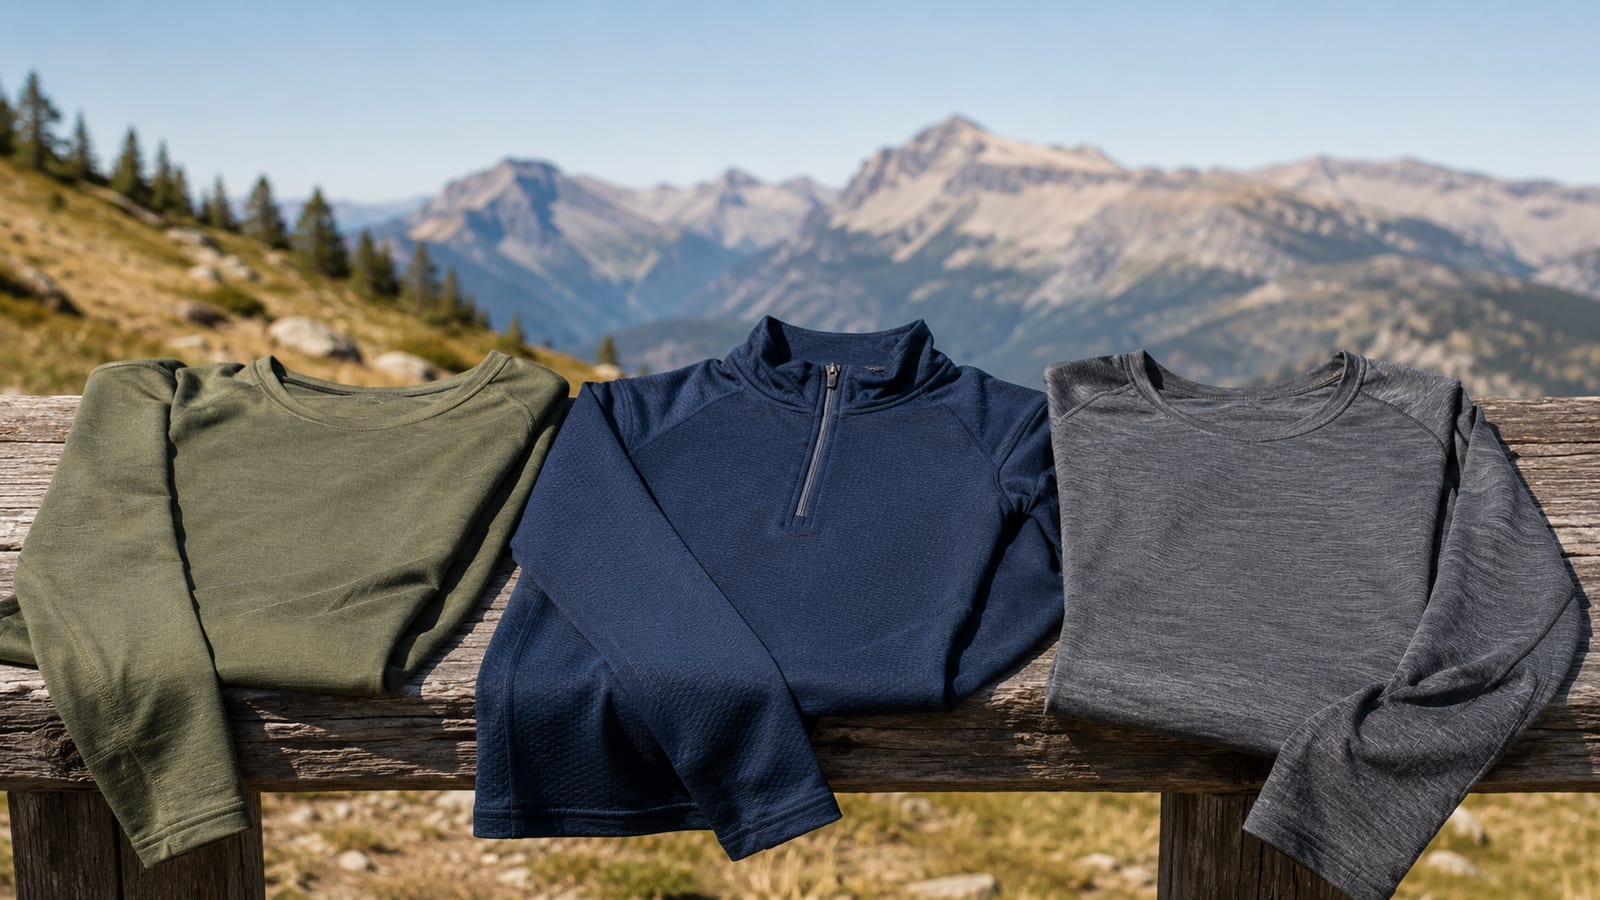
A merino-synthetic blend is the best all-around base layer for hiking. Synthetic wins for fast drying and low cost. Merino wins for odor control and soft comfort. The blend gives you fewer weaknesses without turning the shirt into a damp towel.
Synthetic fabric
Synthetic base layers are the practical choice for hot day hikes, humid trails, and trips with frequent water carries. Polyester and nylon dry quickly and handle repeated washing better than delicate wool.
They also hold odor. After a few sweaty trail miles, a basic polyester shirt can smell like it has been negotiating with a compost bin. That’s fine for a single day. It gets old on a backpacking trip.
Pick synthetic if you:
- Sweat heavily.
- Hike in humid heat.
- Need fast dry time.
- Want the lower-cost option.
- Wash clothing often.
Merino wool
Merino wool is better for odor control and temperature changes. It feels comfortable in cool weather and can stay wearable longer between washes.
It costs more and usually dries slower than synthetic fabric. In wet forests or humid summer conditions, that slower dry time can matter more than the odor advantage.
The researched merino products discussed here use 100% merino wool. Other products use blends made mostly of merino wool. Don’t assume the word “merino” tells you how fast a shirt dries. Check the actual fabric mix.
Pick merino if you:
- Take multi-day trips.
- Care about odor control.
- Run cold.
- Prefer wool against your skin.
- Hike in dry or cool conditions.
Merino-synthetic blends
Blends are my default recommendation for most hikers. They dry faster than pure merino and resist odor better than basic polyester.
They’re still not magic. A blend can cost more than synthetic and may wear faster under rough pack rub. If your shoulder straps grind the same area every day, inspect that fabric before buying another expensive shirt.
For a deeper comparison, read merino versus synthetic base layers.
Which midlayer insulation is best for active hiking?
A breathable grid fleece is the best default midlayer for active hiking. It gives useful warmth, dries quickly, and handles repeated add-and-remove cycles without much fuss.
Fleece
Fleece is the easiest insulation to recommend because it keeps working after it gets damp. It dries faster than most insulated jackets and costs less than down.
Lightweight fleece is better for high-output climbs. Heavier fleece makes more sense for slow walking, cold mornings, and mild winter trips. Fleece weights commonly fall into lightweight, midweight, and heavyweight groups. Those labels help, but the actual fit and fabric density matter more on the trail.
The Tru-Spec Polar Fleece Jacket is listed at $50.95. It uses a 100% polyester polar fleece body with nylon reinforcements. That makes it a reasonable budget choice for casual hikes and cold camp mornings, though a bulky polar fleece takes more pack space than a grid fleece.
Verdict: Keep fleece as your default active insulation. Choose grid fleece for climbs and a denser fleece for slower, colder days.
Down insulation
Down gives excellent warmth for its weight and packs small. It’s a strong choice for dry, cold trips and long rests where you aren’t generating much heat.
Moisture is the problem. Wet down loses loft and takes longer to recover. Sweat can damage it too, especially if you wear the jacket while climbing hard.
Verdict: Use down for dry cold and careful trips. Skip it as your only warm layer in wet climates or unpredictable shoulder-season weather.
Synthetic insulation
Synthetic insulation keeps more warmth after getting damp. That makes it the safer stop layer for wet forests, shoulder seasons, and uncertain forecasts.
It usually packs larger than down and may feel too warm while moving uphill. That’s fine. A stop layer is supposed to come out when you stop, not become your climbing uniform.
Verdict: Choose synthetic insulation when damp conditions, condensation, or sudden weather matter more than the smallest packed size.
If you’re deciding between jacket types, our guide to insulated and non-insulated hiking jackets covers the tradeoff.
When should you choose a windbreaker over a rain jacket?
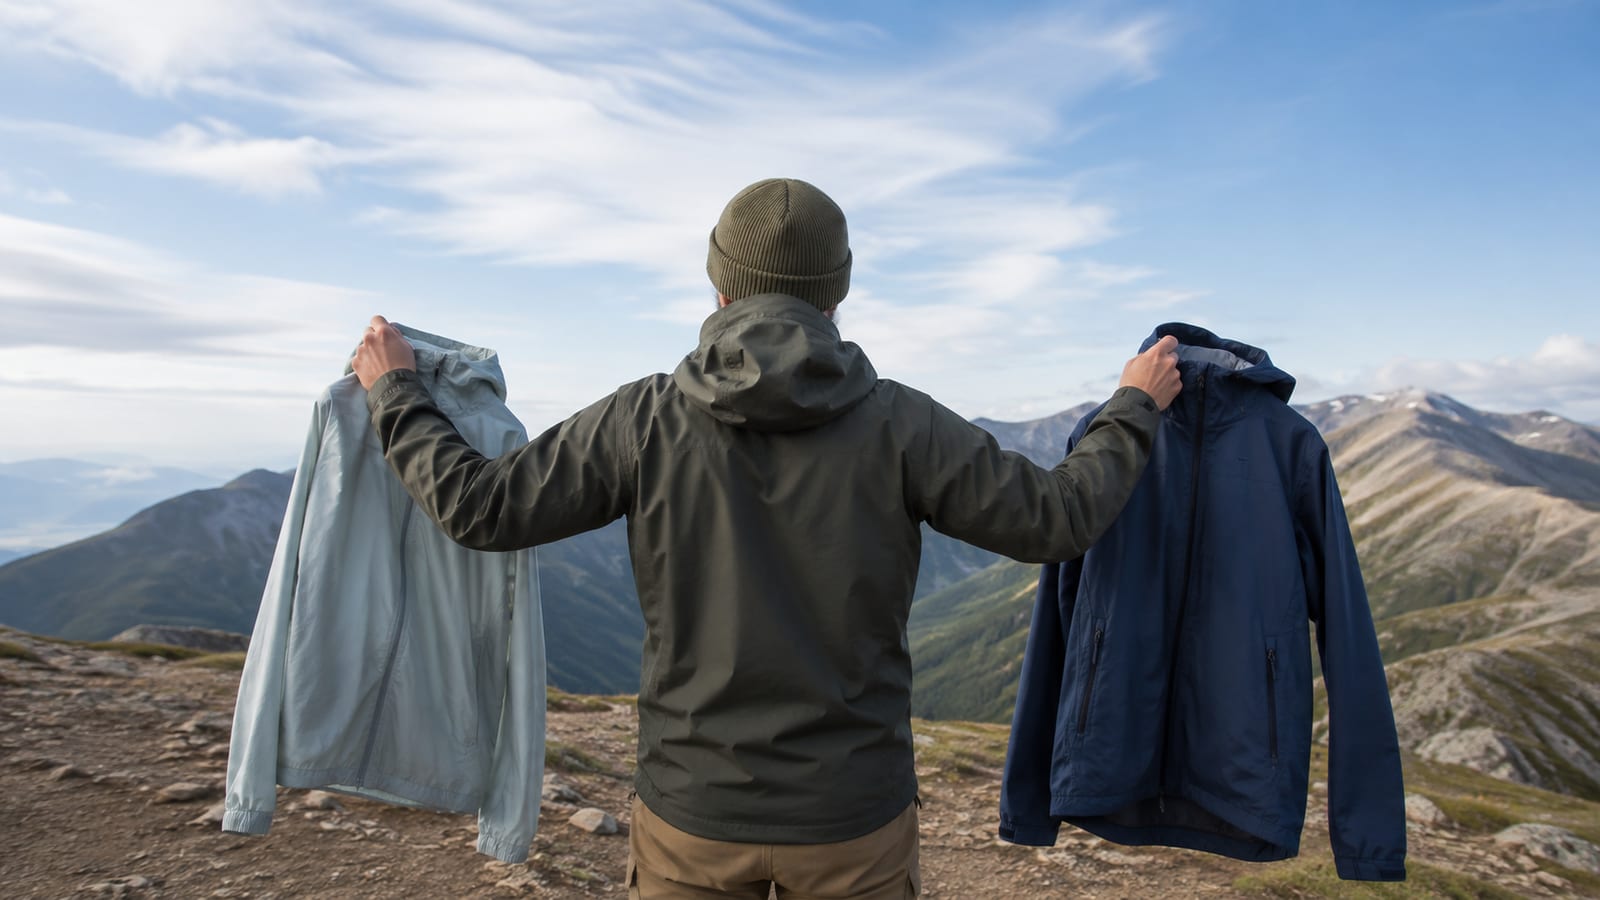
Choose a windbreaker for dry, windy conditions. Choose a rain jacket for precipitation, wet snow, and severe wind where wind-driven moisture can strip heat from your body.
A wind shell breathes better because it doesn’t need to block water under the same pressure. It’s more comfortable on exposed switchbacks, desert routes, and cool ridges where rain is unlikely.
A rain shell is essential safety equipment when the forecast includes real precipitation. Waterproof fabric also blocks wind well, but it can feel clammy during a hard climb. Open the front zip, use pit zips, and remove your fleece before you start sweating through both layers.
| Trail condition | Wear | Why |
|---|---|---|
| Dry and breezy | Wind shell | Better breathability and less pack weight |
| Light brush or cool shade | Wind shell if needed | Adds a little warmth without full rain protection |
| Steady rain | Waterproof shell | Keeps water and wind off your insulation |
| Wet snow | Waterproof shell | Protects against prolonged moisture |
| Cold rest stop | Insulated jacket, then shell if windy | Preserves warmth without soaking the active layers |
| Warm rain during a climb | Base layer plus vented shell | Avoids trapping extra fleece under the rain jacket |
A rain jacket worn as an everyday midlayer often leaves you damp from the inside. That sounds better on a gear list than it feels on a climb.
How should you layer for changing weather on the trail?
Layer in this order: start cool, vent early, add warmth before rests, and protect insulation before rain arrives. Waiting for a full-body chill makes every clothing change harder.
Use this sequence:
- At the trailhead: Start slightly cool if the first section climbs. Overdressing in the parking lot creates sweat before the trail gets interesting.
- On the first climb: Open your front zip or vents early. Remove the midlayer if your base layer is getting wet.
- Before a ridge or exposed section: Add the wind shell before the gusts hit. It works better over a dry base.
- At a rest stop: Put on the insulated jacket immediately. Don’t wait until your sweat cools and your teeth start making decisions.
- During rain: Put on the shell over your base or midlayer. Keep the insulated jacket dry unless you have no other choice.
- On a cold descent: Add the midlayer before your muscles cool. Descents can feel easier while still draining body heat.
- During a sudden temperature drop: Protect your head and hands first, then add insulation. Small items can buy time while you handle the bigger layer change.
Keep the shell and stop layer near the top of your pack. A jacket buried under food, water treatment, and spare socks is technically packed. It is not practically available.
For cold-weather risk, use this guide on preventing hypothermia on cold hikes. The National Weather Service also explains how cold, wind, and wet clothing increase risk.
How should your hiking layers change by season?
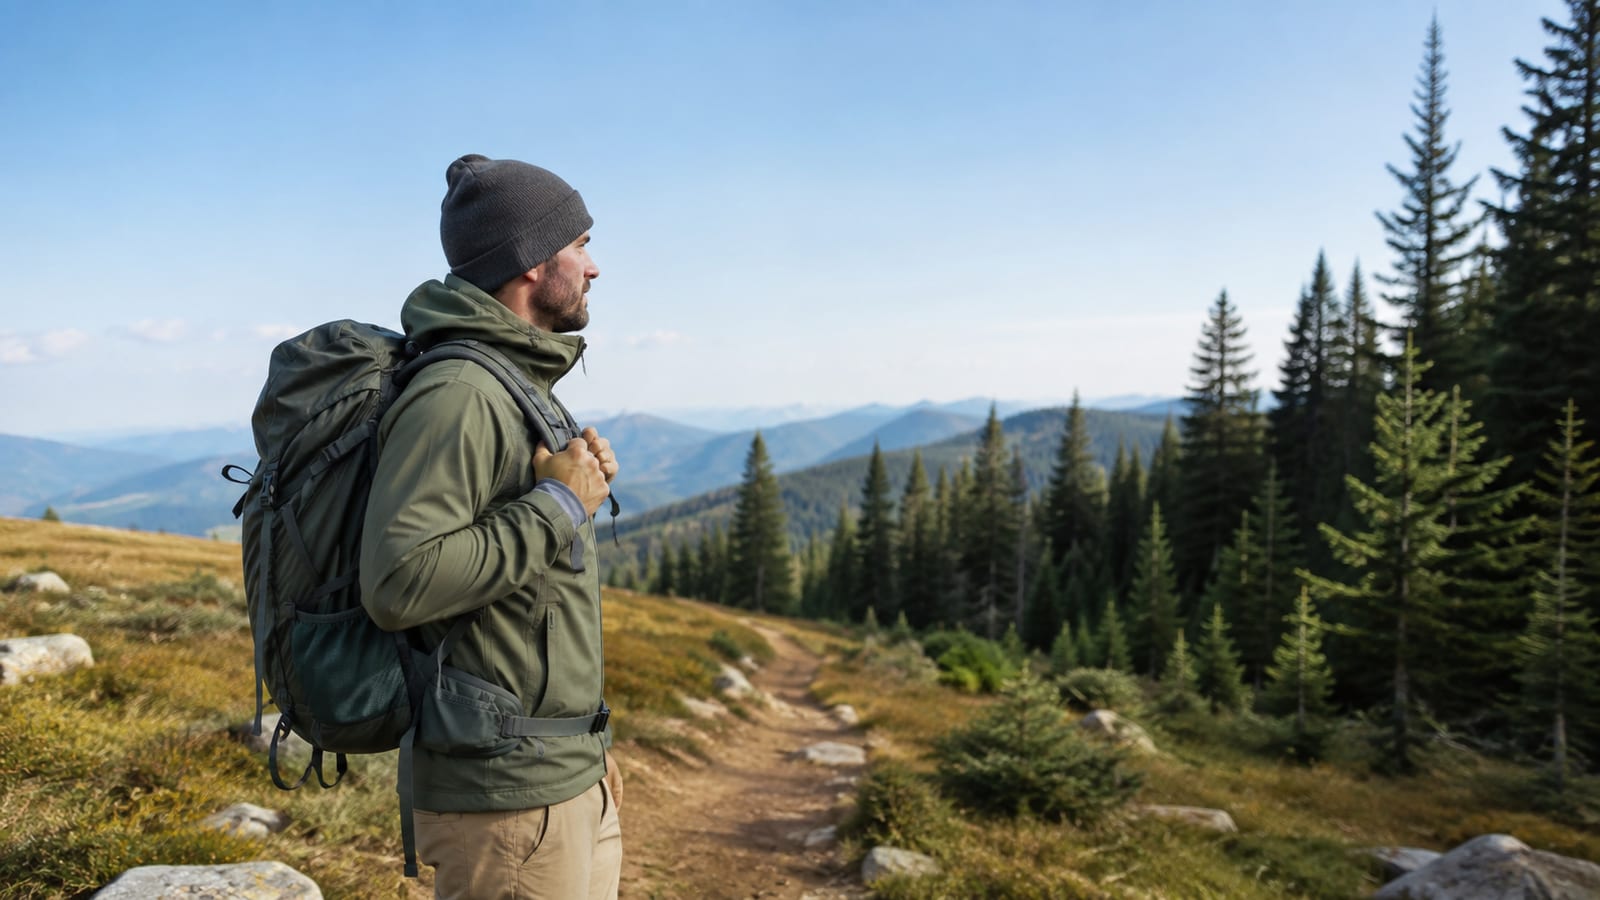
Your layering system should follow effort and weather, not the name of the season. A warm autumn climb can require less clothing than a wet summer ridge.
Hot weather
Use a thin synthetic or merino-synthetic shirt. Add sun coverage if the trail has little shade. Carry a wind shell for exposed ridges and a rain shell when storms are possible.
Skip fleece unless the forecast includes a cold morning, high elevation, or long rest. Carrying insulation for a hot, humid day usually gives you pack weight and nothing else.
Shoulder seasons
Use a light base, grid fleece, wind shell, and packable synthetic insulated jacket. Add a waterproof shell when rain or wet snow is likely.
This is where a complete system earns its place. Conditions can shift from sweaty climb to cold ridge without asking permission.
Winter
Start with a warmer base layer if you run cold. Use fleece or active insulation while moving, then add a synthetic insulated jacket during rests. Bring a waterproof shell for snow, sleet, and strong wind.
Add gloves, a hat, and spare dry layers when conditions justify them. Winter clothing should be planned around the bailout point, not the optimistic forecast.
Wet climates
Choose synthetic or blended base layers and synthetic insulation. Pack a waterproof shell even when the morning looks harmless. Keep the insulation in a dry bag if the trip is long or the pack liner is unreliable.
Dense fleece can work well here, but it takes space and can hold water. Grid fleece is easier to dry if you have shelter and airflow.
How do you balance warmth and breathability while hiking?
Remove a layer before you overheat. Once your base layer is soaked, adding insulation at the next rest stop becomes a slower and colder process.
Use these adjustments:
- Slow your pace before stripping off every layer.
- Open vents on climbs.
- Remove fleece before the shell traps sweat.
- Add a wind shell when wind, not cold, is the problem.
- Save the insulated jacket for stops.
- Choose a close base-layer fit without compression.
- Leave room in the midlayer for air and movement.
- Keep cuffs and the neck open when your core is warm.
- Close the shell before exposed terrain, not halfway across it.
Fit changes breathability too. A base layer that is too loose may bunch under shoulder straps. A midlayer that is too tight loses loft and makes arm movement miserable. A shell that fits too closely over the fleece turns every reach for a trekking pole into a small argument.
The goal is steady comfort, not one perfect outfit for the entire day. Your pace, wind, humidity, pack weight, and water carry will keep changing.
What should an ultralight layering system actually include?
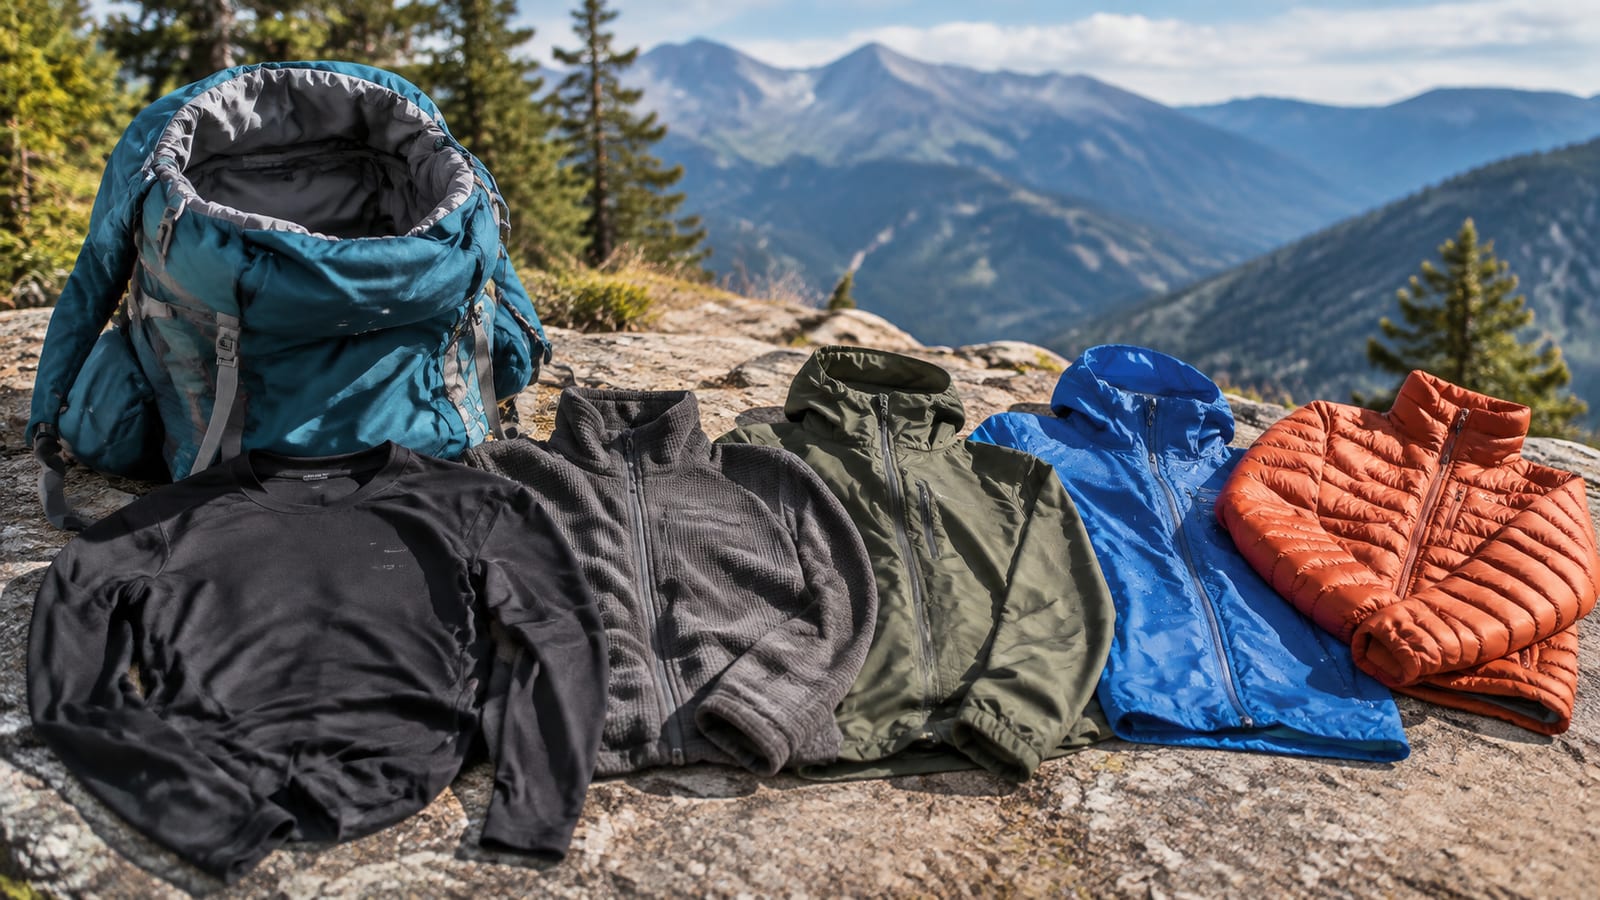
An ultralight layering system should include protection you’ll use, not three versions of the same jacket. For most three-season day hikes, carry a base layer, a breathable midlayer when needed, a waterproof shell, and a warm layer matched to the forecast.
Keep these essentials
- Synthetic or merino-synthetic base layer.
- Lightweight waterproof shell with a hood.
- Grid fleece or thin active midlayer for cool conditions.
- Packable synthetic insulated jacket for cold stops.
- Wind shell for dry, exposed, windy routes.
- Light hat and gloves when the forecast or elevation calls for them.
Cut these redundancies
- Don’t carry both a heavy fleece and active insulation unless conditions demand it.
- Don’t bring a wind shell when steady rain is likely and pack weight is tight.
- Don’t pack a down jacket and synthetic jacket for the same ordinary day hike.
- Don’t carry a rain shell as a substitute for insulation.
- Don’t bring a thick base layer if your midlayer already supplies the warmth.
The best layering system for hiking comfort can be light without being fragile. Save weight by choosing one piece that does each job well. Safety gear gets priority over shaving a few ounces from a layer you may need during a storm pitch or long delay.
Which layering mistakes make hikers colder and wetter?
Most layering failures start before the trailhead. Hikers wear too much at the start, sweat through the base layer, then discover the warm jacket can’t fix a wet shirt.
Starting overdressed
If you feel cozy in the parking lot, you may be too warm for the first climb. Remove the fleece before you start moving hard. Keep it where you can reach it.
Wearing cotton
Cotton absorbs sweat and dries slowly. It can feel fine on a short walk, then turn cold when the wind picks up. Use synthetic, merino, or a blend for trail clothing.
Skipping the shell
A forecast can change. A shell protects your base and insulation from rain, wet brush, and wind. It also gives you a better chance of staying functional if the trail takes longer than planned.
Using down in damp conditions without a backup
Down is excellent in dry cold. It’s a poor single point of failure in wet weather. Carry synthetic insulation when the forecast includes rain, damp air, or repeated wet stops.
Treating a rain shell like active insulation
A shell blocks weather. It doesn’t create much warmth by itself. If you wear it over a damp base during a hard climb, you may feel warmer for a moment and wetter for the rest of the day.
Buying by fabric label alone
“Merino,” “grid fleece,” and “waterproof” describe materials or functions. They don’t guarantee a good fit, useful vents, or enough room under a pack. Check the cuffs, hood, hem, and shoulder seams before trusting the spec sheet.
FAQ
Can you hike comfortably with only two layers?
Yes, on stable-weather day hikes. A breathable base layer and a waterproof shell can cover warm, wet conditions, but you’ll need insulation for cold mornings, exposed wind, or long rest stops.
Should your base layer be tight or loose?
Your base layer should sit close enough to move sweat without compressing your chest or shoulders. If it bunches under pack straps, it’s too loose in the wrong places.
Is a hoodie enough for hiking?
A casual hoodie works for short, dry walks. It usually absorbs more moisture, dries slower, and blocks wind poorly than a proper hiking midlayer. Keep it for the coffee shop unless the trail is easy and the forecast is kind.
Do you need separate layers for your legs?
Not always. Many three-season hikers can manage with quick-drying hiking pants and add rain pants or insulation only for wet, cold, or snowy conditions. Your legs generate heat while moving, so they often need less layering than your torso.
How do you keep spare layers dry in a backpack?
Use a pack liner or dry bag and store insulation inside it. Keep the shell outside that protected bundle if you need fast access during rain. A dry jacket is far more useful than a technically warmer one that soaked through in your pack.
