
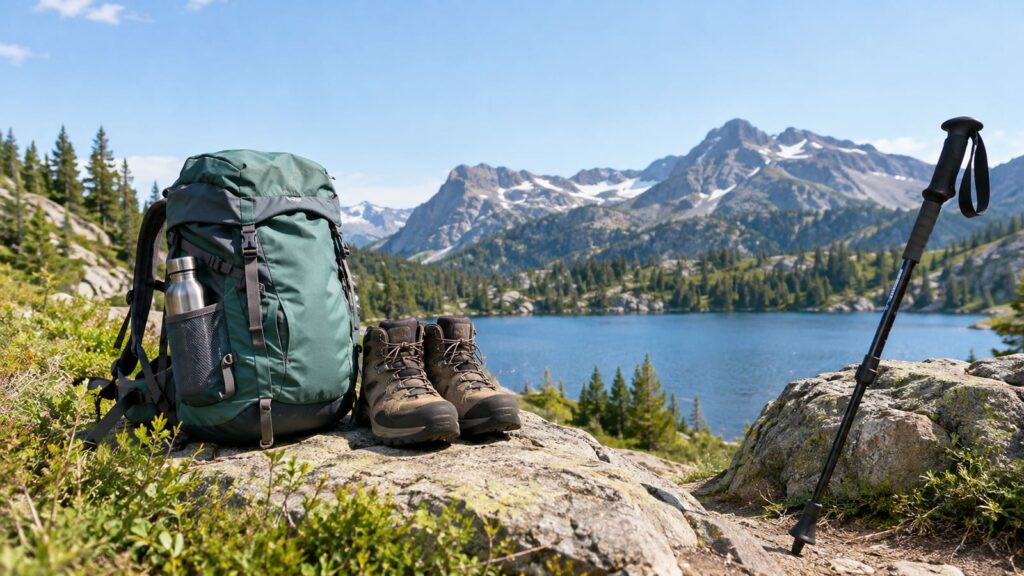
Carry only what keeps you safe and self-sufficient, then keep your feet on durable trail tread. That’s how to hike lightly and protect the trail without turning a day hike into a gear parade. Keep navigation, water, food, weather protection, a light, and basic emergency supplies. Meanwhile, leave shortcuts, fragile plants, saturated ground, and closed areas alone.
Last updated: 2026-10-19
How do you hike lightly and protect the trail?
Light hiking means cutting luxury weight, not your safety margin. A smaller pack helps your feet, balance, and pace, especially on loose descents or hot climbs. However, leaving your rain shell or headlamp at home to save weight is a poor bargain.
Start with this compact system:
- Navigation suited to the route, plus an offline backup.
- Enough water and a reliable treatment method where needed.
- Food for the planned hike, with a little extra for delays.
- Clothing that handles the expected heat, wind, or rain.
- A headlamp, even if you plan to finish before dark.
- Basic first aid and any personal medication.
- Sun, bug, and emergency protection that matches the trail.
- A small waste bag for wrappers, tissues, and food scraps.
Then remove duplicates and comfort items you rarely use. Several spare shirts won’t improve your afternoon, but dry socks might.
The goal is a lean kit that still works when the weather turns, the filter clogs, or the route takes longer than planned.
1. Choose a trail your legs can finish
Pick a route you can complete without stumbling into bad decisions late in the day. Distance alone tells you little. Elevation gain, loose rock, mud, heat, altitude, stream crossings, and pack weight can turn modest trail miles into a slow grind.
Use these factors before committing:
| Route factor | What to check | Why it matters |
|---|---|---|
| Distance | Full route, side trips, and return mileage | Tired hikers miss turns and start taking shortcuts |
| Climbing | Total gain and steep sections | A hard climb can empty your legs before the descent |
| Surface | Rock, roots, sand, mud, or snow | Poor footing slows travel and raises injury risk |
| Heat | Shade, exposure, and water access | Heat drives heavier water carries and faster fatigue |
| Altitude | Starting height and high points | Thin air can reduce pace and worsen headaches |
| Daylight | Start time and turnaround point | Darkness makes route-finding harder |
| Bailout options | Side trails, roads, or safe retreat points | A shorter exit can stop a small problem growing |
Set a turnaround time before leaving the trailhead. Then honor it. A summit has no opinion about whether you reach it.
Route choice also affects trail damage. Exhausted hikers are more likely to cut switchbacks, skirt mud, sit on fragile ground, or wander while searching for an easier line.
2. Pack a small system that works after several miles
Build your kit around trail conditions instead of packing impressive gear with no clear job. Every item should cover a likely problem or support another item.
For clothing, carry layers that manage sweat and dry reasonably fast. A thin shell earns its place in exposed weather. A pile of spare clothes usually becomes dead pack weight after mile 10.
For water, match the container and treatment method to the route. A reusable bottle or reservoir cuts disposable waste and is easier to refill. Americans buy billions of single-use water bottles, and only a minority are recycled. Carrying a durable bottle is a small habit, but at least it survives lunch and the next trip.
Navigation needs the same restraint. Bring a paper map where it adds a useful backup, and save an offline map before leaving service. Your phone also needs enough battery for the route. A screenshot of the trailhead map is good enough for a signed local loop, but thin comfort for a maze of backcountry junctions.
Keep first aid focused on problems you can handle: bleeding, blisters, minor cuts, sprains, and personal medical needs. A huge pouch stuffed with supplies you can’t identify only makes the shoulder straps bite harder.
For less packaging and fewer loose wrappers, cut hiking waste before you leave home.
3. Check conditions, closures, permits, and water
Look at the land manager’s trail report before you drive. Check closures, fire restrictions, permit rules, parking limits, seasonal hazards, recent storms, and whether water sources are flowing.
A closure usually means crews are repairing damage, wildlife needs space, or the route is unsafe. Walking around a gate because the tread looks fine adds work for the people already trying to fix it.
Permits can limit crowding and protect campsites, water sources, and narrow terrain. If your route requires one, confirm the details through the land manager or its official permit system. A saved confirmation is useful where cell service fades.
Water reports deserve suspicion. Springs dry up, filters slow in silty water, and livestock ponds can become foul late in the season. Carry enough to reach a dependable source, then bring treatment and a backup appropriate to the trip.
Finally, check the weather for the trail’s elevation and exposure. A pleasant forecast in town may say little about wind on an open ridge.
4. Stay on the tread and protect plant life
Sticking to marked paths concentrates wear on ground designed to take it. Straying from the path crushes plants and fungi, compacts soil, exposes roots, disturbs wildlife habitat, and creates social trails that other hikers follow.
Soil erosion is the most widespread trail impact. Once water starts running down an unofficial shortcut, it carries loose dirt downhill and deepens the line. What began as a few footprints can become a drainage channel that trail crews must close and repair.
Research on hiking and trail running found direct harm to soil and vegetation through abrasion, crushing, and uprooting. Trampling also compacts soil. That reduces the space available for air and water around roots.
This is why it’s important to stay on marked hiking paths:
- Plants beside the tread may grow slowly or recover poorly.
- Packed soil sheds water instead of absorbing it.
- Widened trails expose more ground to erosion.
- Social paths split habitat and draw more feet off route.
- Wandering hikers can disturb feeding, nesting, or resting animals.
If you must leave the tread for safety, choose bare rock, gravel, or firm dry ground. Don’t follow faint boot tracks through vegetation. Repeated feet can turn one careless detour into a permanent trail scar.
Keep trekking pole tips on the tread where possible. Don’t pick flowers, break branches, peel bark, or move logs to make a cleaner sitting spot. In wet meadows and fragile alpine areas, a small crushed patch can take far longer to recover than your lunch break lasts.
Walk through shallow mud when stepping around it would widen the trail. If the mud is unsafe or deep enough to swallow footwear, turn around or use an approved alternate route. Your dry socks don’t outrank the hillside.
5. Use low-impact habits that hold up in bad conditions
Leave No Trace gives hikers a useful framework through 7 principles, but the trail still asks for practical choices. The following habits do most of the work:
- Travel single file on narrow tread. Don’t spread across vegetation to keep a conversation going.
- Stay on switchbacks. Cutting the corner loosens soil and teaches the next hiker the same bad line.
- Yield from a durable spot. Use bare rock, firm dirt, or a wide section of trail instead of stepping onto flowers.
- Take breaks on durable ground. Avoid meadows, moss, wet soil, and stream banks.
- Pack out food and trash. Peels, nutshells, tissues, and spilled snacks still change animal behavior.
- Keep dogs under control. Follow leash rules and carry their waste out.
- Keep noise low. Loud music reaches wildlife and other hikers long before you do.
- Space large groups. Smaller clusters pass more cleanly and put less pressure on narrow viewpoints.
- Leave rocks, flowers, antlers, and historic objects in place. They belong to the site.
- Avoid saturated trails. If every step punches a deep print, choose another route.
Wildlife needs room as well. Many parks require visitors to remain at least 25 yards from most wildlife and 100 yards from predators such as bears and wolves. Local rules can be stricter, so follow the posted distance. For more detail, see how marked paths protect wildlife.
6. Handle waste without leaving a problem behind
Carry out wrappers, leftovers, toilet paper, hygiene products, broken gear, and dog waste. Food scraps belong in the waste bag too. An orange peel still attracts animals, even if it looks cheerful beside the trail.
Use toilets where they are provided. Where local rules permit a cathole, dig it 6 to 8 inches deep and 4 to 6 inches in diameter. Place it at least 200 feet from water, camp, and trails.
Afterward, cover and disguise the cathole. Pack out toilet paper and hygiene products. Some landscapes require waste bags or other toilet systems, so check the rules before assuming that digging is allowed.
Keep your trash bag easy to reach. If it sits under your spare layer, first-aid kit, and lunch, small litter has a way of becoming somebody else’s problem. Our guide to handling waste on hiking and camping trips covers the messier details.
7. Trail control is shared stewardship, not policing
You help control hiking-trail impacts by controlling your own route choice, timing, group size, waste, and behavior. You don’t need to patrol strangers or start an argument beside a muddy switchback.
If someone seems lost or is about to cut a corner, a calm direction often works. Try, “The marked route continues this way,” or, “That slope is closed for recovery.” Then keep moving unless there is an immediate safety problem.
Report hazards to the land manager with useful details:
- Trail name and nearest signed junction
- Type of problem
- Clear location from a map pin or landmark
- Direction of travel
- Photo, if it can be taken safely
- Whether the route is passable
Useful reports include downed trees, washed-out tread, damaged signs, illegal fire rings, overflowing toilets, unstable bridges, and new social trails. Complaining that “the trail was bad” gives a crew little to work with.
Don’t move signs, build your own cairns, or close a path with branches. Unofficial repairs can hide hazards or send hikers the wrong way.
8. Mountain trail problems have plain solutions
Mountain terrain adds loose ground, sudden weather, snow, and steep water crossings. None of those problems improve because you packed lightly.
| Challenge | Safer, lower-impact response |
|---|---|
| Eroded tread | Stay on the established line and avoid crumbling edges |
| Loose rock | Slow down, space the group, and avoid kicking stones downhill |
| Lingering snow | Turn back if you lack traction, tools, or route knowledge |
| High stream flow | Use a bridge or retreat rather than trampling banks for a crossing |
| Sudden thunder | Leave exposed ridges and high points early |
| Crowded viewpoints | Wait, use durable ground, and keep packs off vegetation |
| Thick mud | Walk the center where safe or choose another route |
| Damaged switchbacks | Follow closures and report the location |
Stream crossings deserve a conservative call. Fast, opaque, or rising water can hide holes and moving rocks. Searching up and down the bank for a gentler spot may also crush plants and start a new trail.
Snow creates a similar trap. Footprints can lead away from the summer route, and a light pack won’t replace an ice axe, traction, or the skill to use them. Retreat while the descent is still manageable.
9. Support the people who maintain the trail
The most useful way to improve hiking trails is to reduce preventable damage and support trained maintenance. Follow closures, submit accurate reports, volunteer through approved programs, and back public funding for trail crews.
Trail work is skilled labor. Drainage, retaining walls, bridge repair, and tool use need planning and supervision. A well-meaning hiker digging a trench can redirect water into the tread and create a larger repair.
If you volunteer, choose work that fits your training and physical limits. Common projects include clearing brush, restoring damaged edges, removing litter, checking signs, and maintaining drainage under crew direction.
Donations help when you lack time for a workday. So does attending public planning meetings or commenting on proposed access changes. Quiet support for maintenance does more good than another social post about loving wild places.
10. Make conservative calls when conditions change
A light pack leaves less room for poor judgment. Turn around when weather closes in, an injury changes your pace, daylight fades, or the route stops matching your map.
Use clear triggers:
- Thunder is moving toward exposed terrain.
- You can’t confirm your location.
- Water is running short before the next dependable source.
- An injury affects balance, pace, or weight-bearing.
- Snow, loose ground, or stream flow exceeds your skill.
- Your turnaround time has passed.
- A solo-hiking concern leaves no safe margin for another mistake.
Stop early enough to eat, add a layer, check the map, or treat a hot spot. Small problems grow teeth when you keep walking because the destination looked close.
That is how to hike lightly and still keep a useful safety margin. Carry enough to solve likely problems, then have the sense to retreat from problems your pack can’t solve.
FAQ
Should I step off the trail to let faster hikers pass?
Use a wide, durable section of tread where possible. If you must step aside, choose bare rock or firm ground and avoid plants, soft edges, and living desert soil crust, often called cryptobiotic soil. A faster hiker can wait a few seconds for a safe passing spot.
Should I remove branches or rocks from the trail?
You can move a small loose branch if doing so is safe and clearly restores the existing tread. Leave large trees, built rockwork, drainage features, and uncertain route markers alone. Report anything that needs tools or could change the trail line.
Are cairns always official trail markers?
No. Some cairns mark approved routes, while others are decorative stacks or unofficial additions. Follow the land manager’s map and signs, and don’t add, remove, or rearrange cairns unless authorized.
How can children help protect a trail?
Give them simple jobs that have clear outcomes. They can spot wrappers, stay between trail edges, watch for signs, and remind the group to leave flowers and rocks in place. Keep the lesson concrete rather than turning the hike into a lecture.
What should I do if the marked trail disappears?
Stop before wandering farther. Check your map, look behind you, and return to the last confirmed marker if you can do so safely. If you remain uncertain, use your emergency plan instead of creating a new path through the vegetation.
