
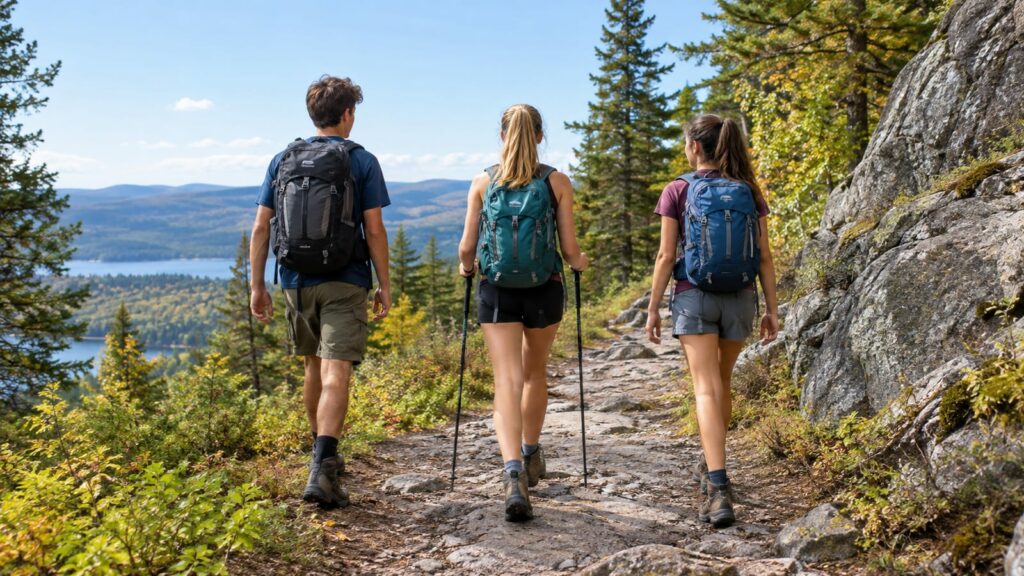
The payoff matters more than the trail’s reputation. Great hiking trails teens will enjoy include Lower Calf Creek Falls for a waterfall, Delicate Arch or Corona Arch for a clear goal, scenic rail trails for easy conversation, and lakeside or coastal routes for swimming and wildlife. Match the trail to the group’s fitness, judgment, heat tolerance, and appetite for climbing.
Last updated: 2026-09-23
What makes a hiking trail teen-friendly
Teens usually stay engaged when the trail gives them a clear reason to keep walking. A waterfall, narrow canyon, lake, arch, overlook, or beach works better than a route described only as “scenic.”
Use these standards before choosing:
- Visible payoff: Pick a destination teens can picture.
- Manageable effort: Check distance, elevation gain, heat, and terrain.
- Safe footing: Loose rock, steep drop-offs, deep mud, and slick surfaces change the day.
- Simple logistics: Parking, bathrooms, permits, shuttles, and trail access should be clear.
- Useful communication: Check phone coverage and download an offline map.
- Fair cost: A low-cost public trail often beats a famous route with complicated fees.
- Room to adjust: Loops, nearby viewpoints, and shorter alternatives help mixed groups.
A loop often feels better than an out-and-back because the scenery changes on the return. Still, an out-and-back trail can work well when the destination earns the walk back. Lower Calf Creek Falls Trail in Grand Staircase-Escalante National Monument is an example. It’s an out-and-back trail with moderate difficulty, sand and rock road terrain, and a waterfall at the end. The route is 6 miles round-trip, so younger hikers need to understand the full commitment before setting out.
Check the National Park Service or the local land manager before leaving. Trail conditions, parking rules, closures, and water access can change faster than a family group changes its mind about snacks.
The best trail types for teens
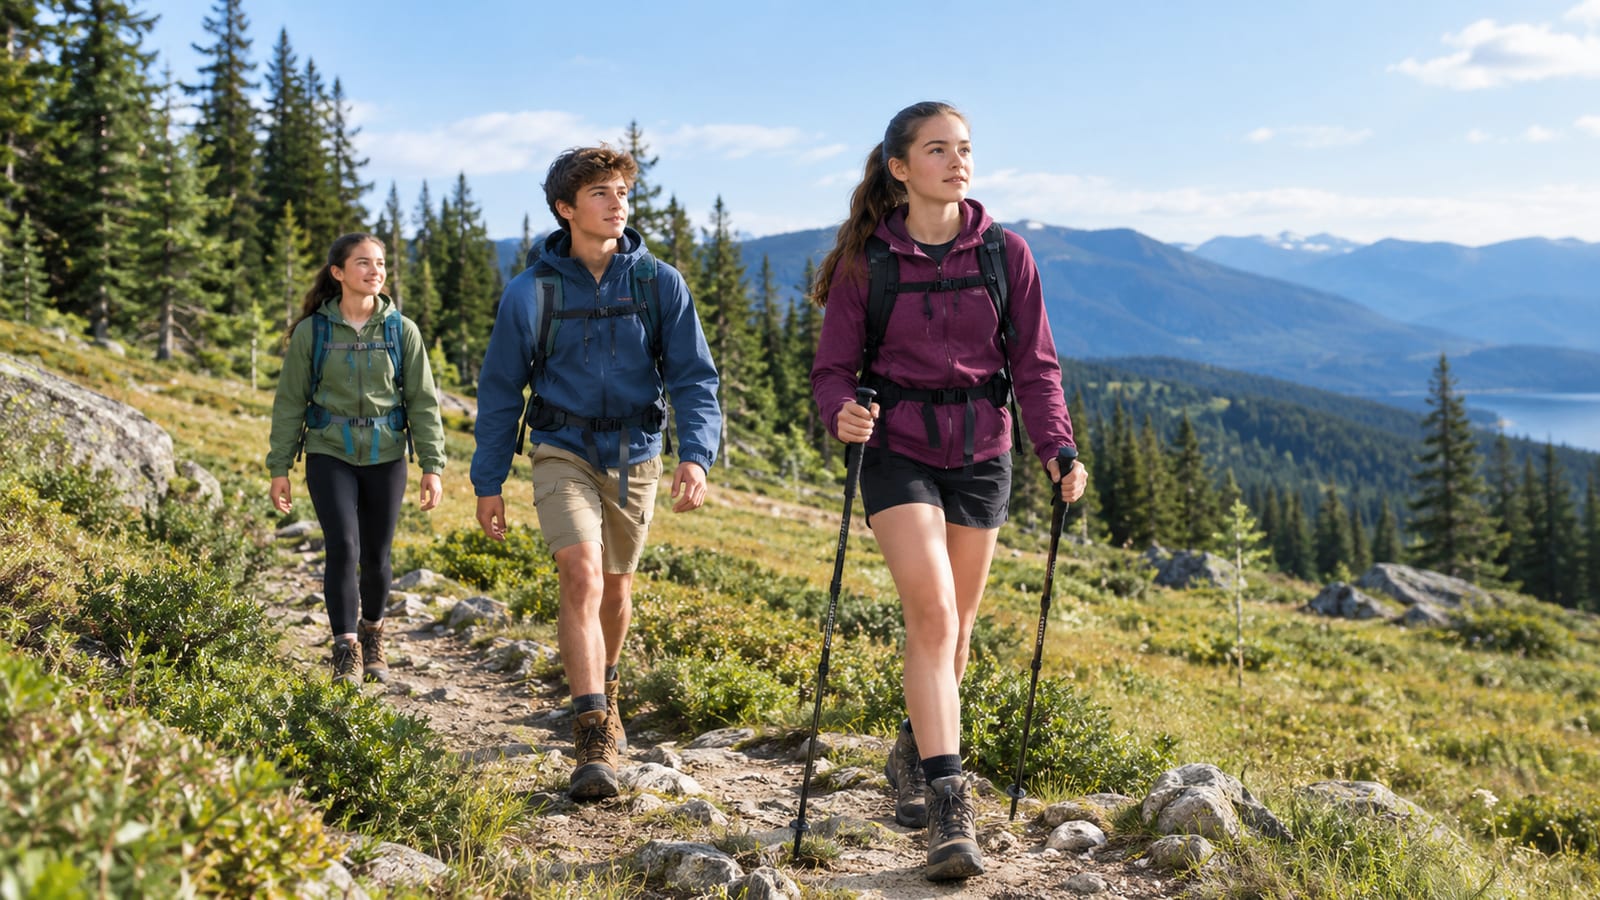
Pick the trail type around the group’s actual mood and ability. A challenge, a swim, a quiet walk, or a photo-worthy destination can all work. The wrong choice is the one that asks tired teens to pretend a long climb is exciting.
| Trail type | Why teens like it | Main drawback | Best fit |
|---|---|---|---|
| Waterfall loop | Fast scenery and a clear destination | Can be crowded or slippery | Most groups |
| Scenic rail trail | Easy walking and steady conversation | Less dramatic elevation | Mixed abilities |
| Lakeside or coastal trail | Swimming, wildlife, beaches, and sunset | Wind, heat, and changing weather | Summer outings |
| Short summit | A real achievement and wide views | Steep grades and exposure | Active teens |
| Boardwalk or canyon trail | Big scenery with clear navigation | Crowds and limited flexibility | Younger or new hikers |
Waterfall loops
Waterfall trails are the strongest all-around choice for teens. The destination is obvious, the scenery changes quickly, and a loop keeps the return from feeling like a repeat performance.
Lower Calf Creek Falls is a good example for families who can handle a moderate day. The waterfall and pool provide a real finish, but the distance and exposed terrain still deserve respect. Bring enough water, start early in hot weather, and don’t promise swimming unless current conditions and park rules allow it.
Scenic rail trails
Rail trails are the best low-stress option for mixed abilities. Their grades are usually gentle, the footing is predictable, and the route leaves room for conversation, bikes, and larger groups.
They won’t deliver the same drama as a red-rock arch or mountain summit. That’s fine. A teen who talks with friends, notices wildlife, and finishes in a good mood may get more from the day than a tired teen who reached a famous overlook under protest.
Coastal and lakeside routes
Water changes the whole mood of a summer hike. A beach, swimming area, bird habitat, fishing spot, or sunset view can turn an ordinary walk into a full-day outing.
Plan around heat, wind, bugs, and water safety. Carry a dry layer for the ride home, and check whether swimming is allowed. A lake that looks calm from the trail can still have cold water, strong currents, or a muddy shoreline.
Short summit trails
A short summit suits capable teens who want a clear achievement. The top gives the group a finish line, a view, and a reason to manage its pace.
Cassidy Arch Trail in Capitol Reef National Park is a stronger test than its distance suggests. The route is 3.1 miles out and back, with approximately 800-900ft elevation gain, and it takes around 2.5 – 3 hours in total. The climb, exposed rock, and heat matter more than the mileage. Treat the turnaround time as a real rule, especially if weather is moving in.
Boardwalks and canyon trails
Boardwalks and well-marked canyon routes are often the best introduction for younger or inexperienced hikers. Dramatic scenery arrives without demanding advanced route-finding or difficult footing.
The trail to Delicate Arch in Arches National Park is memorable, but it still involves real climbing and exposed slickrock. The route is 3 miles (4.8 km) roundtrip and climbs 480 feet (146m). That’s manageable for many active teens, but sun, heat, and crowded viewpoints can make the day harder than the distance suggests.
For more Utah ideas, this guide to the best hikes in Utah gives you more routes to compare by effort and scenery.
Match the hike to ability, not just age
Age helps with planning, but it doesn’t measure fitness, heat tolerance, confidence, or judgment. A younger teen who hikes often may manage more than an older teen who spends most weekends indoors. That isn’t a character flaw. It’s just how legs work.
Younger teens
Choose a short route with clear markers, bathrooms nearby, and a destination that arrives quickly. Boardwalks, easy waterfall trails, rail trails, and lakeside paths usually work well.
Give younger teens a job. Let one carry the map, another watch for trail markers, and another choose the snack stop. Responsibility keeps the outing from feeling like an adult-led march.
First-time hikers
Start with a route that has forgiving terrain and an easy bailout point. Avoid pairing a first hike with heat, steep exposure, a heavy pack, and a remote trailhead. That’s too many lessons for one afternoon.
A short loop or rail trail works well. If the group wants more, add a viewpoint, picnic, or swim afterward instead of forcing extra miles.
Active teens
Active teens can handle steeper trails, longer walks, and some uneven terrain. They still need to understand elevation gain, exposed rock, water carries, and weather limits.
Canyon and arch trails can be a good fit. Corona Arch Trail near Moab is approximately 3 miles roundtrip and offers a clear destination. The route’s rock features make it more engaging than a flat walk, but ladder or chain sections require careful footing and adult judgment.
Experienced teens
Experienced teens can help lead route planning and navigation. They can also take on longer or more remote trails when the group has checked water, weather, access, and bailout options.
Don’t treat experience as permission to ignore conditions. Flash floods, extreme heat, loose rock, and poor visibility can overwhelm strong hikers. Skill helps you respond. It doesn’t cancel the hazard.
Why hiking works as a summer activity
To describe hiking as fun for teens, skip the vague claim that “nature is good for you.” Give them a reason to care about this trail.
A summer hike works when it combines movement with a goal:
- Reach a waterfall before lunch.
- Find a safe swimming spot.
- Photograph unusual rock shapes.
- Watch for birds, lizards, or wildflowers.
- Choose the best picnic location.
- Explore a short side path.
- Finish with food in town.
- See the sunset from a legal, safe viewpoint.
Friends add social energy, which matters more than perfect scenery. Teens can talk, take photos, trade music, and make small decisions together. The adults still set the safety limits, but the group feels less like it’s being managed.
Weather also shapes the experience. A shady forest route may beat a famous desert trail during a hot afternoon. A windy coastal path may be entertaining for an hour and miserable after that. Check the forecast, then choose the trail that fits the actual day.
Hiking activities for teens
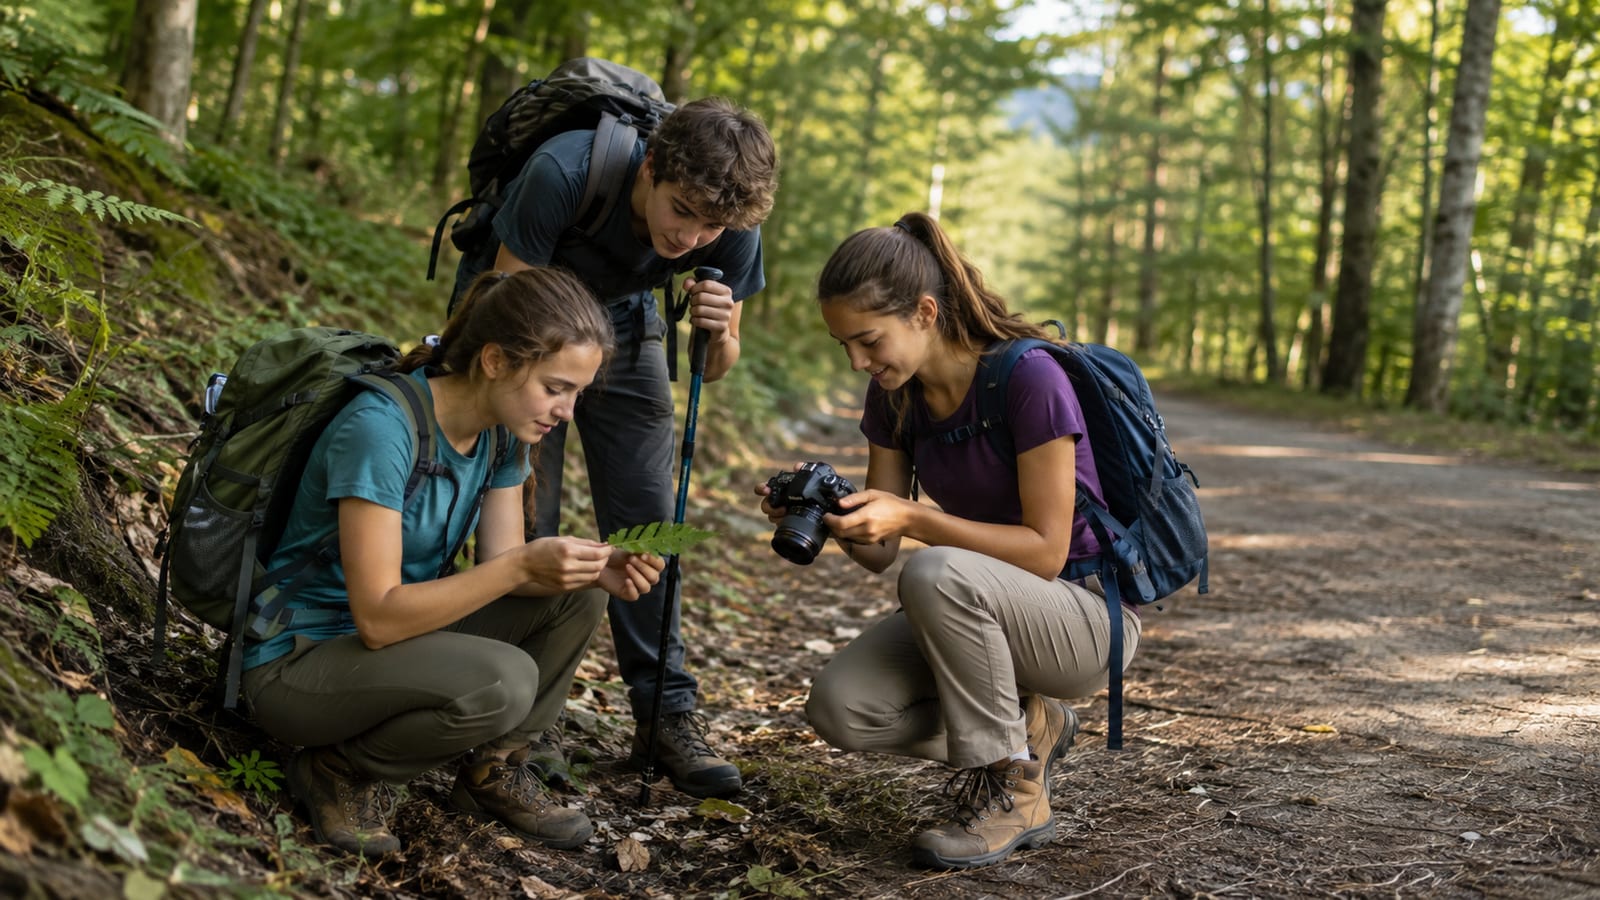
Add an activity when the route itself won’t hold attention. Keep it optional. A forced scavenger hunt stops being fun almost immediately.
Useful activities include:
- Trail scavenger hunt: Look for a bridge, a certain tree, animal tracks, or a rock shape.
- Geocaching: Use an established cache only where permitted and keep the group together.
- Navigation challenge: Let teens follow the map to the next junction.
- Trail photography: Assign photos for texture, water, wildlife, shade, and the best view.
- Species spotting: Use a local field guide or park checklist.
- Trail journal: Record weather, trail conditions, wildlife, and the group’s favorite stop.
- Cleanup project: Carry a bag for litter when the land manager allows it.
- Picnic add-on: Let the group choose the lunch spot within safe limits.
- Swimming stop: Use only approved areas with suitable conditions.
- Junior ranger activity: Visitor centers often provide a structured way to learn about the park.
The goal isn’t to turn every walk into a competition. Give teens a little ownership, then let them enjoy the trail without a clipboard hovering over them.
Hiking tips for teens
The basics prevent most miserable trail days. Teens don’t need expedition gear for a day hike, but they do need gear that works after mile 10 – or after the first unexpected weather change.
Wear shoes that match the trail
Use shoes with secure soles and a fit that doesn’t let the heel slide. Trail runners work well for many maintained routes. Stiffer hiking shoes make more sense on rocky terrain, loose slopes, or routes where ankle support helps.
Break in unfamiliar footwear before the trip. A blister discovered at the trailhead is annoying. A blister discovered halfway through a long return is a planning failure.
Pack water, food, and a layer
Bring enough water for the heat, route, and group. Desert trails and exposed ridges demand more care than shady rail trails. Don’t assume a creek or spring is safe to drink from.
Pack snacks with salt, carbohydrates, and some protein. Add a light layer even on warm days because wind, shade, and evening temperatures can change the feel of a route quickly.
Use sun and bug protection
A hat, sunscreen, and light clothing help on exposed trails. Bug protection matters in wet forests, lakeside areas, and shoulder-season conditions.
Sunglasses also help on bright rock and water. Small details become less small when the group is tired and irritable.
Manage pace and blisters
Start slower than the fastest hiker wants. A steady pace keeps the group together and leaves energy for the return.
Stop when a hot spot develops on a foot. Adjust the sock, laces, or shoe before the skin breaks. If one teen keeps getting the same blister, change the fit or use tape before the next descent.
Download maps and charge phones
Download an offline map before leaving service. A phone camera is useful, but it shouldn’t be the only navigation tool.
Charge phones before the hike and carry a small power bank for longer or remote outings. Keep the group’s meeting point and emergency contacts written down too. Batteries have a poor sense of timing.
Stay together
Set the rule before starting: nobody hikes alone. The fastest hikers wait at junctions, and the slowest hiker isn’t treated like a problem to solve.
Use a buddy system in crowded areas, near water, and around confusing trail crossings. If someone gets separated, stop and return to the last agreed meeting point instead of sending people in several directions.
How teens can help plan the hike
Teens hiking with a real role often pay better attention to the plan. Let them make choices within clear limits.
Ask teens to:
- Choose two or three possible trails.
- Compare distance, elevation, terrain, weather, and access.
- Check the official map and recent trail conditions.
- Find out about parking, bathrooms, permits, and phone coverage.
- Set a turnaround time.
- Pick the snacks and shared gear.
- Assign navigation, first-aid, and pace roles.
- Choose a backup route with less exposure or effort.
A backup route shouldn’t be a vague promise to “find something nearby.” Save the map, know the access point, and decide what condition triggers the change. Heat, storms, smoke, road closures, and a late start all count.
Planning also teaches useful judgment. Teens learn that a trail’s reputation doesn’t matter much if the group lacks water, the parking lot is closed, or thunderstorms are building over exposed rock.
Finding nearby trails and reliable route information
Search results are a starting point, not a trail plan. Trail pages can be old, incomplete, or casual about hazards.
Use this order:
- Official park or land manager: Check closures, permits, parking, bathrooms, and current rules.
- Official trail map: Confirm junctions, access roads, water, and alternate routes.
- Weather forecast: Look for heat, wind, storms, smoke, and temperature changes.
- Recent trip reports: Use them for mud, bugs, downed trees, snow, or washed-out crossings.
- Transit and parking information: Confirm how the group actually reaches the trailhead.
- Offline navigation: Download maps before service disappears.
The Bureau of Land Management manages many public lands with different access rules. Check the relevant field office before heading toward a canyon, desert wash, or remote trailhead.
For younger hikers, this guide to easy hikes for kids and families can help you compare gentler options before moving up in difficulty.
Friends, families, health, and conservation
Hiking gives friends a reason to spend time together without needing constant entertainment. Conversation comes easier on a flat trail, while a steep climb gives everyone a shared problem to solve.
Families also get useful time away from screens and schedules. Don’t oversell the health benefits. A single hike won’t fix sleep, stress, or fitness. Regular movement, fresh air, and time outside can still support better habits.
Conservation belongs in the plan. Stay on marked trails, pack out food waste, leave rocks and plants where they are, and keep distance from wildlife. Keep dogs under control where they’re allowed. The trail doesn’t need a souvenir from every visitor.
A short cleanup project can help teens see the place as something they share responsibility for. It also makes the usual “leave no trace” speech less abstract.
A safer trail-day plan
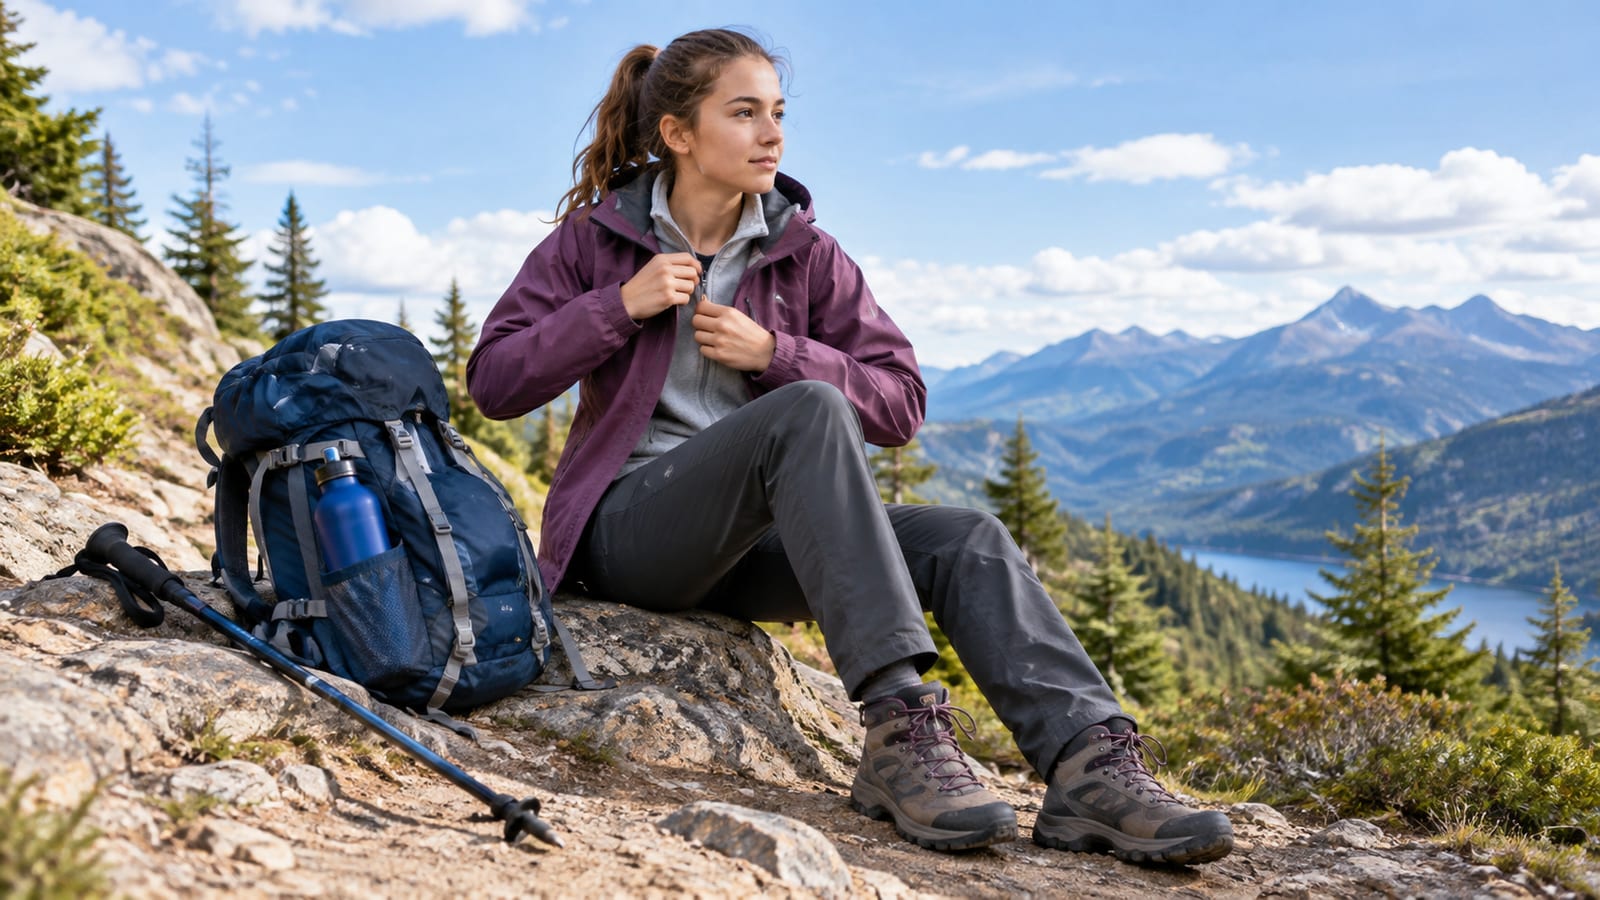
Use this checklist before the car leaves:
- Get permission from the adults responsible for each teen.
- Share the route, return time, and backup plan.
- Leave an emergency contact with someone who isn’t on the hike.
- Check weather and set clear limits for heat, lightning, wind, and smoke.
- Confirm water availability. Assume natural water needs treatment.
- Pack water, food, layers, sun protection, a first-aid kit, and a map.
- Charge phones and download the route.
- Set a buddy system and meeting points.
- Keep away from cliff edges, unstable rock, and fast water.
- Give wildlife space. Never approach, feed, or corner animals.
- Turn around early when conditions worsen or the group is falling apart.
Turning around is a successful decision. The waterfall, summit, or arch will still exist. The trail is not awarding points for ignoring a storm.
Picks and verdicts
If you need a quick choice, use these calls:
- Waterfall loop: Best overall for most teens. The scenery arrives quickly, and the loop keeps the return interesting.
- Scenic rail trail: Best for mixed abilities and large groups. It’s easy to pace and leaves room for conversation.
- Coastal or lakeside route: Best summer pick when swimming, wildlife, beaches, or sunset can extend the day.
- Short summit: Best for capable teens who want an achievement. Take elevation, exposure, weather, and turnaround time seriously.
- National park boardwalk or canyon trail: Best introduction for younger or inexperienced hikers. The scenery feels large while navigation stays manageable.
Great hiking trails teens will enjoy don’t need to be famous. They need a clear payoff, a realistic effort level, and enough flexibility for the group to make the day feel like its own.
FAQ
How long should a teen’s first hike be?
Choose a route that the least experienced hiker can finish without rushing. The right distance depends on heat, terrain, elevation, and fitness, so mileage alone won’t tell you enough. A shorter trail with a steep climb may be harder than a longer flat path.
Should teens hike without adults?
That depends on age, experience, route difficulty, weather, local rules, and the group’s judgment. An independent outing needs a known route, a firm return time, charged phones, offline maps, emergency contacts, and a clear rule against splitting up. Remote or exposed trails deserve closer adult oversight.
What should teens do if they lose the trail?
Stop moving and keep everyone together. Check the last known location on the map, then return to the last marked junction if the route can’t be confirmed. Sending one person ahead usually turns one navigation problem into two.
Are national parks too crowded for teens?
They can be during peak hours, especially on famous short routes. Start early, choose less popular viewpoints, or visit during a quieter season. Crowds don’t make a trail unsafe by themselves, but they can create parking problems, slow movement, and reduce the sense of exploration.
What makes a hike worth repeating?
Teens are more likely to return when they helped choose it and the day had more than one good moment. A view, swim, wildlife sighting, picnic, or good food stop can matter as much as the trail’s name. Keep the first outing manageable, then build from there.
