
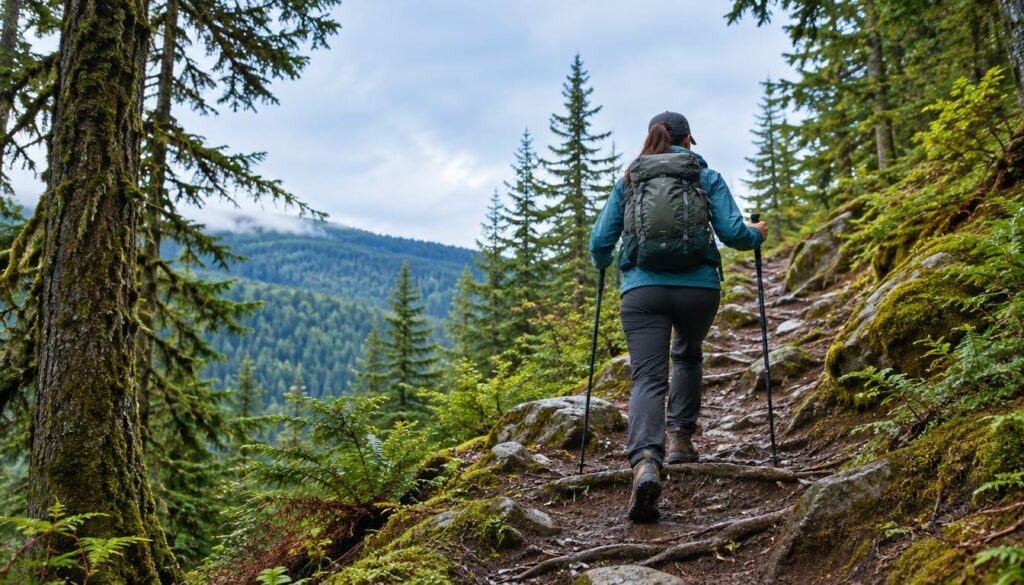
Mount Si is a worthwhile but demanding day hike for fit hikers. The Mount Si hiking trail climbs steadily, draws heavy crowds, and punishes poor pacing, yet its reliable route, major elevation gain, and broad summit views make it one of the Seattle area’s best conditioning hikes. Treat it as a serious workout, not a casual walk. Bring traction, water, food, and a realistic winter turnaround plan.
Mount Si Trail at a Glance
The Mount Si Trail is in Washington, less than an hour from Seattle, and is one of the state’s most popular hikes. The standard route covers 8.0 miles roundtrip and gains 3,150 feet.
| Trail detail | What you should expect |
|---|---|
| Route | Out-and-back forest trail to the Mount Si summit area |
| Distance | 8.0 miles roundtrip |
| Elevation gain | 3,150 feet |
| Location | Snoqualmie Region, North Bend area |
| Typical effort | A long, sustained day hike for fit hikers |
| Main features | Forest switchbacks, steep climbing, summit views, optional Haystack scramble |
| Winter concerns | Snow, ice, cold, shorter daylight, and slower descent |
The route is easy to follow in normal conditions, but that does not make it easy. You climb for most of the way, then descend the same slope after your legs have spent their best arguments.
Check the Washington State Department of Natural Resources Mount Si page before you leave. Confirm access rules, current conditions, and any closures. Parking and trailhead crowding can change the shape of the day before you take your first step.
Plan for much of a day if your pace is moderate, conditions are poor, or you take long breaks. Strong hikers may move faster, but the mountain does not become flat because your watch looks optimistic.
How difficult is the Mount Si hiking trail?
Mount Si is a hard day hike because the climb is sustained from low on the route to the summit area. The total elevation gain is the main issue. You spend enough time climbing that weak pacing, poor fueling, or undertrained legs will show up before the top.
The trail also includes uneven ground, roots, rocks, mud, and slippery sections. Snow and ice can cover those obstacles in winter. The descent brings its own problems because tired quads and loose footing make every step less precise.
Mount Si suits you if:
- You hike regularly on hills or stairs.
- You can manage a long climb without rushing the first half.
- You’re comfortable carrying water, food, and extra layers.
- You can turn around without treating the summit as a personal debt.
- You understand that winter changes a familiar trail.
It may be the wrong choice if your recent hiking has been limited to flat paths. A crowded trail can hide the difficulty from the parking area. Once the climb settles in, there is no short loop that lets you quietly leave the problem behind.
If you’re building fitness, use our guide to choosing family-friendly hiking trails and pick a shorter route with less sustained climbing first.
The route gets harder through steady effort
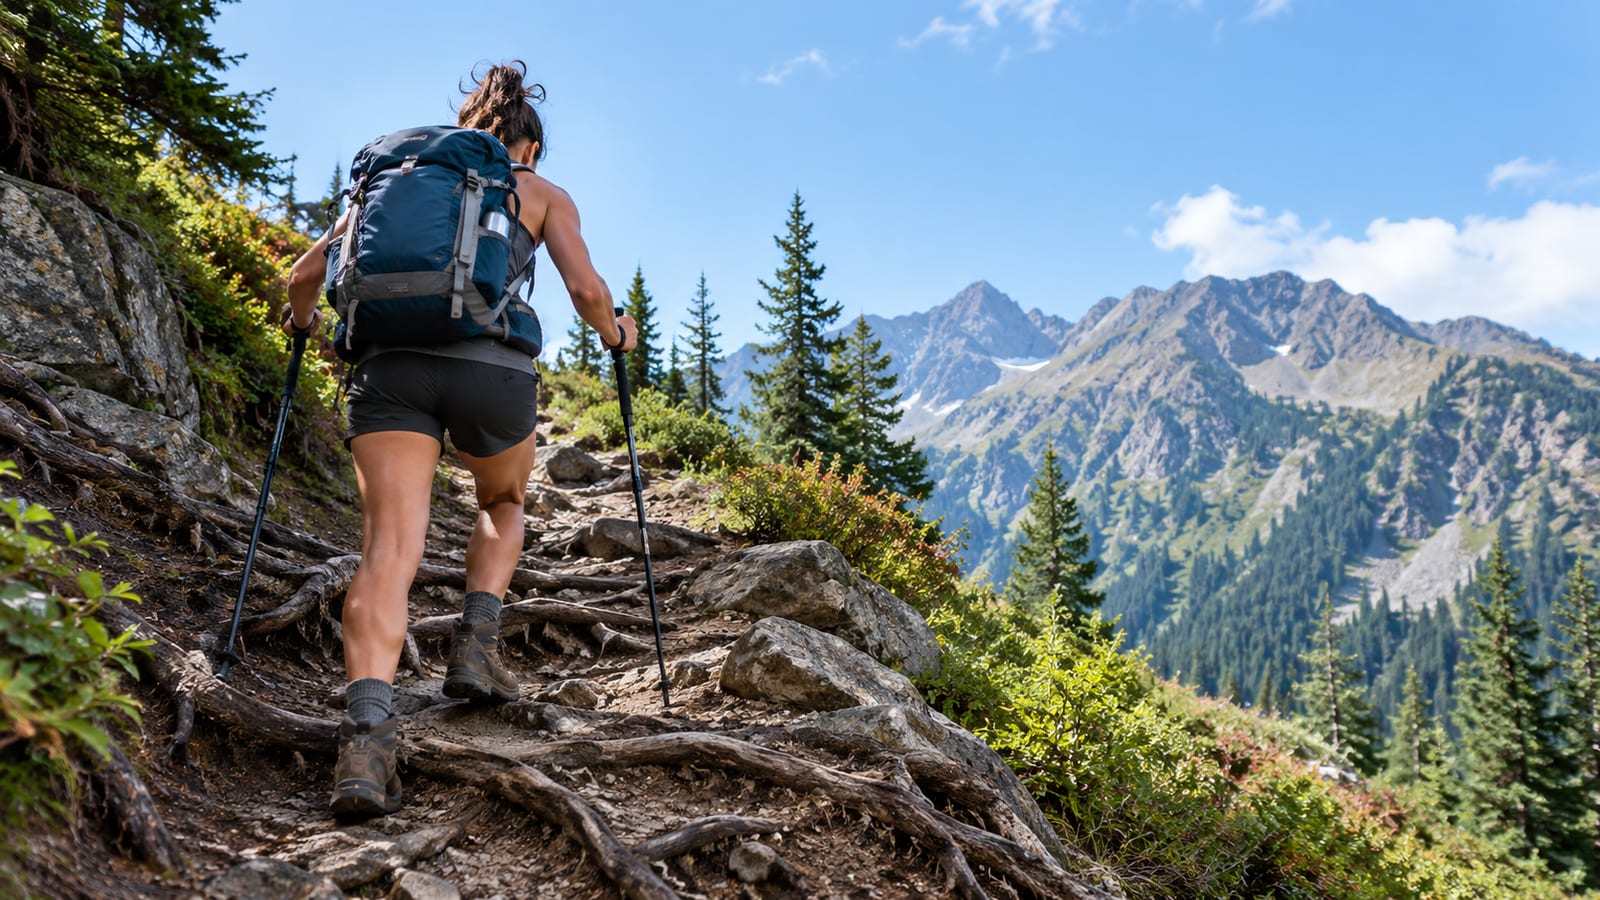
The Mount Si hiking trail begins in forest and climbs through a long series of switchbacks. The lower section can feel manageable, which tricks some hikers into spending too much energy early.
As the climb continues, the grade and accumulated elevation gain become the real test. You may not find one dramatic wall that explains the difficulty. Instead, your breathing gets heavier, your pack rubs more, and the next switchback stops looking helpful.
Use a pace that lets you speak in short sentences. Keep your steps short on steep ground, especially when the trail is slick. A steady pace beats repeated surges followed by long stops.
Pace the climb before it costs you
- Start slower than your excitement suggests.
- Eat before you feel empty.
- Drink regularly rather than waiting for a headache.
- Keep your pack light, but carry the layers and traction the forecast requires.
- Stop briefly when needed, then restart before your legs cool completely.
- Save energy for the descent.
The steepest-feeling section depends on trail conditions and your fitness. Mud, snow, and ice can make a moderate grade feel harder than a dry climb. Pack weight matters too. A heavy water carry and extra winter clothing will turn the same trail into a different workout.
Do not chase the hikers ahead of you. Mount Si has enough traffic without turning every switchback into a race.
Winter Mount Si preparation
Winter Mount Si requires a different plan, even when the trailhead looks ordinary. Snow and ice can begin higher on the route, and a clear parking area tells you almost nothing about the summit.
Check the forecast for the mountain, not only the nearby town. The National Weather Service forecast can help you assess temperature, wind, precipitation, and changing conditions before you leave.
Wear layers that manage sweat on the climb and block wind during breaks. A wet base layer becomes a cold problem when you stop. Bring a shell, warm insulation, gloves, and a hat even if the lower trail feels mild.
Shorter winter daylight also changes your margin for error. Start with enough time for a slow climb, route checks, and a careful descent. If you reach the trail late, adjust the goal before the mountain adjusts it for you.
Winter turnaround signs include:
- Ice that makes every step uncertain.
- Snow depth that hides the trail edges.
- Strong wind or poor visibility near the summit.
- Cold hands that no longer work zippers or poles.
- A pace that leaves too little daylight for the descent.
- Running low on food, water, or usable warmth.
A summit photo is not worth a cold, rushed walk back. Turn around while the route still feels manageable.
Snow and traction conditions on the climb
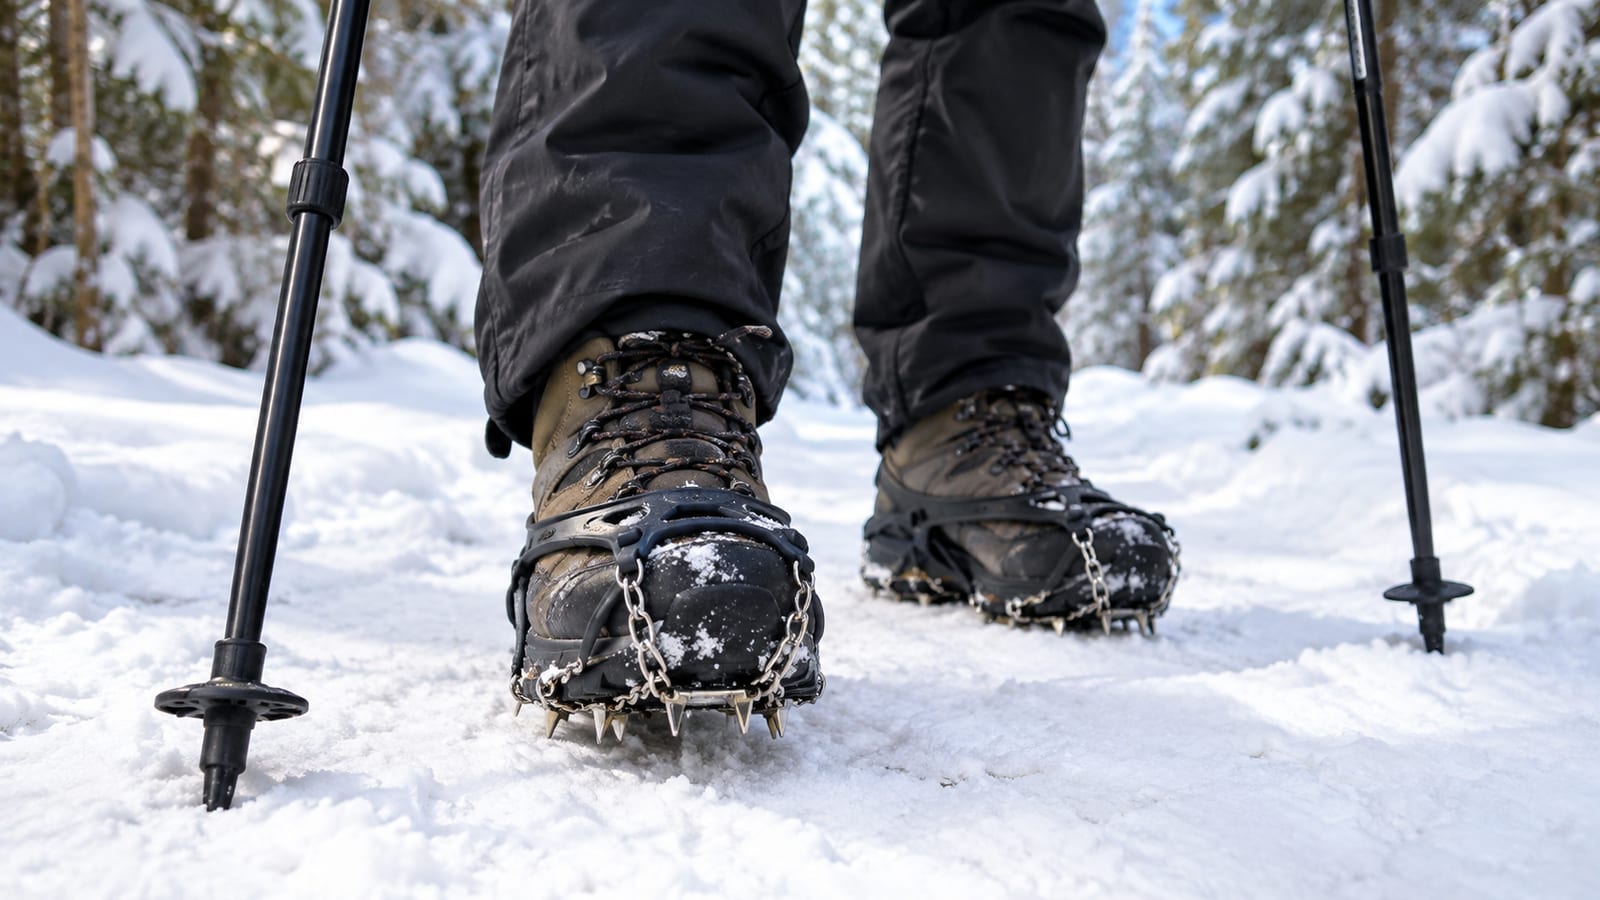
Carry traction when winter conditions are possible, even if the trailhead is bare. Snow and ice often appear higher up, where the shade lasts longer and the temperature drops.
Microspikes are useful on firm snow and icy sections where your normal tread slips. They help with grip but do not turn steep terrain into a flat sidewalk. Keep your steps controlled and avoid stepping on exposed rocks while wearing them.
Deeper or softer snow may require equipment suited to flotation and route-finding. Microspikes can sink, ball up, or provide little help when the trail has filled in. If the route becomes a deep-snow problem, your plan may need to change.
Traction belongs where you can reach it quickly. Buried at the bottom of your pack, it is technically present and practically decorative.
In muddy shoulder-season conditions, traction can still help on frozen patches, but it can also damage bare ground and make walking awkward. Put it on for the surface it suits. Remove it when the trail returns to dirt or rock.
What to eat and drink before the hike
Eat a familiar meal before starting. Choose carbohydrates you tolerate well, add some protein, and avoid turning breakfast into an experiment. Greasy food, heavy portions, and unfamiliar supplements have a poor record on steep climbs.
Drink enough before the trailhead so you do not begin thirsty. Then carry enough for the full hike and the weather. A cool morning can hide how much water you lose during a long climb.
For trail food, pack items you can eat while walking or during a short stop:
- Sandwiches or tortillas with a simple filling
- Fruit that will not bruise easily
- Bars you have already tried
- Nuts or trail mix
- Crackers or salty snacks
- Chews or candy if you like quick sugar
Eat small amounts before hunger becomes a problem. The climb is long enough that waiting for an empty stomach will make the upper trail feel worse than it needs to.
Cold weather can reduce your urge to drink. Keep water accessible and check it during breaks. In freezing conditions, protect bottles and filters from freezing damage.
What to pack for Mount Si
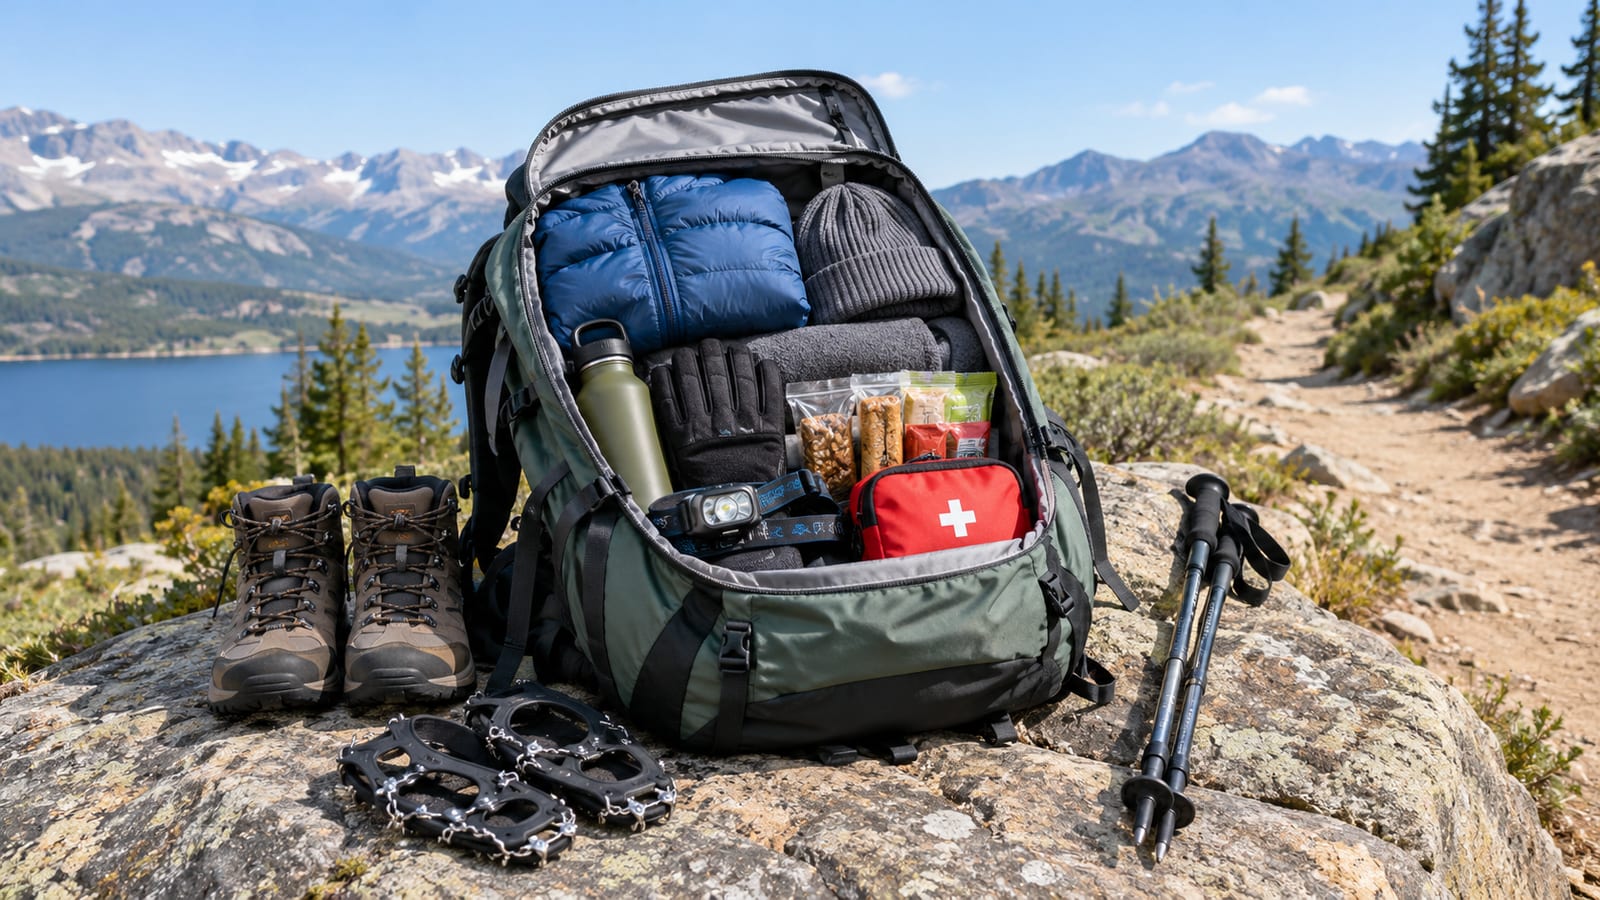
Your pack should support a safe return, not just a summit photo. Mount Si is close to Seattle, but proximity does not remove weather, injury, or darkness from the equation.
Pack:
- Water and food for the full outing
- An insulating layer and a waterproof shell
- Hat and gloves in cold or shoulder-season weather
- Traction when snow or ice may be present
- A map or downloaded route for offline use
- A charged phone and backup battery
- Small first-aid supplies
- Blister care and tape
- Headlamp, especially in winter
- Trekking poles if they help with balance or downhill control
- Sunglasses and sun protection when snow is present
- Waste bags for packing out food and tissues
Wear shoes with a tread that handles mud, rock, and wet roots. Soft, worn soles can make the descent miserable. If your footwear already slips on neighborhood hills, Mount Si will not offer a kinder review.
Keep emergency layers dry inside a waterproof bag. Pack covers help with rain but do not always protect shoulder straps, zippers, or the contents during a wet hike.
Mount Si trip report essentials
A useful Mount Si trip report tells hikers how the trail behaved, not only whether the writer enjoyed it. Record conditions that change decisions for the next person.
Include:
- Date and start conditions
- Weather at the trailhead and summit
- Snow, ice, mud, or bare trail
- Whether traction was useful
- Approximate pace and break pattern
- Crowding on the ascent and descent
- Water and food needs
- Summit visibility and wind
- Haystack conditions if you approached it
- Total time, including breaks
Say where conditions changed. “Snowy” is less useful than explaining that the lower trail was wet dirt while the upper climb needed traction.
Also record what failed. Did your gloves get wet? Did your shoes slip on the descent? Did the hood blow off in the wind? Those details help more than a row of scenic photos.
A good report should help someone decide whether to keep the plan, start earlier, pack traction, or choose another trail. That is the whole point.
Summit views and the Haystack
The summit area offers broad views when weather and visibility cooperate. You may see surrounding mountains, forested valleys, and the wider Snoqualmie area. Clouds, fog, wind, and winter conditions can erase those views without warning.
The main Mount Si hike ends at the summit area. You do not need to scramble the Haystack to complete the trail or earn the day.
The Haystack is an optional rocky scramble near the summit. It involves steeper movement, uneven rock, exposure, and route-finding. The final feature looks close enough to invite casual decisions, which is how casual decisions get expensive.
Treat the summit as a stopping point unless you have the skills, conditions, and comfort for scrambling. A crowded summit also makes movement harder. Wait for space, keep your hands free, and do not stand below someone who is dislodging rocks.
Safe scrambling near the summit
Scramble only when the rock is dry, visibility is good, and you feel calm about the route. Wet rock, ice, snow, and strong wind change the risk quickly.
Use three points of contact when the terrain steepens. Move one hand or foot at a time, test holds before weighting them, and keep your body close to the rock. Do not pull hard on vegetation or loose blocks.
Route-finding matters more than confidence. If you cannot see a clear way up and back down, stop. The route may look obvious from below and become less clear once you are on the rock.
Skip the Haystack if:
- You have no scrambling experience.
- You are carrying a large or unstable pack.
- The rock is wet, icy, or covered in snow.
- Wind makes balance difficult.
- You are uncomfortable with exposure.
- You cannot identify the descent route.
- Crowds are pushing people into poor positions.
Do not scramble in trail runners that have lost their tread, and do not assume hiking poles will help on hands-and-feet terrain. Stow them before the rock section or leave the scramble alone.
The summit trail is already a complete hike. The Haystack is extra risk for extra scenery.
Who should hike Mount Si, and who should choose another trail?
Mount Si is a good fit for hikers with a solid walking base who want sustained uphill training. It also suits people preparing for longer mountain days, provided they treat the descent as part of the workout.
Families and beginners should judge the route by the least-prepared hiker, not the strongest one. A child or first-time hiker may handle the climb on a good day, but the length, elevation gain, crowds, and descent can create a long return. Build toward it on shorter routes first.
Choose another trail if you:
- Need frequent flat sections to recover.
- Have recent knee, ankle, or foot problems.
- Are unprepared for winter traction.
- Cannot carry enough water and layers.
- Have limited daylight and no headlamp.
- Feel pressure to reach the top despite worsening conditions.
A shorter, lower-elevation trail is the better choice for a first conditioning hike. You can also split the goal across several local walks with hills, stairs, and uneven ground. Fitness built gradually is cheaper than a rescue, an injury, or a week of limping around the kitchen.
If you want an early start and a view but need a different level of effort, compare Mount Si with other routes in our guide to sunrise hikes in the US. The right trail is the one you can finish safely and still walk normally afterward.
FAQ
Is Mount Si a good first hike in the Seattle area?
It is a poor first hike if you have little experience with sustained climbing. Start with a shorter hill route, learn how your shoes and pack behave, and build toward Mount Si after you can manage long uphill effort without rushing.
Can you hike Mount Si alone?
You can, but solo hikers need a stricter turnaround plan. Share your route and expected return with someone, keep your phone charged, and avoid winter scrambling when conditions are changing. A busy trail does not remove the need for self-rescue basics.
Is the Haystack required to reach the Mount Si summit?
No. The standard Mount Si hike reaches the summit area without the Haystack scramble. The Haystack is an optional rocky section for hikers who are comfortable with exposure, route-finding, and hands-on movement.
What should you do if the summit is crowded?
Move away from the main stopping area, keep the trail clear, and take breaks where you will not block uphill hikers. If you cannot find a safe place to rest, begin the descent and stop farther down. A summit view is less enjoyable when everyone is standing on everyone else’s bootlaces.
Should you turn around if the trail becomes icy?
Yes, if your footing is unreliable or you lack suitable traction. Ice can make the descent harder than the climb, especially after your legs are tired. Put on traction early when it helps, and turn back before the route becomes a balance test.
