
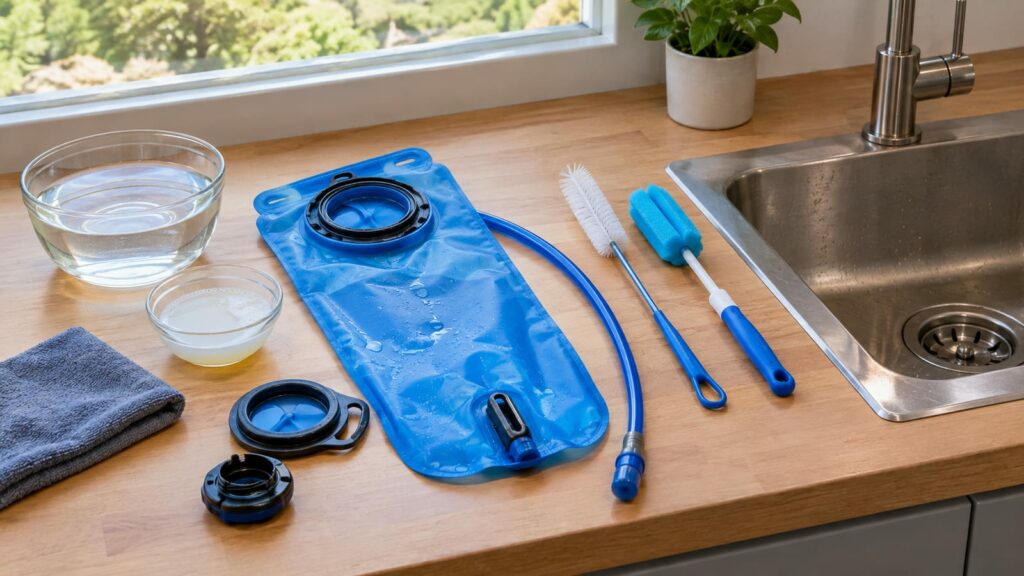
Clean a hydration bladder with warm water, a drop of unscented dish soap, and two brushes: one for the reservoir and one for the tube. Rinse until nothing foams or smells, then dry every part wide open. That's the whole job, and most bad-tasting bladders come from skipping the drying. A quick rinse after a sweaty hike leaves drink film and trapped moisture behind. By your next trip, the tube has its own ecosystem.
What You Need to Clean a Hydration Bladder
The kit is cheap, and most of it is already in your kitchen. The one thing worth buying is a proper tube brush. Nothing else reliably reaches the full length of the hose.
- Warm tap water. Hot enough to cut grime, cool enough to keep your hand in it.
- Mild, unscented dish soap. A drop or two. Scented soap leaves a lemon or "ocean breeze" taste that lasts longer than you'd think.
- A reservoir brush. Soft bristles on a long, bendy handle so you can reach the bottom corners.
- A tube brush. It needs to run the whole hose. A pull-through cleaner also works, and it packs smaller.
- Something to prop it open. A kitchen whisk, a wadded paper towel, or a dedicated bladder hanger. The whisk works as well as the hanger.
- Optional extras: baking soda for odors, and cleaning tablets if you run drink mix often.
Bladder cleaning kits bundle the brushes and a hanger. They're good enough and usually worth the money if you use a bladder every week.
How Do You Clean a Hydration Bladder?
This is the full routine for after a trip, start to finish. It covers the reservoir, the tube, and the small parts where gunk actually hides.
- Empty it. Pour out the leftover water. Then squeeze the bite valve to drain the tube too.
- Take it apart. Pull the tube off at the quick-disconnect, remove the bite valve, and open the cap or slide-top.
- Add soapy water. Fill the reservoir partway with warm water and a small drop of soap. Close it and shake hard.
- Scrub the reservoir. Work the brush into the corners, along the welded seams, and around the fill opening.
- Wash the tube. Squeeze soapy water through it, then run the tube brush through the full length several times.
- Clean the bite valve and connector. Wash them separately with your fingers or a small brush. Pay attention to slits and O-rings.
- Rinse everything. Flush the reservoir and tube with clean water until there's no foam and no soap smell.
- Dry it fully open. Prop the reservoir open, hang the tube, and lay the small parts on a towel.
- Reassemble only when bone dry. Any water sealed inside starts the mold clock.
The sections below cover where each step goes wrong.
Wash the Reservoir With Warm Water and Mild Soap
Use less soap than you think. One drop in a partly filled reservoir is plenty. More soap only means more rinsing, and the extra suds hide in seams.
Use warm water and skip the kettle. Boiling water can warp the plastic and weaken welded seams. Most makers warn against it in their care instructions. Scrub the corners and seams with steady pressure, because that's where film collects first.
Skip the harsh stuff. Abrasive pads scratch the inner coating, and scratches give grime somewhere to stick. Strong household sprays and scented cleaners leave a taste that a hydration pack can't rinse away easily. You'll be drinking the result on a hot climb, so a gentle wash is the better deal.
Clean the Drinking Tube, Bite Valve, and Connector
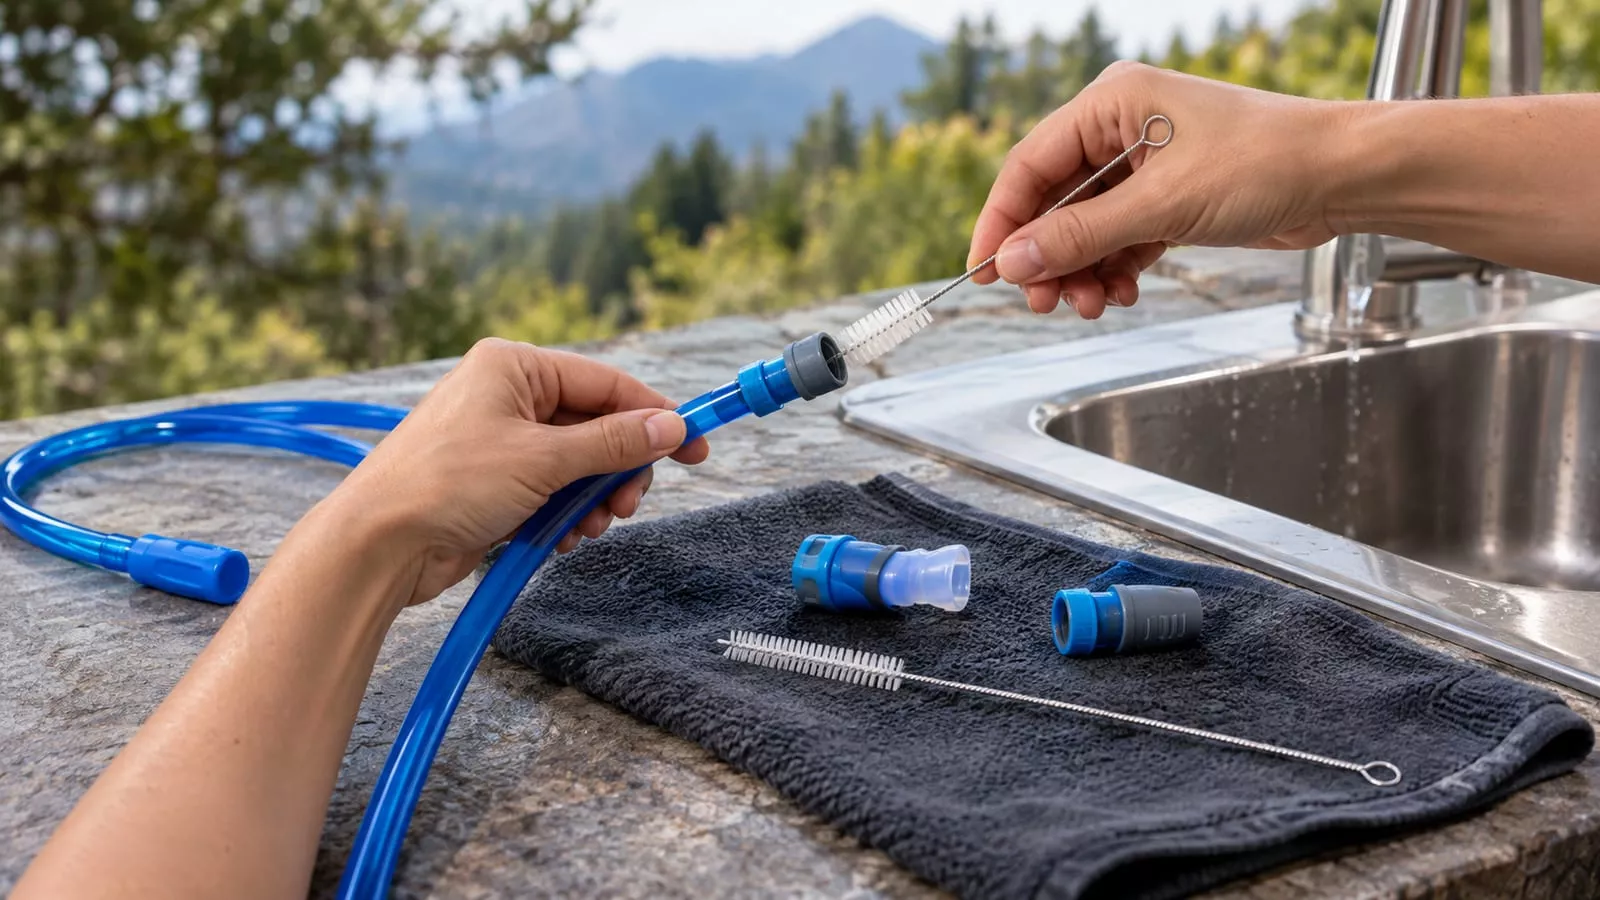
The tube is the dirtiest part of most bladders. Water sits in it between sips, warms up against your shoulder, and never fully drains. If you run electrolyte mix through it, you're feeding whatever grows in there.
Start by squeezing warm soapy water through the tube. Then run the brush down the full length, back and forth, more than once. A brush that only reaches halfway leaves the worst section untouched.
The bite valve gets ignored because it's small. Pull the silicone cover off if it comes off, and open the slit gently to rinse inside it. Check the quick-disconnect and its O-ring as well. Drink residue builds up in those tight spots, so a sticky connector often needs a wash rather than a new part.
Rinse Until There Is No Soap Taste or Foam
Rinsing takes longer than washing, and that's normal. Fill the reservoir with clean water, shake it, and drain it out through the tube. Pinch or squeeze the bite valve so water flows through the whole path.
Repeat until the drain water runs clear with zero bubbles. Then do one more round, because the first foam-free rinse usually still smells faintly of soap.
For a final check, fill it with clean water, let it sit a while, and take a sip through the valve. If it tastes like dish soap, rinse again. It's better to find that out at home than at the first switchback.
Stubborn Residue, Odor, and Stains
That slick feel inside an old bladder is usually a biofilm, a layer of microbes stuck to the surface. Soap and a brush handle most of it. When they don't, work up this ladder in order and stop once the problem is gone.
- Scrub again. Repeat the soap wash and put more brush time on the film. A second pass fixes most cases.
- Baking soda soak. Platypus recommends ¼ cup of baking soda in ¾ cup of water per liter of reservoir volume. So a 2-liter bladder gets double that mix. Fill the tube with it too, then let it sit for a few hours or overnight before rinsing well.
- Lemon juice or vinegar rinse. These help with lingering taste after a baking soda soak. Rinse thoroughly afterward so you don't swap one flavor for another.
- Cleaning tablets. These are worth it if you run drink mix often or pulled a smelly bladder out of storage. Follow the package directions and rinse well.
If dark spots are still there after all four, stop scrubbing. Mold that has worked into the material won't come out, and that's a replacement problem.
Dry It Completely Before You Store It
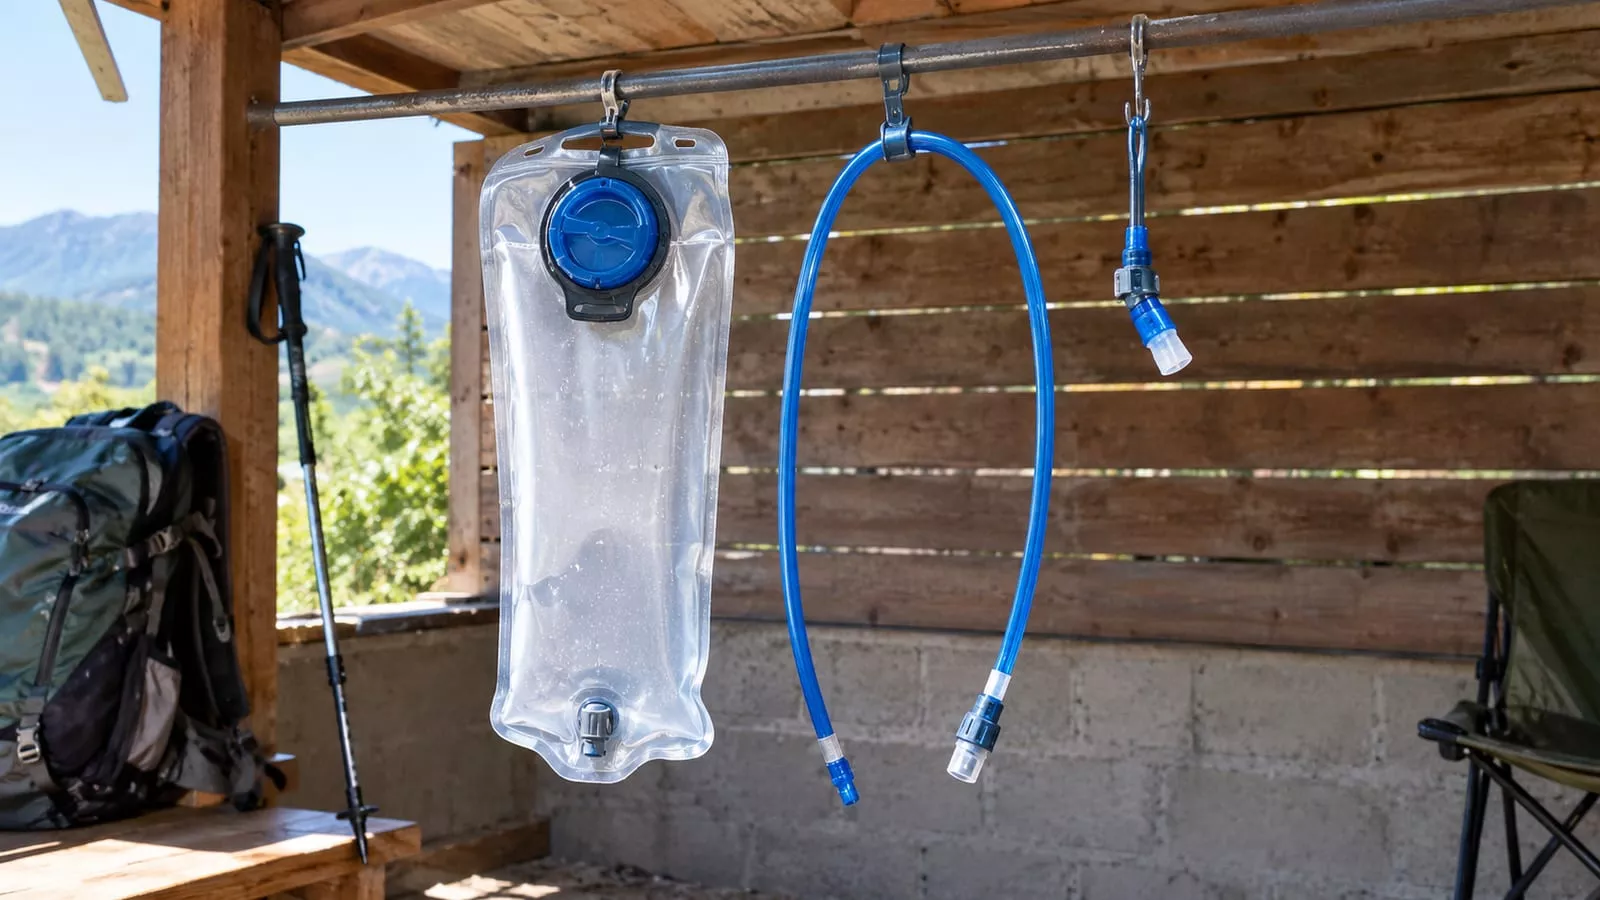
Drying is where most cleaning routines fail. A bladder that looks dry can still hold a film of water in the bottom seam. That's enough for mildew in a dark closet.
Start by draining the reservoir. Bushbuck's care instructions say to hang their bladder upside down to drip dry, which gets the bulk of the water out. After that, prop the reservoir open with a whisk, paper towel, or hanger so air can move through it. A collapsed bladder traps humid air against the inside walls.
Hang the tube vertically with the bite valve off so water can drain out the bottom. Lay the valve, cap, and connector on a towel. Before you store anything, run a finger along the inside seams and look down the tube against a light. If you see beads of water, give it more time.
Keeping Mold Out Between Hikes
Mold needs moisture, and a sealed bladder is about as cozy as it gets. The EPA's mold guidance puts it plainly: control the moisture and you control the mold. For a hydration pack, that means a short routine you actually follow.
- Empty it the day you get home. A bladder left in the pack until next weekend is where most mold stories start.
- Rinse and dry it open, even after plain water. Skip the soap if it only held water. Never skip the drying.
- Keep sugary drinks out of it when you can. Sugar is what a warm tube grows best. Put drink mix in a separate bottle and save the bladder for water.
- Store it dry and open, or cold. After the upside-down drip dry, Bushbuck suggests storing the bladder in the freezer. Cold slows growth, if you can spare the space.
- Fill it from clean water. Keep the clean side of your system clean, especially with a gravity setup. Our guide to filtering trail water without contaminating it covers where cross-contamination sneaks in.
The same moisture logic applies to bottles. If you also carry an insulated bottle, the right way to wash and dry a Hydro Flask covers the lid gaskets and straw lids that trap water the same way.
When Should You Replace a Hydration Bladder?
Cleaning has limits. Replace the bladder, or at least the failing part, when you see any of these:
- Black or green spots inside the material that don't move after a baking soda soak and a hard scrub.
- Peeling or bubbling inner lining. That flaky stuff ends up in your mouth.
- Leaks at a seam, cap, or slide-top that a new O-ring or a cleaner thread doesn't fix.
- A cracked or split tube, or a bite valve that drips with no pressure on it.
- A taste that survives the full cleaning ladder. If it still tastes off after a deep clean, it will taste off at mile 10 too.
Check whether parts are sold separately first. Tubes and bite valves usually are, and they fail long before the reservoir does. Replacing a moldy tube on a sound bladder saves money. Keeping a delaminating reservoir to avoid buying a new one is a false economy.
FAQ
Can I put a hydration bladder in the dishwasher?
Usually no. Dishwasher heat and the drying cycle can warp the reservoir or stress the seams. The jets also barely reach inside a narrow tube, so the dirtiest part gets the least cleaning. A few models are rated dishwasher-safe, so check your manual, but the tube still needs a brush by hand.
Is bleach safe for cleaning a hydration bladder?
Only if your bladder's maker allows it, and only at their exact dilution. Never mix bleach with vinegar or other cleaners, because that combination releases a toxic gas. Rinse many times afterward, since a faint pool smell is a poor trade on a hot climb.
For odor and film, baking soda is gentler and usually enough. Save bleach for real contamination, like a bladder that sat half full in a hot car.
How do I keep it clean on a multi-day trip?
You can't do a full wash on trail, so focus on limiting the damage. Put only filtered water in the bladder and keep drink mix in a bottle. At camp, blow the water from the tube back into the reservoir so the hose isn't sitting wet and warm overnight. Then do a proper wash and dry the day you get home.
How often should I deep clean it?
Wash with soap after any trip that involved drink mix, and dry it fully after every use. Save the baking soda soak or cleaning tablets for warning signs. That means a smell, a slick feel, or a bladder that spent a season in storage. For a water-only bladder you dry properly, deep cleans on a schedule are mostly busywork.
