
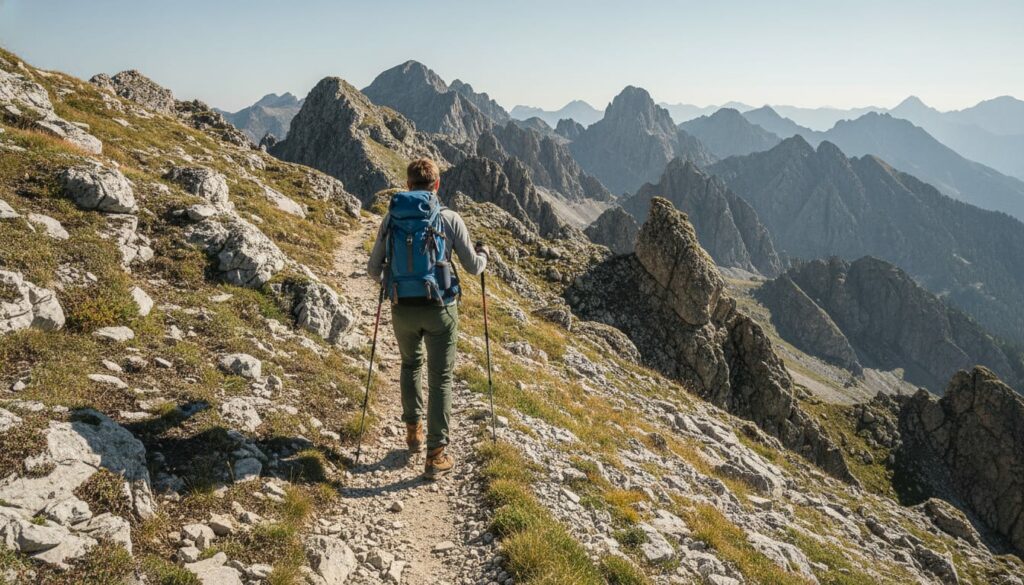
Your knees don't get wrecked by the mountain. They get wrecked by the descent, the load, and the pace you won't slow down. Joint-friendly hiking isn't one gadget or one stretch you do in the parking lot. It's trekking poles, honest footwear, and a pace that respects your pack and the terrain, working together. Drop any one of the three and your joints send the bill on the way down.
Is joint-friendly hiking one fix or a system?
It's a system, and that's exactly what the marketing tries to hide. Every ache gets its own product: a shoe with more arch support, a compression sleeve, a fancy pole. None of them saves your joints on its own.
Poles help most on descents. Good shoes help most on rock. Strong legs help everywhere. A smart pace ties it together. Skip one and the other three quietly pick up the slack until they can't.
So treat the sections below as parts of one plan, not a menu. You don't get to buy your way out of a bad pace.
Do trekking poles actually save your knees?
Yes on downhill, much less on flat ground. Every time you plant a pole going down, you move a real chunk of the impact off your knees and onto your arms and shoulders. Over a long, loaded descent that adds up to fewer jolts your joints have to absorb.
The catch: poles only help if they're in your hands. Leaving them strapped to your pack until your knees start barking is the classic wrong turn. By then the damage for the day is done.
Set the length shorter for climbs and longer for descents, or just choke down on the grip going up. Cheap aluminum poles are fine as long as the locks hold under weight. Buy carbon when you know you lean on poles hard, not because it photographs well.
If your knees are the whole reason you're reading this, our guide on preventing knee pain on steep hikes goes deeper on descent technique.
The footwear that actually spares your joints
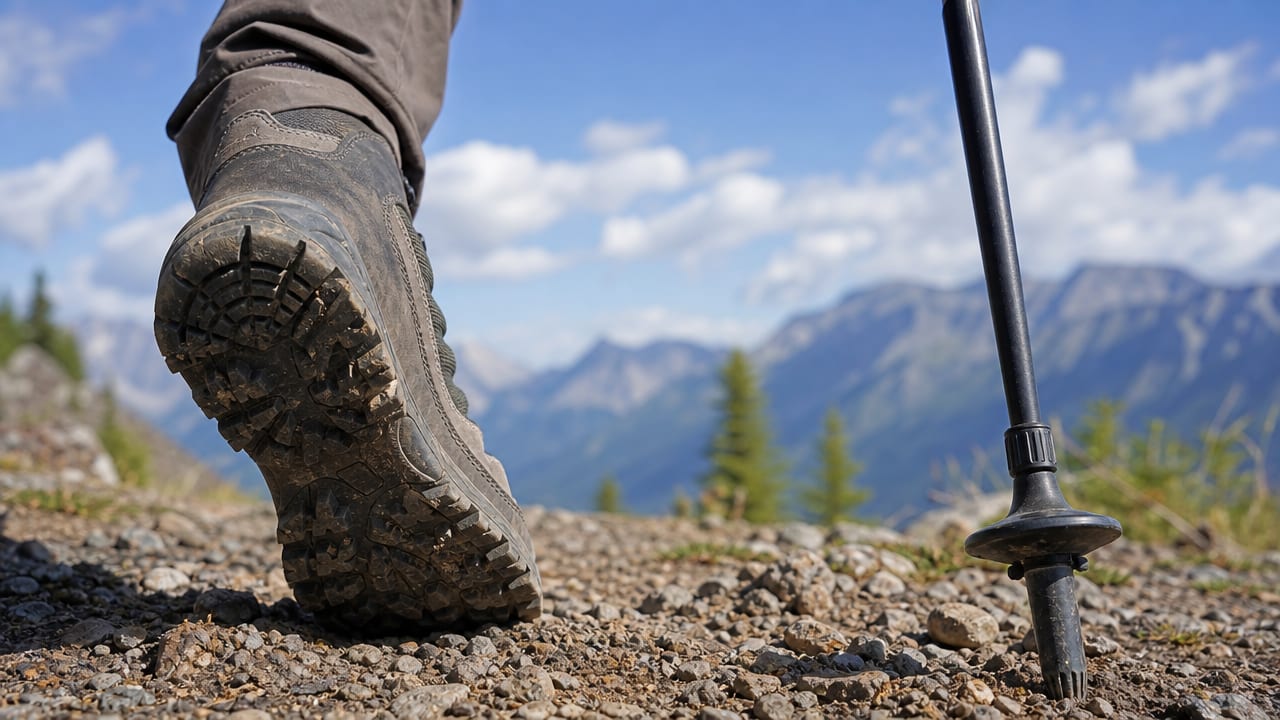
Cushioning under the ball and heel matters more than the arch-support sticker on the box. Arch support is oversold. Unless you have a real fit problem or a flat-foot issue a professional flagged, a generic "high support" insole won't save your joints. Fit and cushion do the work.
Here's what actually reduces strain mile after mile:
- Enough cushion under the heel and forefoot to take the sting out of hard ground.
- A roomy footbox so your toes can splay instead of jamming forward on descents.
- A heel that locks with a runner's loop, so your foot isn't sliding and grinding.
- A sole with some flex, not a plank, so your foot moves naturally over uneven ground.
Trail runners handle most day hikes and dry faster when your feet swell. Stiff boots earn their keep on heavy loads, snow, and rough off-trail travel. Buying tall boots for a smooth five-mile park loop just adds weight your joints didn't ask for.
Leg work that prevents hiking injuries
Train the muscles that control your descent, because that's where joints get overloaded. The moves that matter are boring and cheap:
- Step-downs and slow squats where you lower under control. This builds the eccentric strength that soaks up downhill impact.
- Single-leg work like split squats and step-ups, since hiking is one leg at a time.
- Calf raises, because tired calves pass the shock straight up to your knees.
- Hip and glute work like bridges and side leg lifts, which keeps your knee tracking straight.
Skip the fancy balance boards and heavy seated leg extensions as your main event. They look serious and do little for trail joints. A few weeks of step-downs will protect your knees more than any gadget.
Two or three short sessions a week beats one heroic day. For strength that doubles as mobility, our yoga poses for stronger, looser hiking legs cover the hips and calves that hikers ignore.
A warm-up and cool-down you'll actually do
Skip the long stretch routine nobody does at a cold trailhead. Five minutes of easy movement is enough to wake your joints up. Cold, stiff knees on a steep first mile is how small problems start.
Before you climb:
- Swing each leg forward and back, then side to side, about ten times.
- Do ten slow bodyweight squats.
- Walk the first quarter mile deliberately easy, then let the pace build.
At the end, don't drop your pack and collapse. Walk the last stretch at a relaxed pace so your heart rate and legs come down together. Then give your calves and quads a light stretch while they're still warm. That's the whole routine, and it works because you'll actually do it.
How often should you break to protect your joints?
Take a short break roughly every hour, and more often when the trail turns steep. The point isn't a long picnic. A two-minute stop to shake out your legs and drink water keeps small aches from compounding into an overuse injury.
Tie your breaks to the terrain, not just the clock:
- Steady flat miles: a quick stop each hour is plenty.
- Long climbs: short breathers whenever your form starts to sag.
- Steep descents: micro-pauses to reset your feet and straighten your knees.
Watch out for the opposite mistake too. Sit for half an hour, let everything stiffen, then hammer the next downhill. Cold joints hitting a hard descent is a recipe for a bad time.
Packing to spare your joints mile after mile
Your hips should carry the load, not your shoulders. Cinch the hip belt so it sits on the top of your hip bones and takes most of the weight. Shoulder straps just steady the pack. If they're doing the carrying, your whole frame absorbs more shock on every step.
Where the weight sits matters as much as the belt. Put heavy items close to your back and centered between your shoulder blades. A low, sloppy load pulls you backward and forces your knees and lower back to fight it all day.
Then cut what you don't need. Every pound you leave home is a pound your joints don't brake against on the descent. Worth the weight is a short list, and most gear closets fail it.
Moving over rough ground without paying for it
Take shorter steps and keep a slight bend in your knees on rock and roots. Locked, straight-legged steps send the impact straight into the joint. A soft knee turns your leg into a shock absorber the way it's built to.
Look a few steps ahead and pick your foot placements instead of reacting at the last second. Plant on flat spots, edge around loose rock, and let your ankle flex rather than rolling. On steep sections, use the switchbacks the way the trail builders intended instead of cutting straight down.
Two guides go deeper here: footwork for rocky trails and descending steep trails without injury. Both beat buying expensive gear to fix a form problem.
Warning signs to stop or slow down
Sharp, pinpoint joint pain is a stop sign. Muscle burn and general tiredness are normal and fade with a break. Pain that lives inside the knee, ankle, or hip, especially if it sharpens with each step, is your body telling you the tissue is taking damage.
Slow down or turn around when you notice:
- Swelling around a joint during or right after the hike.
- Instability, like a knee that feels like it might buckle.
- A changing gait, where you start limping or favoring one leg.
- Pain that gets worse as you go instead of easing after a break.
Pushing through those is how a manageable trip becomes weeks off the trail. Picking a closer bailout point is not quitting. It's the reason you'll hike next weekend. If a joint hurts sharply enough to change how you walk, that's patellofemoral pain territory, and it deserves rest, not a summit push.
FAQ
Are knee sleeves or braces worth wearing?
For most healthy hikers, no. A sleeve adds warmth and a little proprioception, which can feel nice on a cranky knee, but it doesn't replace strength or good technique. If you have a diagnosed injury, follow what your physical therapist prescribed instead of grabbing a generic brace off a shelf.
Is downhill really harder on your joints than climbing?
Yes. Going up mostly taxes your heart and muscles. Going down loads your knees and ankles with braking force on every step, especially with a pack. That's why poles, cushioned shoes, and short controlled steps all pay off most on the descent.
Do glucosamine or joint supplements help hikers?
The evidence is weak and mixed, so don't count on a pill to protect your joints. Your money does more when spent on lighter gear, decent shoes, and time spent building leg strength. If you want to try a supplement, treat it as a maybe, not a strategy.
Can I still hike with mild knee arthritis?
Often yes, and moderate hiking can even help, but check with your doctor first. Keep loads light, use poles, favor smoother trails, and stop earlier than you think you need to. Choosing gentler terrain isn't giving up on hiking. It's how you keep doing it for years.
Does training with a weighted vest help my joints on trail?
It can, if you build up slowly. Walking hills with a modest weighted vest teaches your legs and joints to handle load before the real trip does. Ramp the weight up over weeks, not days, or you'll create the overuse injury you were trying to prevent.
