
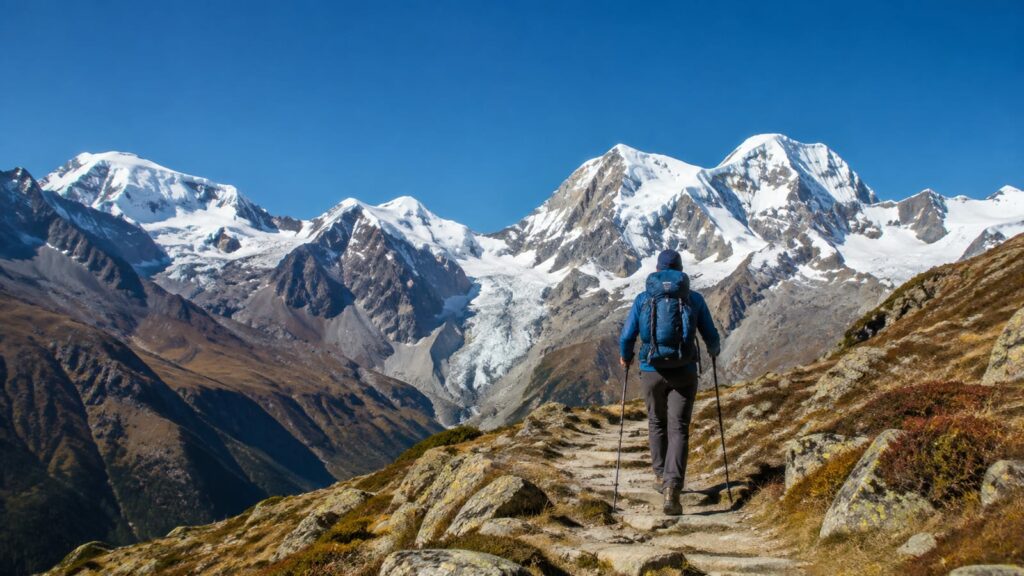
Start with access and bear rules before you pick a trail. This Glacier National Park hiking guide: use the Going-to-the-Sun Road only after checking its live status, plan Logan Pass around limited parking or transit, and choose a hike that matches your water carry and pack weight. The best route is the one you can finish before weather, crowds, or a tired dog turns the trailhead into a bailout point.
Glacier National Park has nearly one thousand bears, including black bears and grizzly bears in the Waterton-Glacier International Peace Park. That doesn’t mean you should hike scared. It means you should make noise in poor-visibility spots, keep food controlled, and treat every bear sighting as a reason to create more space.
What does this Glacier National Park hiking guide recommend?
Use this order:
- Check road and trail access before leaving. Review the official Going-to-the-Sun Road page for closures, construction, parking limits, and vehicle rules.
- Choose your trail by conditions, not by a photo. Snow, runoff, mud, smoke, wind, and bugs can change the sensible choice.
- Plan Logan Pass separately. It has limited parking, and a scenic drive doesn’t guarantee a parking space.
- Carry bear spray where it’s legal and practical, and know how to use it. Keeping it buried in your pack is mostly a way to own expensive dead weight.
- Set a turnaround time. A late start, slow group, or blocked trail can make a shorter hike the right hike.
- Leave a route plan. Tell someone where you’re going and when you expect to return.
For more ideas beyond this park, our guide to 7 Best Banff Hikes for Every Fitness Level is a useful comparison. Glacier demands more attention to road access and wildlife planning, so don’t copy a Banff itinerary line for line.
The hikes that earn the time
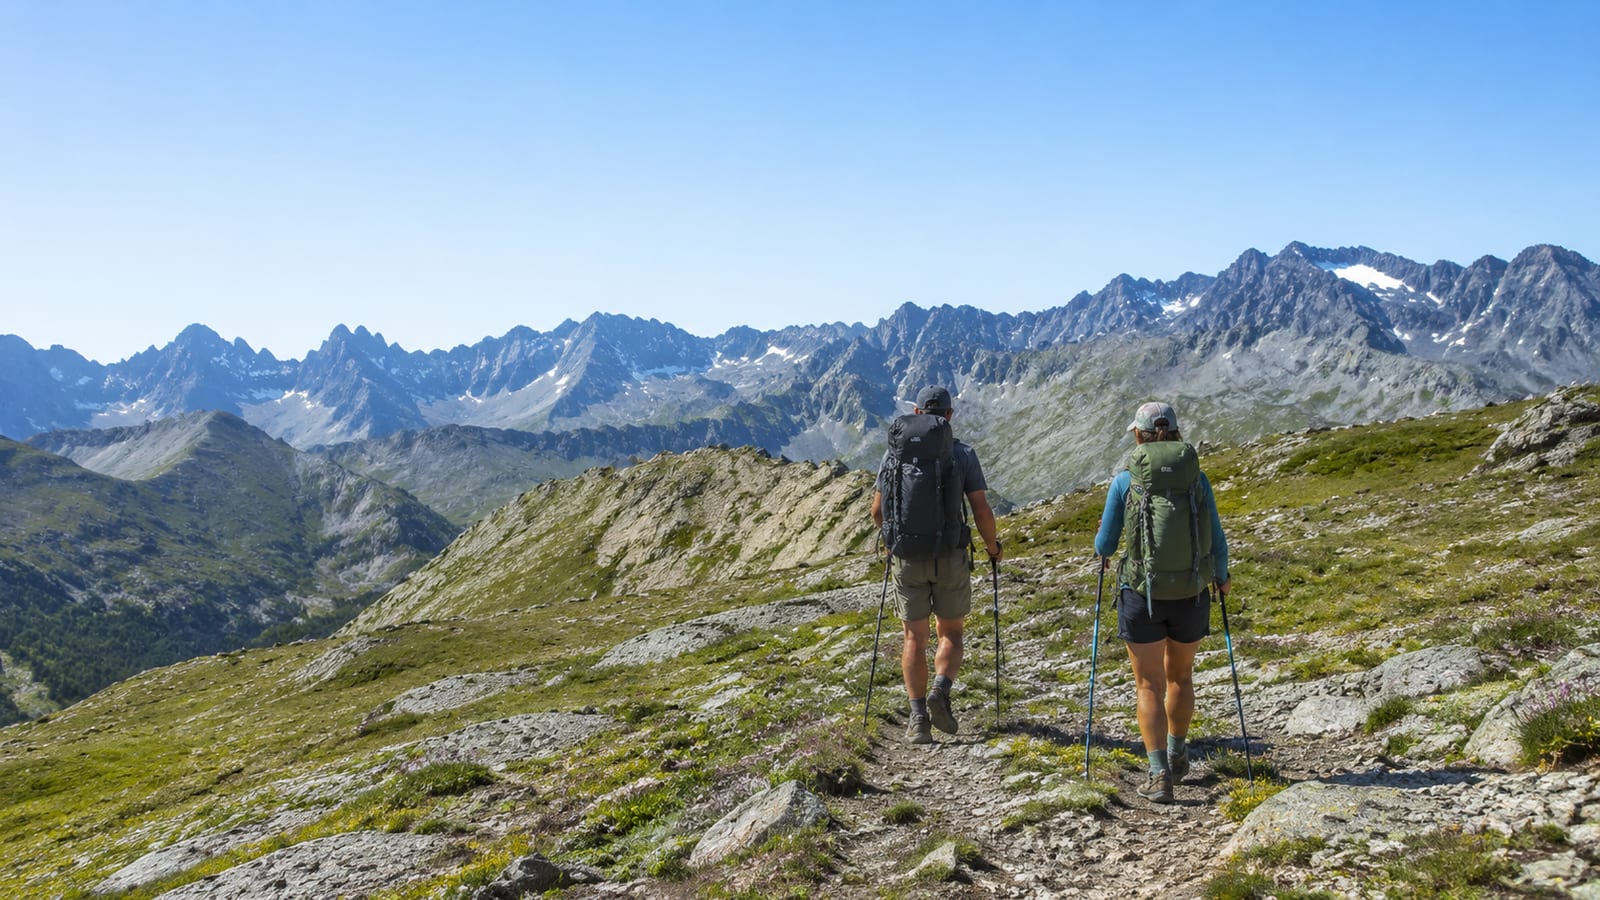
Glacier has no shortage of famous trails. The problem is treating every famous trail as a good choice for every day.
Hidden Lake Overlook
Hidden Lake Overlook is the sensible first stop for many visitors using Logan Pass. The route is a 2.7 mile roundtrip hike, so it gives you a strong mountain view without committing to a full-day outing.
Still, short doesn’t mean automatic. Snow can cover the path, wind can hit hard, and crowded sections make passing awkward. Wear shoes with real grip, bring water, and don’t follow the crowd onto a slick slope just because someone ahead of you did.
This hike works well for:
- A first Glacier hike
- A short weather window
- Families with steady walkers
- Visitors who need to stay near the road
- A scouting walk before a longer trip
It falls short if you want solitude or a serious workout. Start early if you want a cleaner walk and better parking odds.
Ptarmigan Tunnel
Ptarmigan Tunnel is the longer commitment. The hike is 10.7 miles roundtrip and is located in East Glacier.
Treat it as a full trail day, not an extended sightseeing stop. Pack enough food and water for a slow return, especially if your group includes hikers with different speeds. The tunnel route also makes a poor choice when weather is shifting and your turnaround plan is vague.
Before going, check:
- Trail and tunnel access
- Snow on the route
- Recent bear activity
- Water availability
- Your group’s pace after mile 5
- The last practical bailout point
The tunnel is worth the effort for hikers who want a harder objective. Skip it if you’re already tired at the trailhead or if the forecast gives you no room for delay.
Longer alpine routes
Longer routes should come after you understand the day’s conditions. They may involve exposed switchbacks, lingering snow, loose rock, fast weather changes, and a long walk back after the view has stopped feeling new.
Choose a longer hike when:
- Your group can stay together
- You’ve checked the trail status
- You have enough water for the full outing
- Your footwear handles wet rock and mud
- You have a clear turnaround time
- Everyone understands the bear plan
Don’t choose one because the trail name appears near the top of a search result. A route that looks manageable on a map can feel different after heat, elevation, pack rub, and several miles of uneven ground.
How should you plan Going-to-the-Sun Road access?
Going-to-the-Sun Road access is a planning problem before it becomes a hiking problem. The road may have seasonal closures, construction, vehicle restrictions, or parking rules that change your route before you reach the trailhead.
Check the official road page shortly before your trip. Don’t rely on an old screenshot, a social post, or a hotel desk giving yesterday’s answer.
For Visiting Logan Pass in 2026, check the park’s current official access guidance before you leave. Also check the Logan Pass Shuttle Service information for 2026 if you plan to use transit. These details can change, and a saved page won’t know that your morning plan is already broken.
Logan Pass has three-hour limited timed parking. That limit matters if you plan to combine several hikes, wait for wildlife, or sit in the car through a passing storm. Build your visit around the time you actually have, then pick one main trail.
The Apgar Transit Center can be a useful starting point for visitors using park transportation. Confirm the live schedule and stops before committing to a route. Transit can solve parking, but it can also leave you waiting in heat, rain, or a crowded return line if you treat it like a private shuttle.
A practical access plan
- Check the road status the night before. Review it again in the morning.
- Pick a primary trail and a backup. Keep the backup shorter and closer to reliable access.
- Confirm parking or transit rules. Do this before loading the car.
- Leave room for delays. Construction, wildlife, weather, and parking all take time.
- Carry a layer and water while waiting. The trailhead is not always comfortable.
- Turn around before your access window becomes a problem. Missing the return plan is not a scenic accomplishment.
Bear safety starts before the trailhead
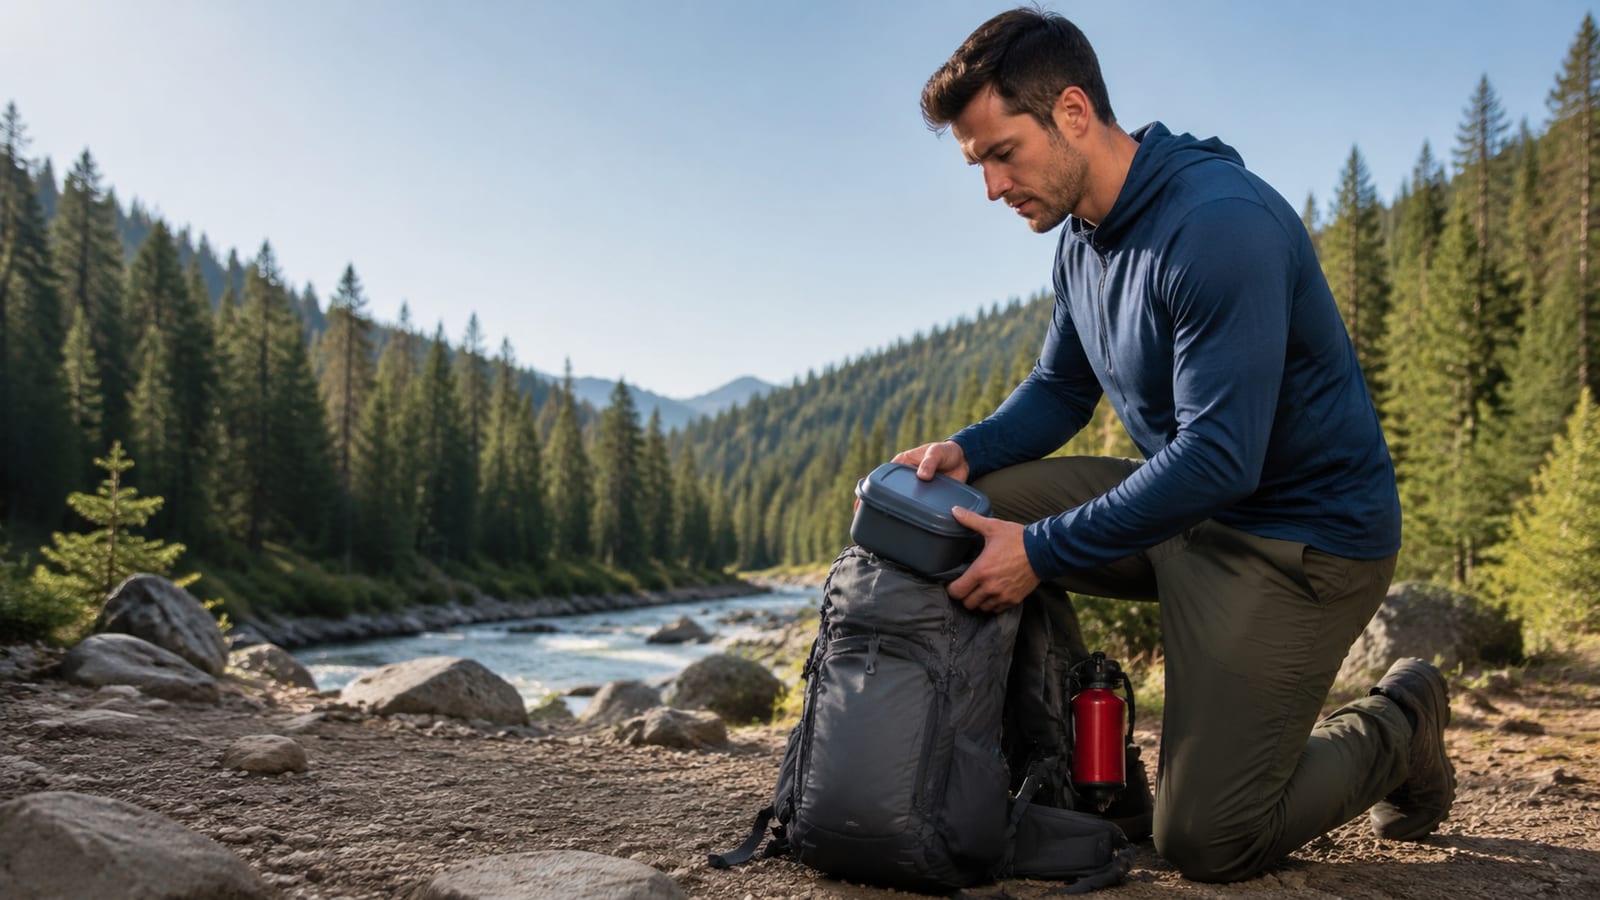
Bear safety works best as a routine. You shouldn’t wait until a bear is standing on the path to decide who carries food, where the spray sits, or how your group moves.
The park’s Bears informational page and Ranger-led Activity page are the right places to check current guidance and ranger programs. A ranger talk is useful because it turns broad rules into decisions you may face around a bend.
Before hiking
- Keep food, trash, and scented items controlled.
- Don’t leave snacks loose in a daypack pocket.
- Carry bear spray where allowed and keep it reachable.
- Make sure every adult knows who will lead and who will sweep.
- Avoid hiking alone in dense brush if you have another option.
- Talk normally in low-visibility areas.
- Watch for fresh tracks, scat, carcasses, digging, or strong animal smells.
- Turn around if the trail feels poorly suited to a close wildlife encounter.
You don’t need to shout every few steps. Normal conversation helps announce your group without making the hike miserable. However, quiet stretches near running water, blind corners, and thick vegetation deserve more noise.
Black bears and grizzly bears
Black bears can be black, brown, or another shade. Grizzly bears can also vary in color. Fur color is a poor identification tool, so don’t make a close encounter worse by trying to solve the bear’s species from the trail.
Look at the bear’s behavior and give it room. If you can’t identify the bear confidently, treat the encounter with the more cautious plan. Keep your group together, don’t run, and don’t approach for a photo.
Bear encounters require space and patience
A bear on the roadside still needs space. Pull over only where legal and safe, keep the travel lane clear, and don’t crowd the animal with people or vehicles. A line of stopped cars can block traffic and push the bear toward pedestrians.
For a trail encounter:
- Stop your group. Keep children and dogs close.
- Stay calm and don’t run. Running can trigger a chase.
- Speak in a calm voice. Let the bear know you’re human.
- Back away slowly. Give the bear an open path.
- Avoid blocking its route. The bear may be trying to leave.
- Use bear spray if the bear approaches and you can’t create space.
- Report the sighting to park staff. Include the trail, direction of travel, and behavior.
Don’t climb a tree, crowd behind a bend, or throw food. Don’t stop to film while your group stands in the animal’s path. That sounds better on a camera roll than it works on a trail.
Bear spray needs to be accessible on a shoulder strap or belt, not at the bottom of your pack. Read the instructions before the trip and practice removing the safety clip with an inert trainer if you can. Wind can push spray back toward you, so know where your escape route goes.
If a bear makes contact, the correct response depends on the encounter. A defensive encounter calls for a different response than a bear that follows, stalks, or shows persistent interest. Get current instructions from park staff before your hike, and report aggressive behavior quickly.
Food storage matters at camp
A bear that finds food learns that campsites can pay. That creates trouble for the next camper, even if you never see the animal.
At camp:
- Follow the park’s food-storage rules exactly.
- Keep food and scented items out of your tent.
- Store trash and cooking supplies as required.
- Clean spills before settling in.
- Don’t leave a food bag beside your sleeping area.
- Keep a clean camp during meal breaks.
- Pack out every scrap, including greasy wrappers.
Cooking at the edge of camp and leaving snacks in your vestibule are common shortcuts. They save little time and make your sleeping area a poor place to discover that your storage plan was optimistic.
Weather, water, and trail conditions decide the day
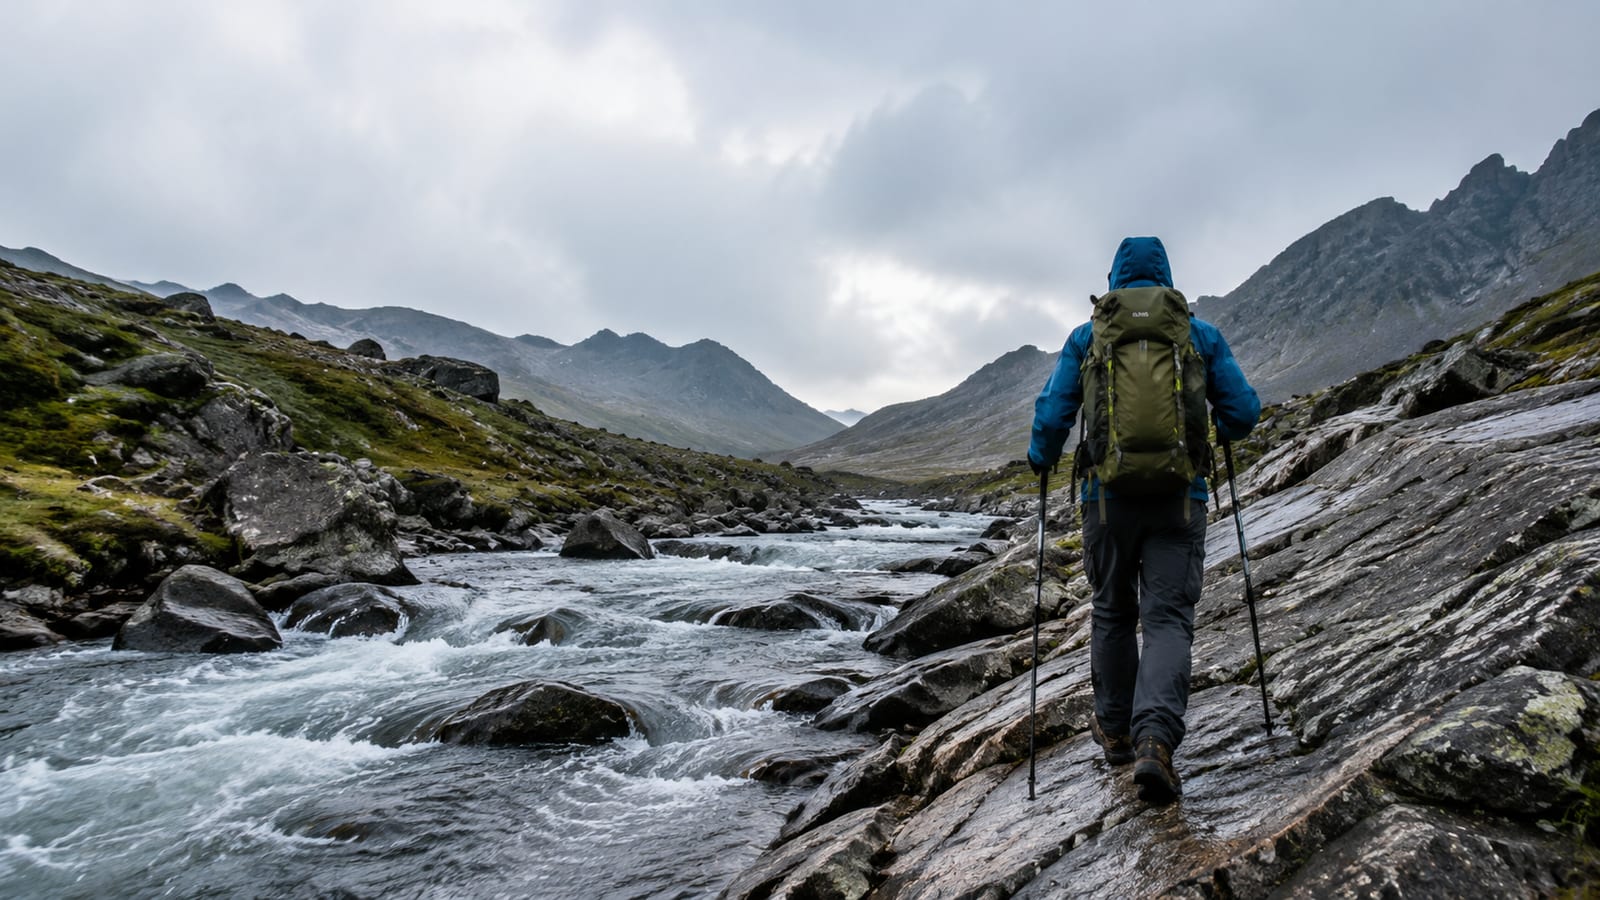
Glacier’s scenery can make a bad plan feel justified. Don’t let it. Wet rock, melting snow, wind, and heat can turn a simple descent into the part your knees remember.
Pack for the actual route:
- Water for the full hike and an unexpected delay
- A rain layer that handles pack straps
- Warm insulation for exposed sections
- Sun protection
- Bear spray in a reachable position
- A headlamp
- Food beyond your planned lunch
- A map that works without a signal
- Basic blister and injury supplies
Water sources may be seasonal, crowded, silty, or unsafe. If you filter, protect the clean end of the filter from dirty surfaces and carry a backup treatment option. Slow filter flow is a problem on a real trip, not a minor annoyance in a gear drawer.
The same rule applies to footwear. Trail runners work for many maintained day hikes when the ground is dry and your pack is light. Boots make more sense when you need extra structure, carry a heavier load, or expect rough, wet, or snowy ground. Choose based on trail conditions, not on which pair looks more serious in the parking lot.
Common planning mistakes to skip
Treating the road like a guarantee
A road reservation, open gate, or early arrival does not promise an easy trail day. Access only gets you to the decision point.
Packing for the view but not the return
Many hikers carry enough for the climb and forget the walk back. Add time for a slow group, weather, wildlife, and a wrong turn.
Approaching roadside wildlife
A bear near the road is still a bear. Keep your distance, don’t block traffic, and don’t turn a wildlife sighting into a crowd scene.
Assuming a short hike needs no plan
Hidden Lake Overlook is shorter than Ptarmigan Tunnel, but snow, wind, and crowded trail sections still matter. Short trails can also have long waits for parking.
Keeping spray buried
If you need to open your pack, the moment has already moved faster than your gear. Carry it where your hand can reach it.
Chasing every famous trail
A good trip can include one strong hike, a safe return, and enough energy to eat dinner. You don’t get extra credit for adding a second route after your legs have filed a complaint.
A simple day plan for first-time visitors
Use this structure if you’re new to the park:
- Start with access. Check road status, parking, transit, and trail closures.
- Choose one main objective. Hidden Lake Overlook suits a shorter day near Logan Pass. Ptarmigan Tunnel demands a longer commitment from East Glacier.
- Set a turnaround time. Write it down before you start.
- Brief the group. Cover food, bear spray, spacing, and what to do if someone falls behind.
- Keep the pace easy early. Burning your legs on the first switchback makes the return worse.
- Recheck the weather at your last reliable point. Don’t continue because the sky looked fine at the car.
- Turn around while the choice is still easy. A bailout point is useful only before you pass it.
- Report wildlife and access problems. Your note may help the next group avoid a bad encounter.
This Glacier National Park hiking guide favors a controlled day over a crowded checklist. Pick the trail you can handle, keep the bear plan simple, and treat road access as part of the hike rather than a detail before it.
FAQ
Can I hike in Glacier National Park without bear spray?
You can hike without carrying it, but that doesn’t make it a good choice. If you carry bear spray, keep it accessible, learn the safety mechanism, and understand wind direction before you need it.
Should I hike alone in Glacier National Park?
Solo hiking can work on familiar, well-traveled routes with a clear route plan and reliable navigation. It carries more risk in bear country and on remote trails because an injury, wrong turn, or blocked route leaves you without immediate help.
What should I do if a trail is closed after I arrive?
Don’t bypass the closure. Ask park staff for a legal alternative, then choose a shorter route that fits the remaining daylight, weather, and access plan.
Are dogs allowed on Glacier hiking trails?
Trail access for dogs is restricted in many national parks. Check the park’s current pet rules before bringing one, and never assume a road-access area allows dogs on nearby trails.
How early should I arrive for a popular trailhead?
Arrive early enough to handle parking, a slow group, and a plan change. There is no useful universal arrival time because road status, season, transit, and trail conditions can change the morning’s math.
