
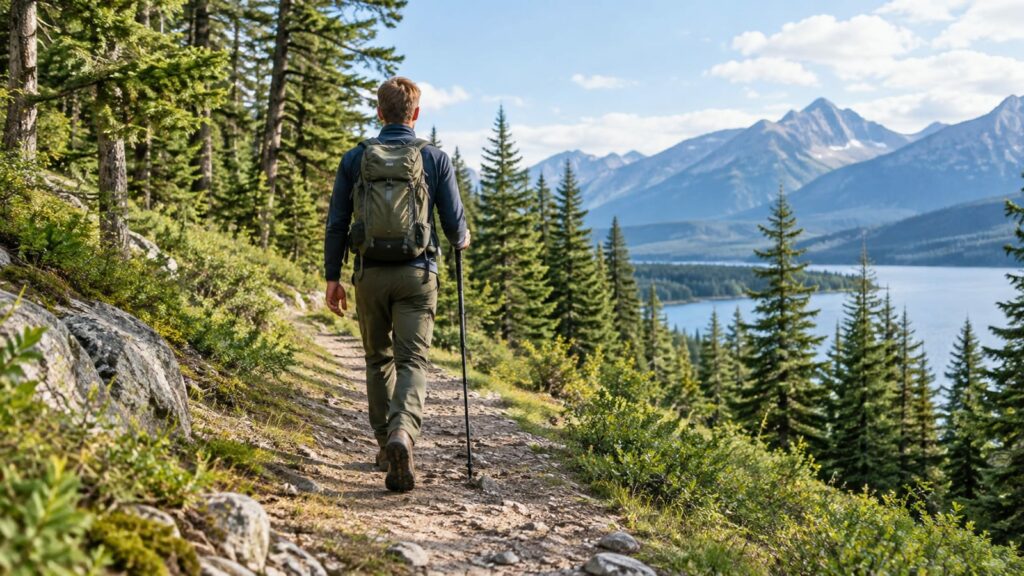
Good hiking form looks dull from the outside, and that's a compliment. Proper hiking posture and form comes down to a tall, relaxed body and short, controlled steps. Your feet land under your hips, your core stays lightly braced, your eyes scan ahead, and your knees track over your toes. Downhill is where it pays off most, because slowing down and shortening your stride spares your knees a lot of pounding.
Most hikers don't need a full posture overhaul. They need to stop overstriding, stop staring at their boots, and stop rushing descents. Fix those three habits and the last few trail miles feel a lot less like a negotiation.
Your pack can undo all three. The gear maker Mammut suggests a fully loaded day pack shouldn't exceed 10% of your body weight. A heavier load starts tugging your posture backward no matter how carefully you step.
What is proper hiking posture and form?
Proper hiking posture is a stacked, relaxed stance. Your head sits over your ribs, your ribs sit over your hips, and your hips sit over your feet. That stack lets your skeleton hold you up, so your muscles stop fighting gravity on every step.
The details are simple:
- Head level. Chin level, eyes forward, the way you'd read a sign at a trail junction.
- Shoulders loose. Let them drop away from your ears. Tense shoulders tire fast and tighten your breathing.
- Ribs over hips. No arched lower back, no slump.
- Core lightly braced. Use about the effort you'd use to stay steady if someone bumped you in a crowd.
- Knees soft. Keep a slight bend at all times, especially when you land.
- Eyes ahead. Scan a few steps up the trail, glance down to check footing, then look back up.
The gaze matters more than people think. When you stare at your feet, your head drops, your upper back rounds, and a loaded pack starts pulling you backward. You then lean forward to compensate, so your lower back ends up doing work your legs should handle.
Good posture doesn't mean stiff. On a smooth, flat path, your normal walk is fine. The stacked stance matters most when the trail tilts, the pack gets heavy, or the footing turns rough. For the narrower job of picking footholds on boulders and loose stone, see our guide to rocky trail footwork.
Foot placement and stride length
Short steps are the most useful habit you can build on a trail. When your foot lands under your hips, your weight stays over your base. As a result, you can shift, catch a slip, or stop without lunging.
Overstriding does the opposite. Your heel lands out in front of your body, which works like a brake and sends a jolt up through your knee and hip. On wet rock, mud, or loose gravel, that forward heel is also the part most likely to slide.
Try to land with as much of the sole as the terrain allows. Full-foot contact puts more rubber on the ground, so you get more grip and less wobble. On rock steps and roots that isn't always possible. In those spots, place the ball of your foot on something solid and keep your weight centered over it.
Quick, light steps also cost less energy over a full day. Each short stride needs less push and less catching. So you reach the top with legs that still have something left for the descent.
Uphill form saves your legs for later
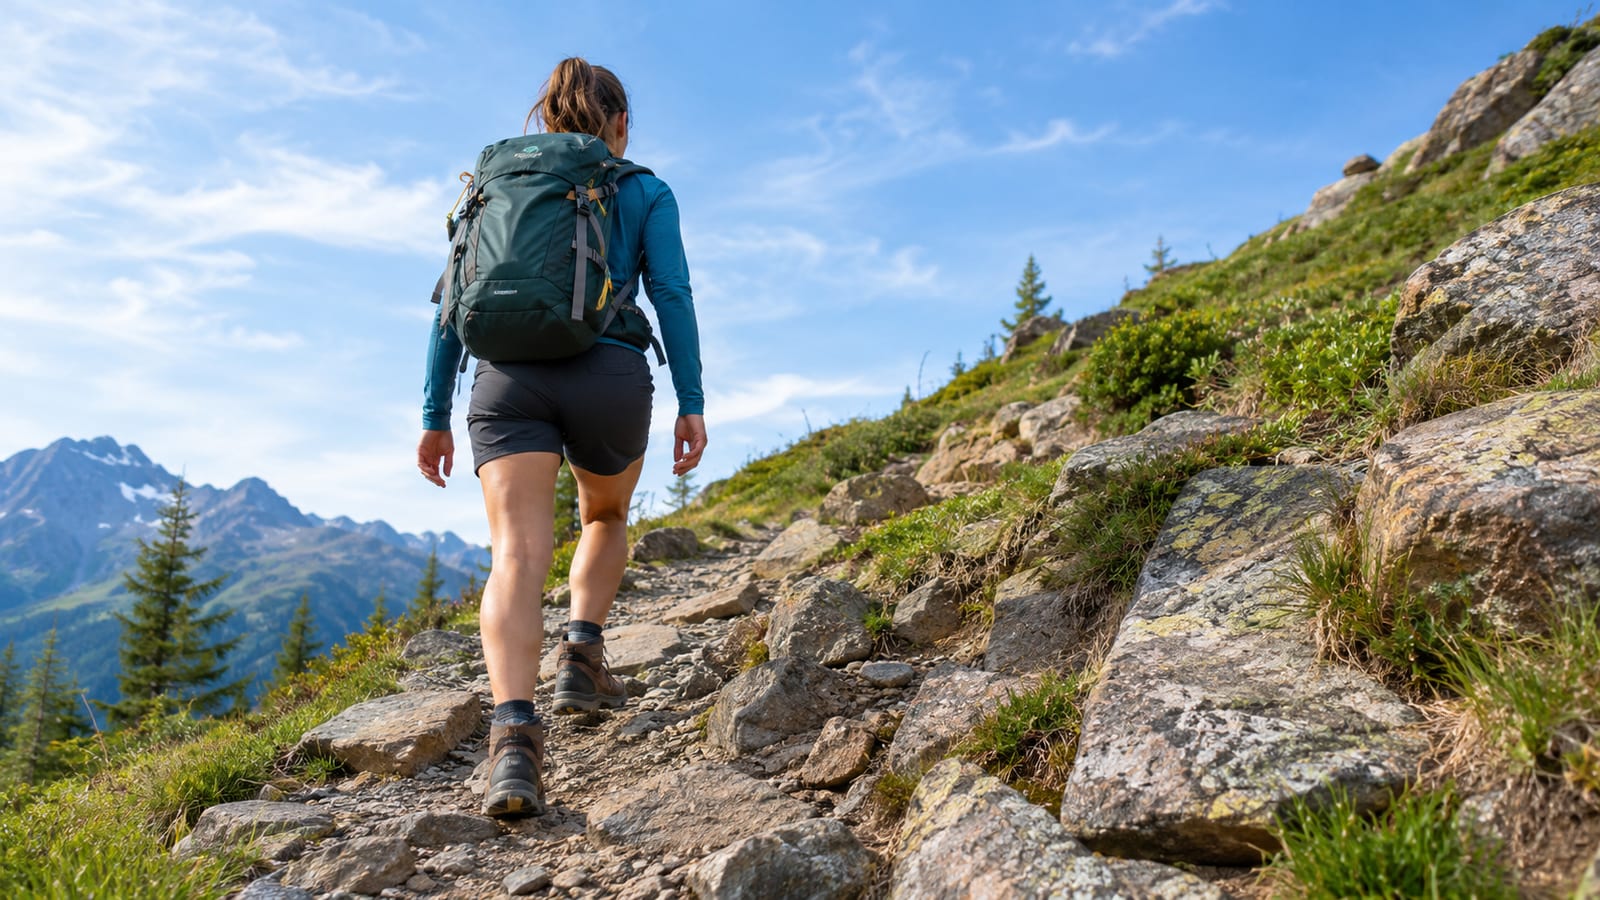
On climbs, lean slightly forward from your ankles so your whole body tips as one piece. Bending at the waist folds your chest over your lungs and loads your lower back. Keep the stack, just tilted.
Shorten your steps as the grade steepens. Big lunging steps up steep switchbacks burn out your quads early, and you pay for it on the way down. Small steps keep your heart rate steadier and your effort sustainable.
Breathing is your pace gauge. If you can speak in short sentences, you can hold that pace. If you're gasping, you started too fast. Stopping every few switchbacks costs more time than a slower, steady climb.
On long, steep grades, the rest step helps. With each step, pause for a beat with your weight on a straightened back leg. Your bones hold you up for that moment while your muscles get a tiny break. This is the one time a straight leg makes sense, because you're pausing on it with no impact coming.
How should you walk downhill without wrecking your knees?
Shorten your stride, soften your knees, and keep your torso centered over your feet. That's the whole technique. The rest is patience.
Many hikers lean back on descents because the drop looks scary. Unfortunately, leaning back puts your weight on your heels, and heels skate out on gravel, dust, and wet leaves. Keep your hips over your feet, or even a touch forward, so your soles bite into the ground.
Avoid braking with straight legs. A locked knee lands like a pogo stick with no spring, sending each impact into the joint and up your spine. A slightly bent knee lets your thigh muscles take that force instead.
Speed matters too. Every step down hits harder when you're moving fast. Slowing down shrinks each impact, and over a long descent those small savings add up in your knees. Our page on handling steep trail descents safely goes deeper on route choice and turnaround calls for the steepest ground.
Getting down steep ground without skidding
Steep, loose sections reward deliberate feet. Look for flat spots, rocks buried firmly in the trail, and patches of packed dirt. Avoid loose stones sitting on hard ground, wet roots, and polished rock, because all three behave like ball bearings.
When the pitch gets steep enough to make you nervous, turn sideways. Side-stepping lets you dig the edge of your shoe into the slope. It also keeps your knees from taking the drop head-on. It's slow, and slow is the point.
You can also zigzag gently within the width of the trail to soften the grade. Don't cut switchbacks to shorten the route, though. Shortcuts erode the slope and go against the Leave No Trace principles about staying on durable surfaces. Besides, the packed edges of the tread often grip better than the loose middle.
Finally, slow down before you lose control. Once you're half-jogging down a gravel chute, stopping safely gets hard. If a short section looks bad, sit down and scoot. Nobody's handing out style points.
Taking the pounding out of descents
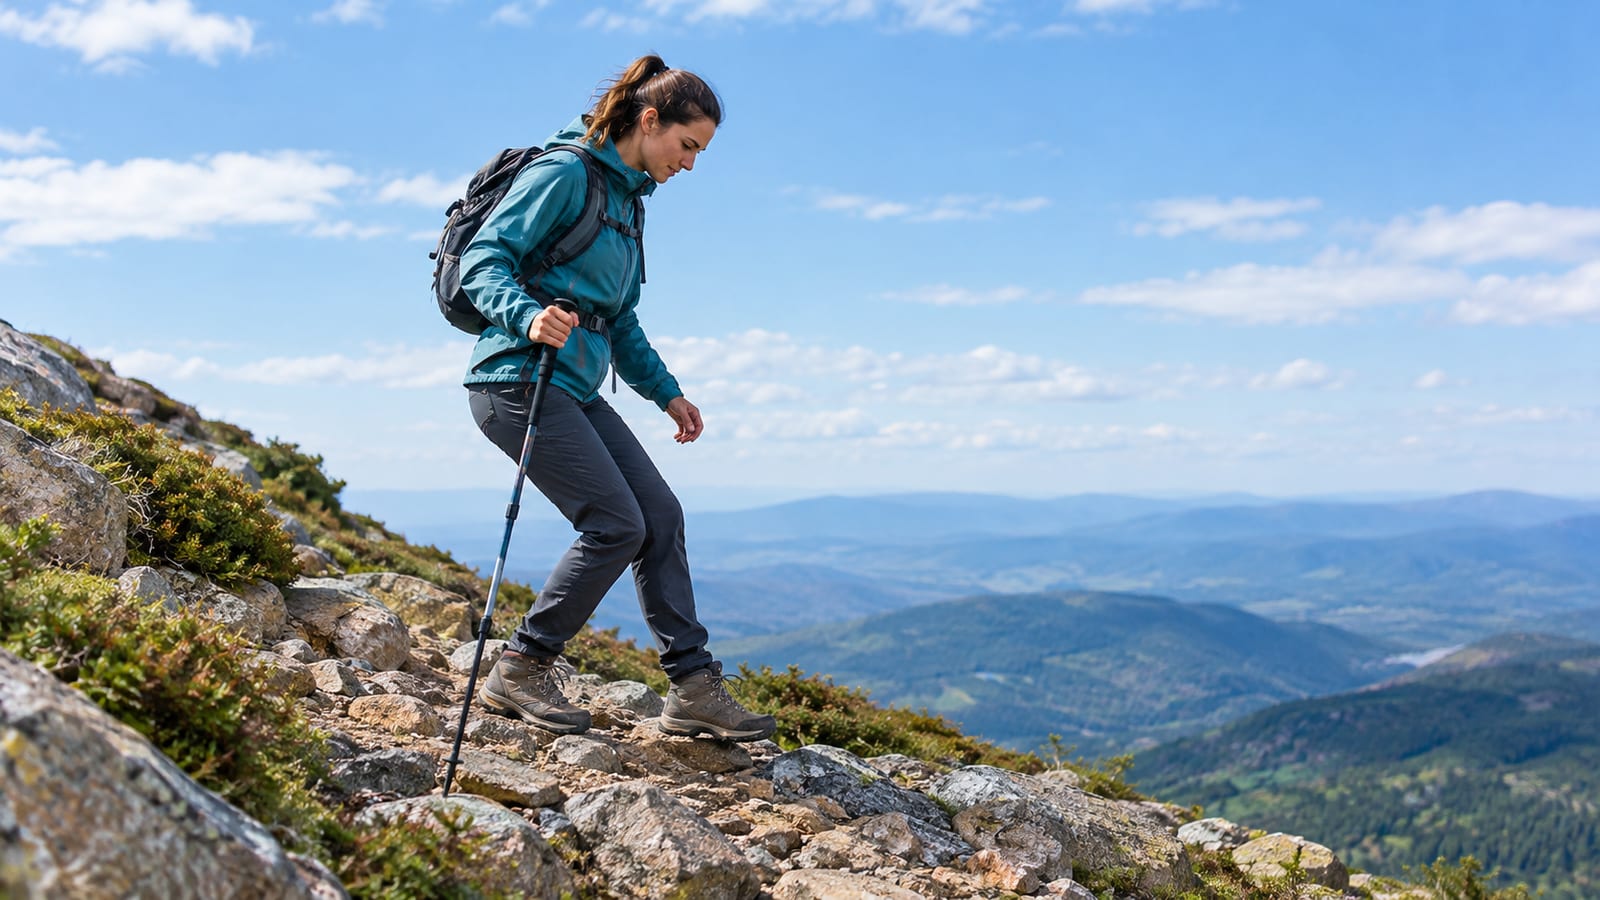
Your knees don't have to absorb every descent on their own. Several small levers spread the load:
- Higher cadence. More, smaller steps split the drop into gentler hits.
- Soft knees. A slight bend on every landing turns your legs into springs.
- Eccentric strength. Your quads work while lengthening on the way down, a motion called eccentric contraction. Stronger quads control that lowering, so you don't just drop onto each step.
- A lighter, snugger pack. Less weight means less force per step. Tight straps also stop the load from shoving you forward.
- Trekking poles. They move some of the work to your arms on steep grades, which makes them worth the weight on long drops.
Eccentric loading explains why your thighs ache the day after a big descent, even when the climb felt harder. That soreness means your legs weren't trained for the downhill. Training the lowering motion at home is the most direct way to reduce it.
Train your legs for descents before the trail does
Descents tire you differently than climbs, so train for them directly. You don't need a gym for this, since a staircase and a little patience cover most of the table below. A few short sessions a week builds the control that keeps your knees steady when the trail drops.
| Exercise | How to do it | What it helps on the trail |
|---|---|---|
| Step-downs | Stand on a stair, slowly lower one heel to the floor, then step back up | Controlled lowering off rock steps |
| Split squats | One foot forward, one back; lower straight down with your front knee over your toes | Single-leg strength and knee tracking |
| Squats | Sit your hips back and down with your chest up, then stand | General leg strength for both directions |
| Calf raises | Rise onto your toes and lower slowly, off a step edge if you can | Ankle stability and push-off on climbs |
Focus on the lowering part of each move. Count slowly on the way down, because that phase is the one that matches descending.
Then add real descent gradually. Walk down stairs, pick hikes with a bit more drop each time, and treat the first big downhill of the season with some respect. Jumping from flat city walks to a long mountain descent is how hikers end up taking their own stairs backward the next morning.
How do you build balance for uneven trails?
Balance is a trainable skill, and the simplest drills work. Start by standing on one leg while you brush your teeth. Once that feels easy, try it with your eyes closed, or while standing on a folded towel.
Ankle strength does a lot of the work on rough ground. Single-leg calf raises and slow heel walks build the small muscles that catch a rolled step. Strong ankles let you recover from a wobble before it turns into a sprain.
Your core keeps the stack steady when your feet land on something uneven. Planks, side planks, and bird dogs are plain but useful. Our list of core exercises for balance on the trail covers more options.
Still, nothing replaces real uneven ground. Walk on grass, gravel paths, or a rooty local trail with a light pack. A gym floor builds the base, and the trail teaches your feet to read surfaces quickly.
Trekking poles only help if your footwork is already right
Trekking poles add real stability on steep descents, stream crossings, loose scree, and any hike with a heavy pack. They also take some load off your knees on the way down. On smooth, flat trails, they add rhythm and little else.
Set them for the terrain:
- Flat trail: forearms roughly level with the ground when you hold the grips.
- Climbs: shorten them so you aren't reaching up and hunching.
- Descents: lengthen them so you can plant ahead without folding forward.
Plant the tips near your feet, a little ahead and to the side. Planting far in front pulls you forward and encourages the overstride you're trying to fix. For grips, straps, and pole rhythm, see how to use trekking poles correctly.
Poles can't rescue bad form. If you lean back and stomp downhill, poles just let you do it for longer. They work best as an extra point of contact for a body that's already balanced.
A badly fitted pack pulls your posture apart
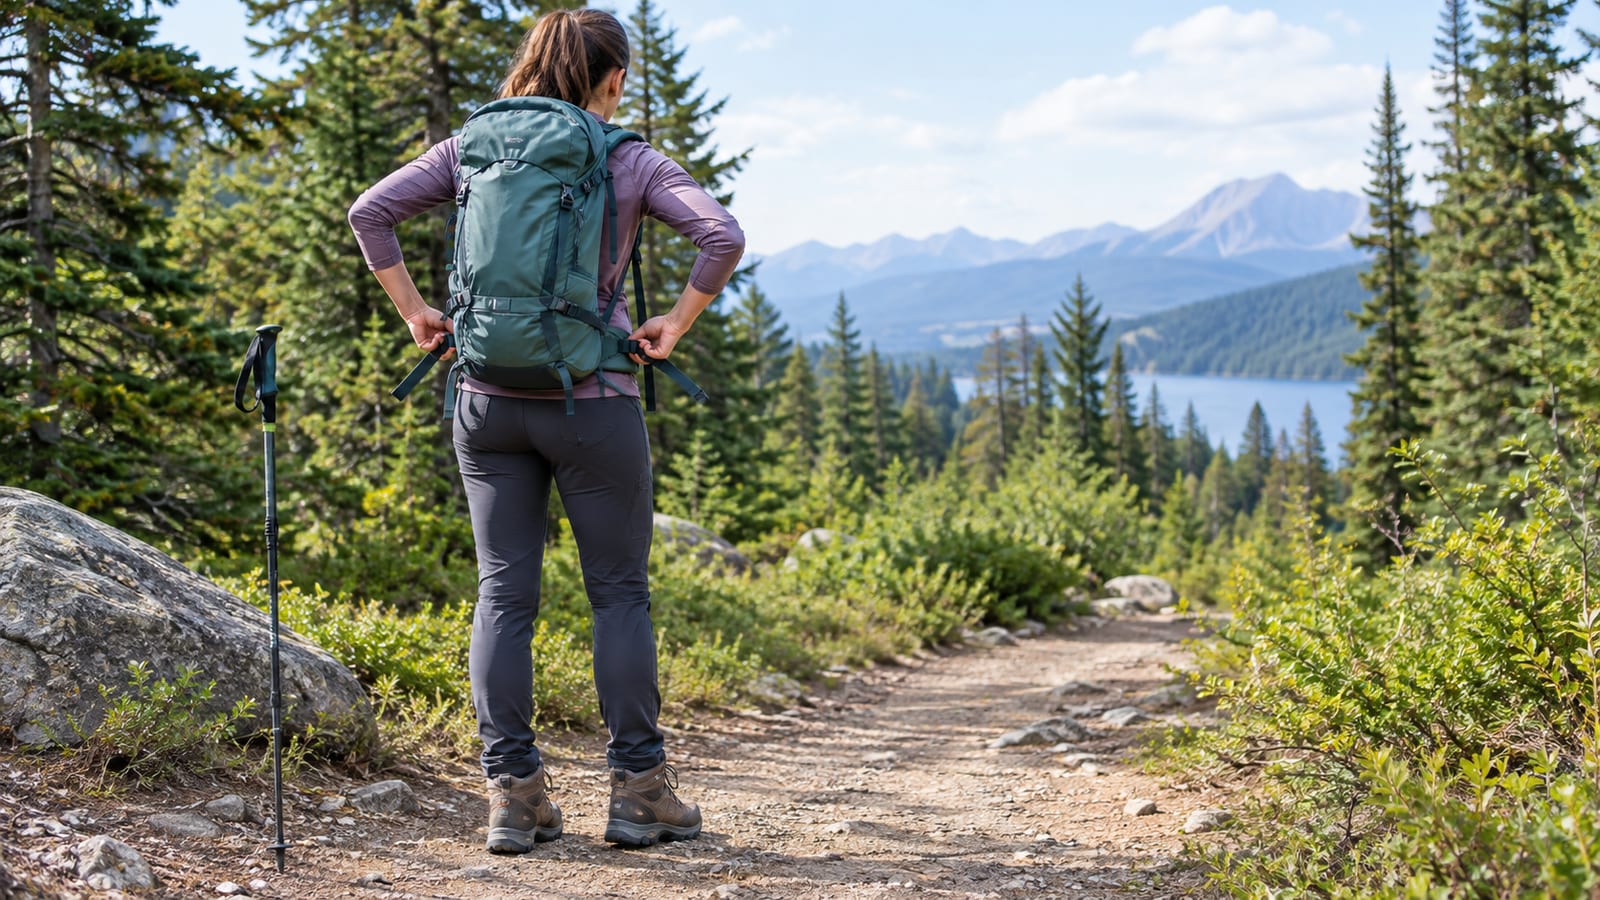
Extra weight drags your center of gravity backward, so you lean forward to stay upright. Your shoulders round, your neck juts out, and every step gets a little less stable. Mammut's day-trip guideline from earlier stretches to 20% of your body weight for treks lasting several days.
Treat those numbers as a sanity check. A desert water carry or winter layers can push you past them fast. However, if your pack sits well above those lines on a casual day hike, you're probably carrying things you won't use.
Fit matters as much as weight:
- Hip belt on your hip bones. It should carry most of the load so your shoulders don't.
- Shoulder straps snug. Loose straps let the pack sway and shove you on descents.
- Load lifters and sternum strap adjusted. They pull the load close so it moves with you.
- Heavy items close to your back and centered. A food bag or bladder hanging low and far out pulls you backward.
Snug everything before a descent. A pack that bounces on the way down shifts your weight at exactly the wrong moment, usually mid-step on loose ground.
Common hiking form mistakes
Good hiking posture and form usually fall apart through a handful of habits. Most of them feel fine for the first hour, which is why they stick around. Each one wastes energy on the climb and raises the odds of a fall on the way down.
| Mistake | What it costs you | The fix |
|---|---|---|
| Overstriding | Heel-first braking, slips on wet rock, knee jolts | Shorter steps that land under your hips |
| Staring at your feet | Rounded back, missed hazards ahead | Scan ahead, glance down, look back up |
| Locking your knees | Impact goes straight into joints and spine | Keep a slight bend on every landing |
| Hunching on climbs | Shallow breathing, sore lower back | Lean from the ankles and keep the stack |
| Leaning back on descents | Heels slide out on gravel and leaves | Hips over feet, weight on the full sole |
| Rushing downhill | Bigger impacts, lost control on loose ground | Slow down before the steep part starts |
| Overpacking | Pulls you off balance and tires your legs sooner | Cut what you won't use, then fit the pack |
One more habit deserves a mention: copying a partner's pace. A faster hiker's stride may not fit your legs, and matching it is a quick route to overstriding. Hike your own rhythm and meet them at the next junction.
When your form slips, treat it as a warning
Form breaks down before you feel fully wrecked, which makes it a useful early signal. Watch for these signs:
- Scuffing your toes or tripping on small rocks
- Heavy, slapping heel strikes
- Hunching forward or letting your head drop
- Missed foot placements, or a sudden lean back on descents
- Poles dragging instead of planting
When two or three show up together, act on them. Stop, drink, eat something, and re-tighten your pack. A short break often brings your form back faster than grinding on.
If it doesn't come back, slow down and pick a shorter route. Turning around early is a fixable decision; a twisted ankle miles from the trailhead isn't. Know your bailout point before you start, especially on routes that end with a long descent. Then plan your breaks so you reach the top of that descent with fresh legs.
FAQ
Should you swing your arms when hiking without poles?
Yes, let them move on their own. A relaxed swing keeps your rhythm and works as a counterweight when a rock shifts underfoot. Clamping your hands on your shoulder straps all day mostly stiffens your upper body. On slick or rocky sections, keep your hands out of your pockets so they're free to catch a fall.
Is it okay to push on your thighs during a steep climb?
Yes, for a few tall steps. A hand pressed just above your knee gives you extra push on big rock steps and high stairs. It goes wrong when you stay folded over for the whole climb, because that cramps your breathing and strains your back. Push for the big moves, then stand back up and let your legs carry the rest.
Does footwear change your hiking form?
Some, though less than shoe marketing suggests. The basics hold in boots or trail runners. Thick, stiff soles can mute what the ground tells your feet, so some hikers start landing harder without noticing. After a switch, listen to your footsteps for a few outings, since loud slapping usually means you're landing heavier than you think.
Can better form fix knee pain on descents?
Often, yes. Cleaner technique and stronger thighs leave many hikers feeling noticeably better on the way down. Pain that lingers for days, comes with swelling, or bothers you on flat ground is a different problem, and shorter steps won't solve it. Get it checked by a physical therapist before another season of hiking through it.
