
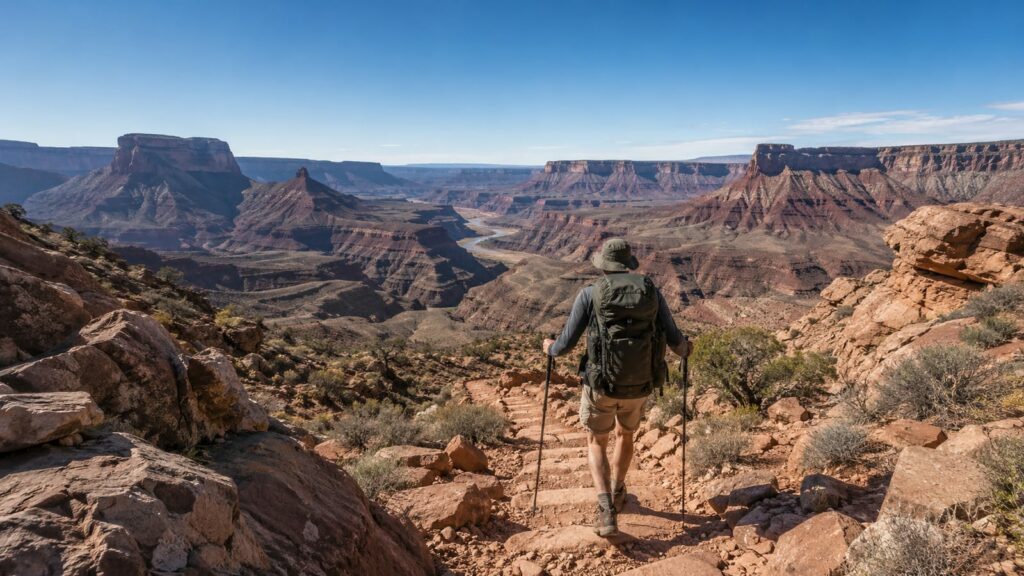
South Rim to North Rim is the best default for most rim-to-rim hikers. You get simpler transport planning, better lodging choices at the finish, and a more manageable final climb. North Rim to South Rim makes sense if a downhill-first effort fits your legs or your access plans, but the last ascent is punishing. Bright Angel, South Kaibab, North Kaibab, Phantom Ranch, backcountry permits, and confirmed water sources all belong in the plan.
The overall pick: South Rim to North Rim
The South Rim to North Rim route gives most hikers the cleaner plan. You descend into the canyon, cross through Phantom Ranch, then climb toward the North Rim on the North Kaibab Trail.
That finish still hurts. However, the North Rim approach spreads the climbing more evenly than the South Rim ascent, and the final section often feels less relentlessly steep. Your legs will be tired either way. The point is to finish tired, not broken.
This direction also gives you stronger backup options:
- More lodging and parking choices before the hike
- Easier access to the South Rim trailheads
- More ways to adjust your start if weather or sleep goes wrong
- A clearer finish at the North Rim if you arrange transport ahead
- An easier case for adding a canyon-floor night
The North Rim to South Rim direction has one obvious benefit. You get the long descent first, which can suit hikers who handle downhill travel well and prefer to climb while fresh later.
The problem arrives at the end. You finish with a steep, sustained climb toward the South Rim after crossing the hottest and lowest part of the canyon. If your water plan slips or your pace drops, the final ascent offers little comfort.
Choose North Rim to South Rim if:
- North Rim access fits your trip better
- You prefer descending early
- You’ve trained for long uphill work late in the day
- Your transport is already arranged
- You have a firm plan for delays
For most people, South Rim to North Rim is the keep-it-simple call. The route still demands respect, but it leaves you more room to solve normal travel problems.
How do you plan a rim-to-rim Grand Canyon hike?
Plan the crossing in this order:
- Choose your direction. Start with your legs, transport, and finish options. Don’t choose based on which rim looks better in a photo.
- Pick your route from the South Rim. Bright Angel offers more established corridor support. South Kaibab gives you a direct descent and wider views, but water and shade are limited.
- Choose an overnight plan before booking travel. Phantom Ranch requires reservations. Backcountry camping requires a separate permit.
- Check the official trail and road conditions. The North Rim can have seasonal access limits, and corridor water systems can change with maintenance or weather.
- Build a water plan that assumes an outlet may be closed. Carry enough to reach the next reliable source without gambling on a faucet.
- Set a turnaround rule. Decide before hiking what heat, injury, lost water, or a late start will make you stop.
- Arrange transport at both rims. A successful crossing still fails if you reach the finish with no ride, no lodging, and no way to recover.
The National Park Service corridor trail information should be your starting point for current trail, water, and access updates. Trail conditions change faster than a polished itinerary suggests.
Can you cross the canyon in one push?
Yes, strong and well-prepared hikers can cross the canyon in one push. That doesn’t make it a sensible first attempt.
A rim-to-rim crossing combines a long distance, major elevation change, heat exposure, rough footing, and a late climb. Your flat-trail pace won’t tell you much. The canyon punishes people who use their usual walking speed as a schedule.
You need:
- Strong uphill and downhill conditioning
- Experience hiking before sunrise or after dark
- A reliable water and food system
- Enough daylight awareness to avoid a rushed finish
- Legs that still work after hours of descending
- A plan for heat, storms, and a missed transport connection
The pace problem is simple. You lose time on steep grades, water stops, foot care, navigation checks, and slow hikers in your group. Then the heat starts collecting interest.
A crossing without an overnight stop also removes your recovery margin. A blister, upset stomach, late shuttle, or wrong turn can turn a hard plan into an emergency. If you’re unsure, choose an overnight itinerary. Splitting the effort is usually worth the extra planning.
Bright Angel and South Kaibab make different tradeoffs
The South Rim gives you Bright Angel and South Kaibab as the main corridor choices. Both work, but the wrong one can leave you short on shade or water before the day has properly started.
| South Rim route | Where it works | Where it falls short |
|---|---|---|
| Bright Angel Trail | Established corridor, more shade in sections, stronger option for a measured descent | Long climbs, changing water access, and a slower route for some hikers |
| South Kaibab Trail | Direct line, open views, and a clean descent toward the canyon floor | Little shade, no dependable water along much of the route, and more exposure |
Bright Angel Trail
Bright Angel is the stronger choice when you want the most established corridor. It has broad sections, rest areas, and more shade than South Kaibab in places. That helps when the sun is high and your pack rub is already annoying you.
However, don’t confuse established with easy. The climb back toward the South Rim is long and steady. Water availability can also change with seasonal work, pipe repairs, or trail closures.
Bright Angel suits hikers who want:
- More places to pause without blocking the trail
- A less exposed descent in some sections
- A route that works better for cautious pacing
- More familiar corridor features on a first crossing
Check the current water status before you leave. Carry enough to reach the next confirmed outlet.
South Kaibab Trail
South Kaibab is the better descent if you want a direct line and open canyon views. It reaches the inner canyon efficiently, which makes it attractive for a strong start.
The catch is the exposure. Shade is limited, and water isn’t available along the trail in the way many hikers expect. That sounds better on a map than it feels on a hot climb.
Use South Kaibab when:
- You can carry extra water from the rim
- You’re starting early enough to limit heat exposure
- You’re comfortable descending steep, exposed trail
- Your group can maintain a controlled pace
- You’ve checked current trail conditions
South Kaibab is a poor choice for a casual late start. The view won’t refill your bottle.
Connecting with North Kaibab
Both South Rim routes connect with the canyon corridor near Phantom Ranch. From there, the North Kaibab Trail carries you toward the North Rim.
The canyon floor is not a rest stop in the ordinary sense. Temperatures can be harsher than expected, shade is limited in places, and the climb begins after your legs have already done serious work.
Phantom Ranch is the better overnight plan
Phantom Ranch is the safest and most enjoyable way to spend a night in the canyon if you can secure a reservation. Breaking the crossing into stages gives your feet, knees, and water system more room to recover.
A sensible itinerary looks like this:
South Rim to Phantom Ranch
Start early and descend at a controlled pace. The downhill is where many hikers spend too much energy because it feels free. It isn’t. Your quads pay the bill later.
Eat before you feel hungry. Check your feet before a hot spot becomes a blister. Keep drinking steadily instead of trying to repair dehydration at the bottom.
Phantom Ranch recovery
Use the canyon-floor night as recovery, not as a victory party. Eat a proper meal, refill when the system is operating, dry wet clothing, and check your shoes for grit or loose stitching.
Phantom Ranch reservations and meal arrangements are separate from backcountry camping permits. Don’t assume a reservation at the ranch gives you permission to camp elsewhere, or that a backcountry permit gives you a meal.
Phantom Ranch to the North Rim
Start early again. The climb out is cooler in the morning, and you’ll have more room to slow down when the trail gets rough.
Keep food accessible. A tired hiker who has to unpack the entire bag for a snack will simply stop eating. That’s how a manageable climb turns into a slow, shaky push.
If Phantom Ranch isn’t available, a permitted backcountry campsite can work. You’ll carry more, manage your own shelter, and depend less on developed services. That’s a reasonable fallback, not an equal substitute.
Do you need a backcountry permit to camp?
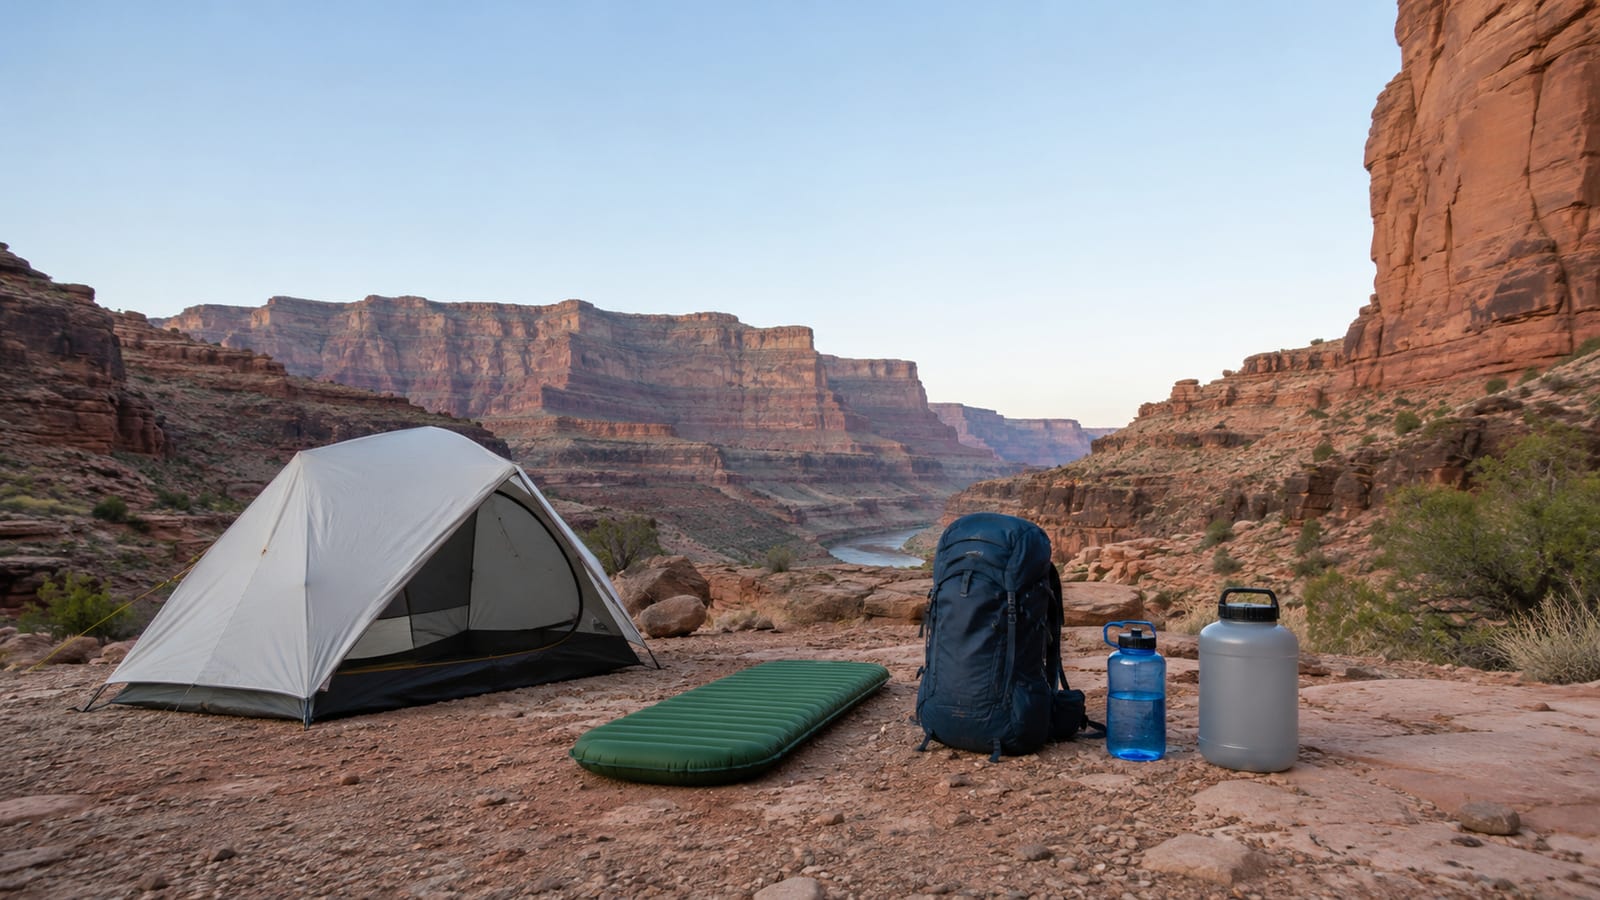
Yes. Backcountry camping requires a permit. A Phantom Ranch reservation is a different arrangement and does not replace the permit needed for designated backcountry campsites.
Apply through the Grand Canyon National Park backcountry permit system. Popular corridor campsites can require advance planning and may use a lottery or application process during busy periods. Check the live rules before choosing travel dates.
Plan campsites around:
- Your realistic hiking pace
- Available water near camp
- Heat exposure
- The climb remaining the next day
- Your ability to carry shelter, food, and extra water
- A backup if your preferred campsite isn’t available
Don’t build a trip around an unapproved campsite and hope the ranger won’t care. The canyon has limited sites, limited water, and limited patience for improvised plans.
The safest hiking windows are cooler shoulder seasons
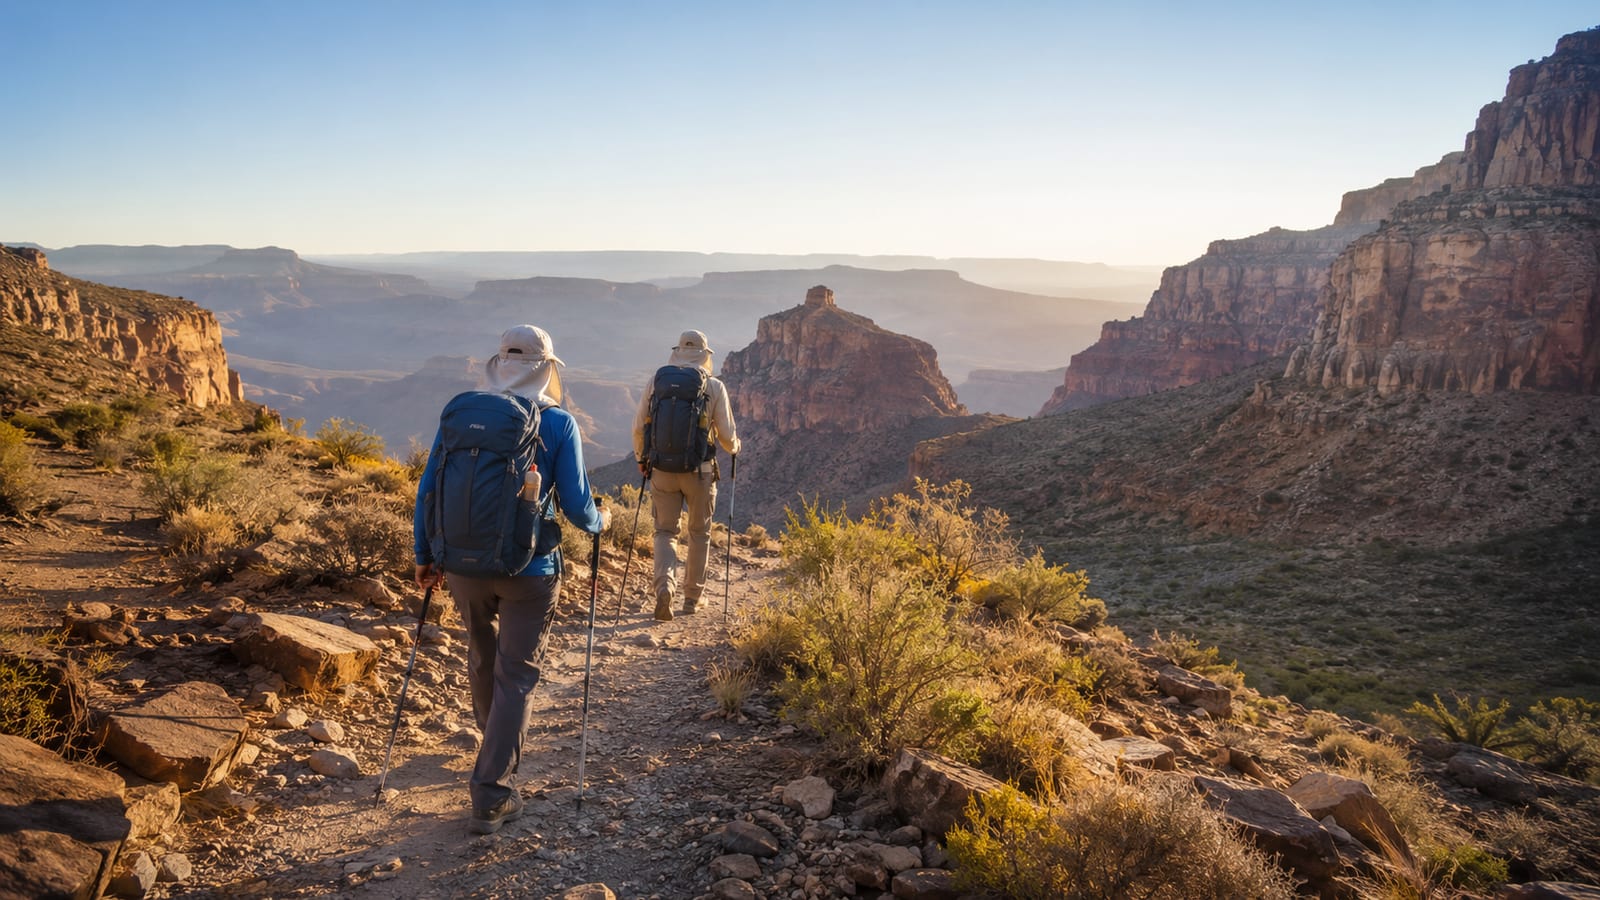
The safest rim-to-rim season usually falls in the cooler shoulder seasons, when heat is less punishing and the North Rim is accessible. Even then, conditions can change quickly between the rims and the canyon floor.
Summer is the wrong time for casual planning. The inner canyon can become dangerously hot while the rim feels comfortable. A cool breeze at the trailhead tells you almost nothing about the climb below.
Winter and early spring bring different problems:
- Snow and ice near the rims
- Seasonal North Rim road closures
- Cold nights
- Frozen or unreliable water systems
- Storms that change footing and visibility
- Shorter daylight
The North Rim has seasonal access limits that can affect roads, lodging, services, and transport. Check the park’s current road and trail notices before booking nonrefundable travel. The National Park Service road conditions page is more useful than an old trip report.
Fall can offer good conditions, but demand remains high. Book what you can early, then keep a backup plan for smoke, storms, closures, or transport delays.
Water planning has no room for wishful thinking
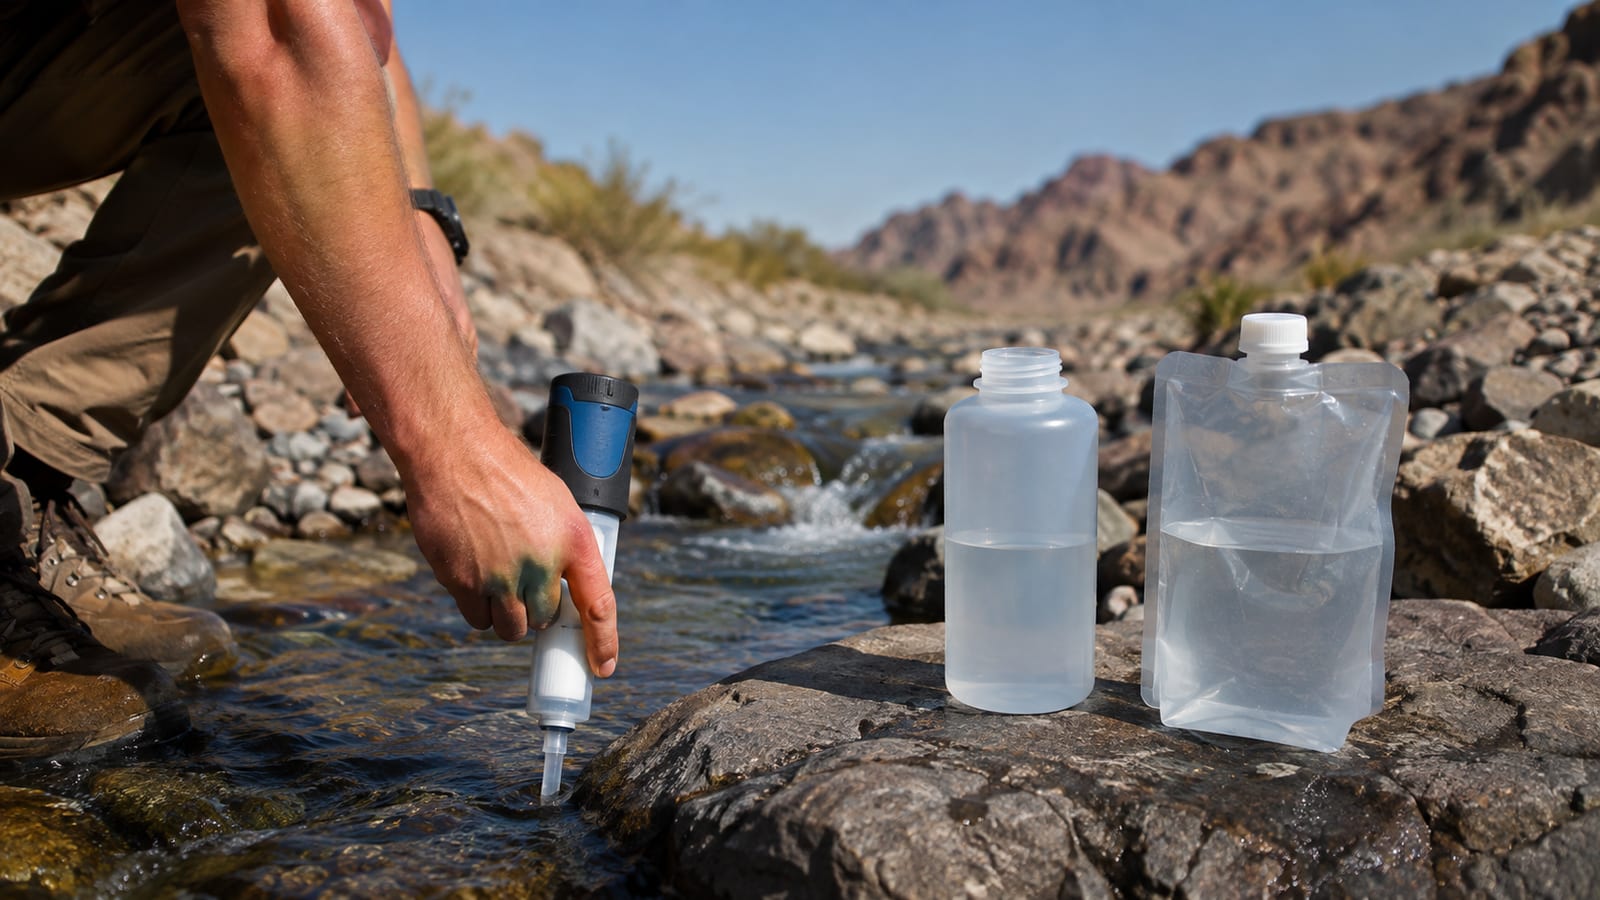
Carry enough water to reach the next confirmed source, with a reserve for heat, delays, and a slower hiker. Don’t plan to carry the minimum because a source appears on a map.
Your water needs depend on:
- Rim-to-rim direction
- Trail choice
- Heat and bugs
- Pack weight
- Your sweat rate
- The time of day
- Water system status
- Whether you’re filtering natural water
South Kaibab demands a larger starting carry because you can’t count on trail water during the descent. Bright Angel may offer more developed water points, but availability can change.
North Kaibab water access is also seasonal and maintenance-dependent. A source that worked on a recent trip report may be closed, dry, or under repair when you arrive.
Use this method:
- Check the park’s current water report before leaving the rim.
- Mark every planned source on your map.
- Identify the longest dry stretch.
- Carry enough for that stretch plus delays.
- Refill before you’re desperate.
- Treat natural water instead of assuming clear water is safe.
- Keep a backup treatment method in your pack.
Filter clear moving water when you can, treat questionable water twice when you have to, and keep the clean end of your filter away from dirty containers. A filter can clog, slow down, or fail. Tablets are light and boring. That’s exactly why they belong in the backup kit.
The main water sources need different levels of trust
The corridor includes developed water systems and natural sources. Treat them differently.
South Rim trailheads
Start with full bottles and a working filter or treatment backup. Don’t assume a trailhead faucet will be operating because it worked during someone else’s trip.
South Kaibab hikers should be especially conservative. The route’s lack of dependable trail water makes a late start or missed refill costly.
Bright Angel corridor
Bright Angel has developed water points along the corridor, but seasonal shutdowns and maintenance can change the plan. Confirm which outlets are operating before you descend.
If a source is marked seasonal, treat it as a bonus until the park confirms it. The canyon doesn’t care what your screenshot says.
Phantom Ranch and the canyon floor
Phantom Ranch is a developed area with water access that can change with operations and maintenance. Refill only at confirmed potable sources, and keep dirty bottles, filters, and clothing away from clean taps.
Natural water near the canyon floor may look inviting. Appearance doesn’t make it safe. Use proper treatment and avoid contaminating the source for the next group.
North Kaibab
North Kaibab water availability can change with the season, weather, and system work. Check the current report before starting the climb toward the North Rim.
Carry enough to reach the next confirmed source. If you’re already low, don’t keep climbing on the hope that the faucet will be on.
Heat management starts before the trailhead
Start early, slow down before you feel hot, and protect your skin from the first exposed section. The best heat plan is boring: steady pace, regular drinking, salty food, shade breaks, and no race with the clock.
Use these field rules:
- Leave early enough to avoid the worst heat
- Wear a sun shirt, hat, and sunglasses
- Keep water accessible, not buried under your sleeping bag
- Eat salty food along with carbohydrates
- Use shade whenever the trail offers it
- Slow down on exposed climbs
- Watch the least heat-tolerant person in the group
- Stop and treat hot spots before they become wounds
Electrolytes can help replace salt lost through sweat, but they don’t cancel dehydration. Sports drink powder also doesn’t make bad pacing safe.
Heat illness signs include confusion, unusual weakness, poor coordination, vomiting, faintness, and a worsening headache. Stop in shade, cool the person, provide fluids only if they’re alert and able to swallow, and seek emergency help when symptoms are serious or worsening.
Turn around or stop early if someone becomes confused, can’t keep fluids down, stops sweating in severe heat, or can’t walk safely. An itinerary is replaceable. A heat emergency in the inner canyon is not a small delay.
Gear that earns its weight
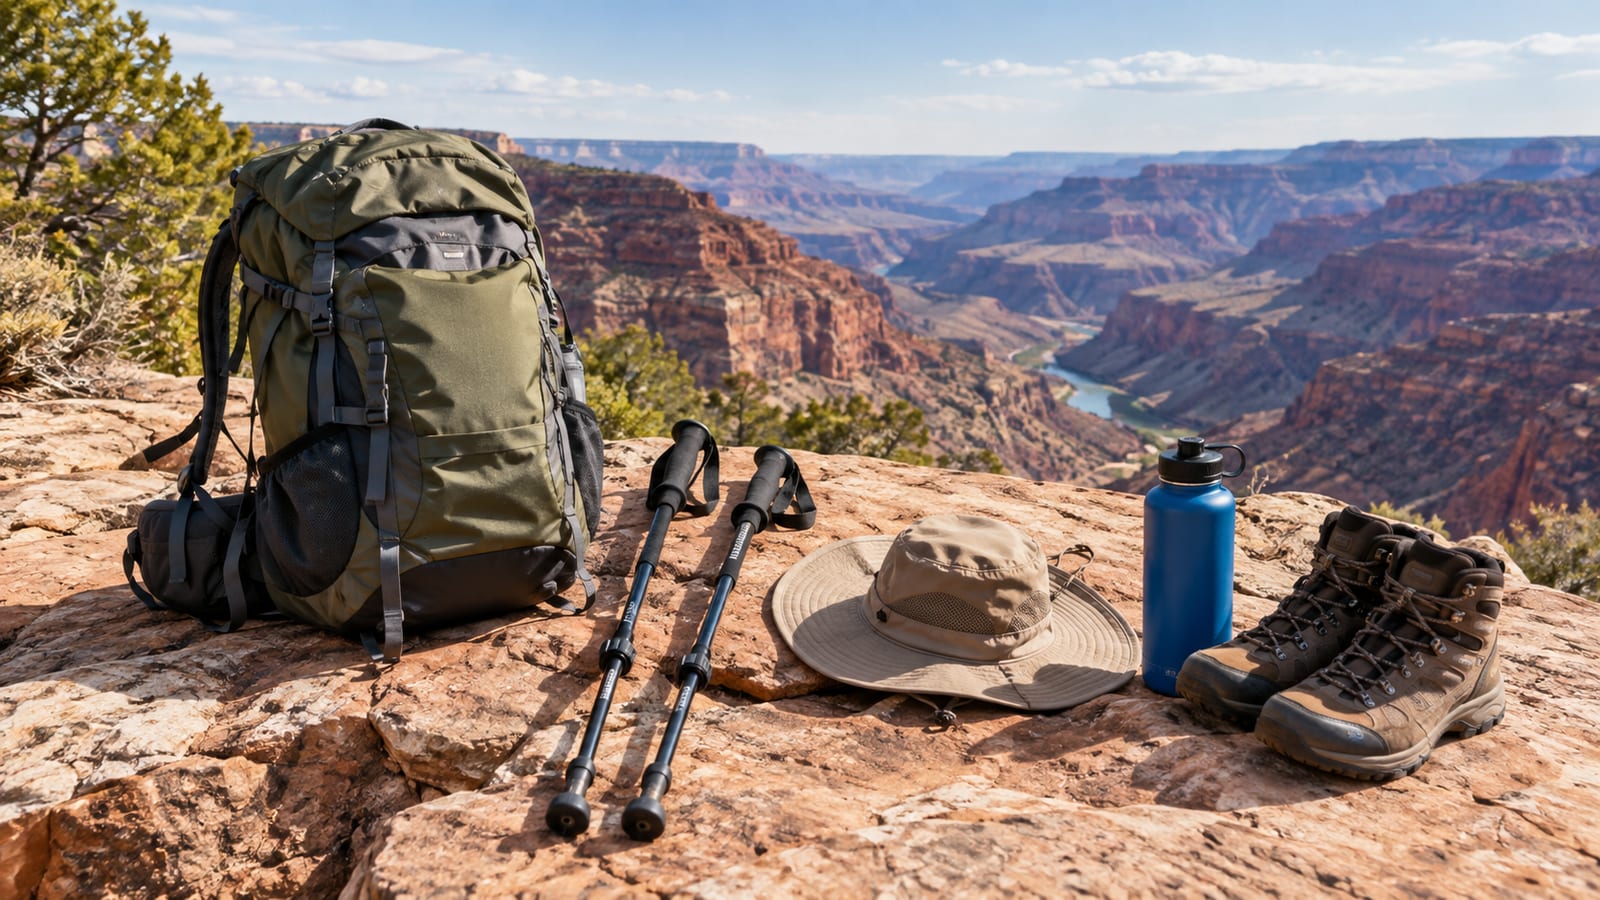
The right gear keeps working after fatigue changes your stride and your hands stop making tidy decisions.
Footwear
Use shoes you’ve already worn on steep, rocky trail. Trail runners work for many hikers, but boots can help with heavy packs, rough footing, or hikers who need more structure.
The right shoe is the one that holds your heel, protects your toes, and doesn’t create pack rub through your feet. New footwear belongs on training hikes, not at the South Rim.
Trekking poles
Poles earn their place on steep descents, loose rock, and the final climb. They reduce some load on knees and help you test unstable footing.
Cheap aluminum poles are good enough if the locks hold and the grips don’t chew up your palms. Spend more only if you know you’ll use them often.
Headlamp
Carry a real headlamp with fresh batteries or a full charge. Early starts, late finishes, and emergency delays are common reasons to need one.
Your phone light drains the device you may need for navigation or emergency contact. It’s a backup, not a plan.
Sun and weather layers
Pack sun protection for the canyon floor and warm layers for the rims. Conditions can shift from cold wind to punishing heat during the same crossing.
Bring:
- Sun shirt or long-sleeve layer
- Hat and sunglasses
- Light insulation
- Rain shell
- Gloves in cold conditions
- Extra socks
- Blister care
- First-aid supplies
- Water treatment backup
Food
Choose food you’ll eat while tired. Salty snacks, soft bars, tortillas, candy, nuts, and simple sandwiches usually beat complicated meals.
Pack enough for delays. The extra food is worth the small weight. A bonk halfway up a climb is a poor place to discover that your carefully selected meal needs cooking.
Pack and navigation
Use a pack that carries water without pulling on your shoulders. Adjust the shoulder straps before the descent, then readjust when the load changes.
Carry a map, offline navigation, and a backup power source. Don’t rely on trail signs alone when fatigue, darkness, or weather reduces your attention.
For a lower-stakes canyon trip before attempting the Grand Canyon, the Palo Duro Canyon rock alcoves guide can help you think through heat, footing, and water planning. It isn’t a substitute for Grand Canyon training. It’s simply a useful rehearsal for canyon travel.
Transportation needs its own plan
Rim-to-rim logistics are not finished when you choose a trail. You need a way to reach the start, leave the finish, and handle a delay.
Before arrival, confirm:
- Which rim is open and accessible
- Where you’ll park
- How you’ll reach the trailhead
- Whether rim shuttles are operating
- How you’ll travel between rims after the hike
- Where you’ll sleep before and after
- Your permit status
- Your Phantom Ranch or campsite reservation
- Your backup if weather closes a road
A South Rim start usually gives you more lodging and transport flexibility. The North Rim can be harder to reach, especially during seasonal road closures. That difference is one reason South Rim to North Rim makes the better default.
Leave room in the schedule for a late shuttle, a slow group member, a trail closure, or a lost water day. A tight itinerary can look efficient on paper and fail before breakfast.
Conditions change, so your plan must change too
Set decision points before the hike. Otherwise, pride will make the call after your judgment is already impaired.
Turn around, stop, or change the plan if:
- Heat arrives earlier than expected
- Your water drops below what the next confirmed source requires
- Someone develops confusion, repeated vomiting, or poor coordination
- A knee, ankle, or foot injury changes their stride
- Thunderstorms make exposed travel unsafe
- Snow or ice makes the trail unstable
- Your group is far behind its planned pace
- You miss the transport connection
- A trail or water closure invalidates the route
Don’t descend farther just because you’ve already started. The canyon doesn’t refund effort, and sunk-cost thinking has poor trail manners.
If someone is injured, keep the group together, move to shade or shelter when safe, and contact emergency services through available park channels. Send only capable help if the situation and terrain allow it. Otherwise, stay with the injured hiker and make the location clear.
A bailout point is useful only if you choose it before the crisis. Near the rim, that might mean returning to the trailhead. Deep in the canyon, it may mean staying put, reaching a developed area, or changing the overnight plan.
Who should skip a rim-to-rim crossing?
Skip the crossing for now if you haven’t trained on steep climbs and descents. Flat trail fitness won’t prepare your feet for hours of downhill braking followed by a sustained climb.
Wait if:
- You’re recovering from an injury
- Your footwear still causes hot spots
- You can’t carry enough water comfortably
- Your group has no shared pace plan
- You’re relying on a last-minute permit
- Your transport is not confirmed
- The weather window is poor
- You’re treating the route as a casual day hike
Build toward it with steep local trails, loaded pack walks, and long descents. Practice eating and drinking before you feel depleted. Test your poles, shoes, socks, and filter in field use.
A Grand Canyon crossing rewards patience more than bravado. The canyon has plenty of room for both, but only one of them gets you back out reliably.
FAQ
Is a rim-to-rim hike suitable for beginners?
Usually not as a first serious hike. Beginners should build steep-trail fitness, heat tolerance, and water-carry habits before attempting the crossing. A guided or overnight plan may reduce pressure, but it doesn’t remove the elevation or exposure.
Can you bring a dog on the corridor trails?
Pets aren’t allowed below the South or North Rim in the same way they’re allowed on many developed park trails. Service-animal rules are specific, so check current park guidance before planning around a dog.
Is there cell service in the canyon?
You shouldn’t count on it. Download maps, tell someone your itinerary, and carry a backup communication plan that doesn’t depend on a signal appearing at the right bend.
Should you hire a guide?
A guide can help if you lack canyon experience, have complicated logistics, or want support with pacing and permits. However, a guide won’t fix poor footwear, missing water, or a bad weather window. Hire one to cover a real gap in your plan, not because the route has an impressive name.
What’s the best training for rim-to-rim?
Train on steep trails with sustained climbing and descending while carrying the pack you’ll use. Add long hikes, practice fueling, and fix foot problems before they show up on a real trip. Strength work for calves, quads, hips, and core also helps, but steep trail time is the part you can’t fake.
