
Did you know over 50% of search and rescue calls in US parks involve people on a path that didn’t match their ability? That startling fact shows how common it is to misjudge a route.
I’ve spent years exploring paths across the country. Picking the right one becomes second nature once you grasp a few key principles. Let me share what I’ve learned so you can head out with confidence.
You want to enjoy your time outside, not struggle. The challenge of any walk depends on three connected things: the total elevation you climb, the distance you cover, and the route type.
These numbers work together. A short, steep climb tests your heart differently than a long, gentle one. Both need different preparation.
This guide gives you practical tools to evaluate any path. You’ll match it to your current fitness and goals. No guesswork required.
Key Takeaways
- Three main factors create a route’s challenge: elevation gain, distance, and terrain type.
- These elements interact. A short, steep path can be harder than a longer, flat one.
- Looking only at mileage or only at elevation gives an incomplete picture.
- Your past experience helps, but beginners can learn to read trail data accurately.
- Matching a path to your current fitness ensures a fun, safe time outdoors.
- Understanding these principles builds confidence for every adventure.
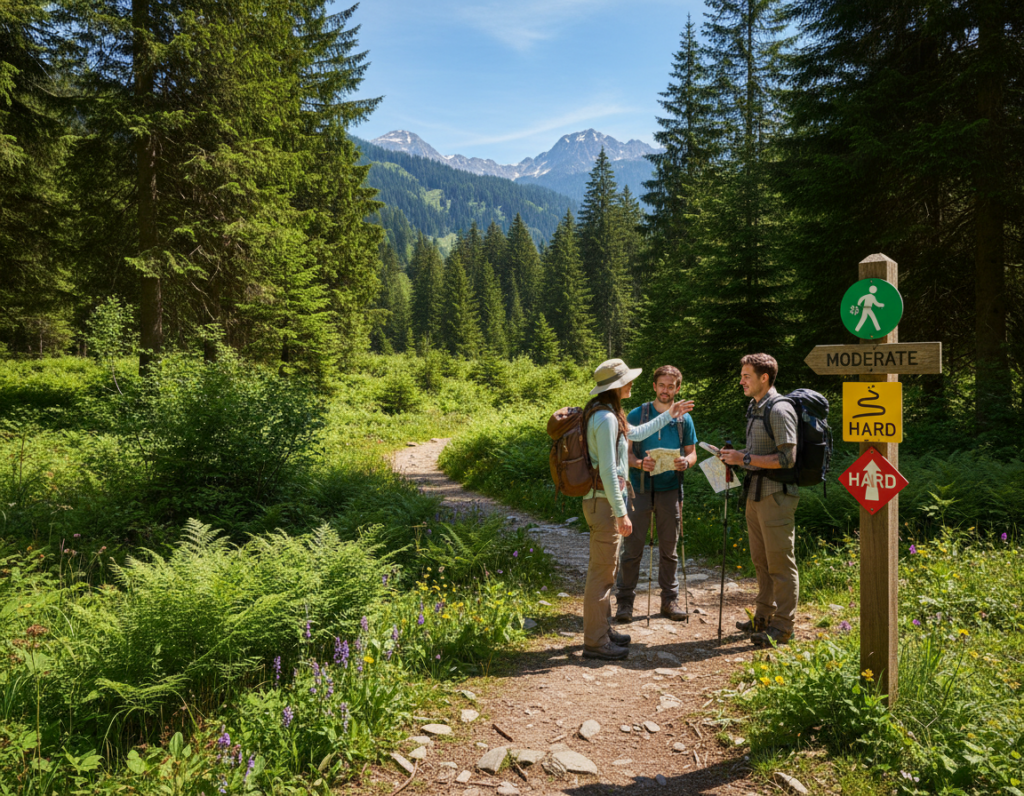
Exploring Different Trail Types and Their Features
Before you lace up your boots, understanding the format of your route is a game-changer. The layout shapes your entire day, from what you see to how you plan.
Out-and-Back, Loop, and Lollipop Trails
The out-and-back is the most common hike. You walk to a point like a waterfall, then return the same way. It’s simple and safe. You can turn back any time.
Loop trails form a circle. They start and end at the same spot but show you new views the whole way. I love these for constant variety.
A lollipop mixes both styles. You go out on a stem, complete a small loop, then return. It offers variety without complex navigation.
Other Formats: Point-to-Point and Thru-Hikes
Point-to-point routes need more planning. You begin at one trailhead and finish at another. Arranging transport is key.
Thru-hikes cover serious distance over many days. The Pacific Crest Trail is a famous example. These demand advanced preparation.
Knowing these types helps you pick a walk that fits. Want a relaxed day? An out-and-back works. Craving new sights? Try a loop trail.
Key Metrics in Choosing Hiking Trail Difficulty
I learned early on that a short walk can leave you more winded than a long one. The real effort comes from the climb, not just the miles. Let’s look at the two numbers that matter most.
Mileage and Distance Considerations
Total distance is always listed as a roundtrip figure. A 6-mile path means 3 miles out and 3 miles back.
Your pace changes with the ground. Flat sections might take 20 minutes per mile. Steep uphill parts can slow you to 30 or even 45 minutes.
Elevation Gain and Vertical Feet per Mile
Elevation gain is the total vertical feet you climb. It stresses your heart and lungs more than flat distance.
The “highest point” is different. That’s your ending altitude above sea level. For a true challenge rating, divide the elevation gain by the one-way distance.
This gives you feet per mile. Use this scale to gauge the effort level.
| Feet per Mile | Difficulty Level |
|---|---|
| 200 – 400 ft | Easy |
| 400 – 700 ft | Moderate |
| 700 – 1,000 ft | Difficult |
| 1,000+ ft | Challenging |
A 4-mile roundtrip with 1,000 ft of gain is 500 ft per mile. That’s a moderate climb. For these sustained efforts, you may want to understand the difference between hiking and.
Interpreting Hike Summaries and Elevation Profiles
A trail’s elevation profile is like a fingerprint, revealing its unique challenges at a glance. The basic numbers only tell part of the story.
You need to see where the climbing happens. This visual information changes everything.
Decoding the Numbers: Mileage and Elevation
Total distance and elevation gain are crucial. But they don’t show the steep sections.
A path with a gentle average can still have brutal climbs. I always check the interactive profile on sites like AllTrails.
Hover over the red line. It shows the exact elevation and grade for any spot.

Understanding Elevation Profiles and Grade Percentages
The horizontal axis shows your distance from start to finish. The vertical axis displays the elevation change in feet.
Grade measures steepness at any point. A 0% grade is perfectly flat. Higher percentages mean a steeper climb.
This data helps you pace yourself. You’ll know when to expect the tough parts.
| Hike Example | Distance (mi) | Elevation Gain (ft) | Ft per Mile | Avg Grade | Max Grade |
|---|---|---|---|---|---|
| Blanca Lake | 7.0 | 3,372 | 963 | — | — |
| Mirror Lake | 8.3 | 1,454 | 350 | 7% | 29% |
| Jenny Lake Loop | 7.9 | 623 | 78 | — | 30% |
Look at the table. The Blanca Lake example has a huge gain per mile. Its profile shows a relentless upward line.
Mirror Lake is more moderate. Jenny Lake is mostly easy but has short, steep sections at 30% grade.
Seeing this before you go builds confidence. You can prepare for those challenging moments.
Using Ratings and External Resources in Trail Selection
The most valuable resource for picking a path isn’t a star rating—it’s the latest trip report from another hiker. Online labels like “easy” or “moderate” give a rough idea. They can’t match firsthand accounts of current conditions.
Interpreting Online Trail Ratings and Reviews
I use sites like AllTrails and WTA.org as starting points. Their rating systems are helpful guides. Remember, these scores don’t know your fitness level.
An “easy” route can still climb 500 feet quickly. That’s why I always read recent trip reports. They answer crucial questions.
Are stream crossings safe? Is snow blocking the path? Did others turn around? This information is gold.
Leveraging Maps and Weather Forecasts for Safety
Weather changes everything. I check weather.gov and drag the map to my route’s highest point. This shows the coldest, windiest conditions I’ll face.
I screenshot the forecast for offline use. Ranger stations offer expert local knowledge too. They know about recent closures or hazards.
Combine these tools for the clearest picture:
- Recent hiker reports for ground truth
- Official weather forecasts for exposed areas
- Local advice from park rangers or hiking friends
- A reliable map, downloaded for offline navigation
This approach turns ratings into useful data points, not blind trust.
Practical Tips for Selecting the Best Trail for Your Skill
I always ask myself three key questions before committing to a walk: am I ready, is my gear ready, and is the trail ready? This simple checklist ensures my outings are fun and safe.
Assessing Personal Fitness, Experience, and Gear Needs
Be honest about your current fitness level. Can you handle sustained climbs? Past experience with rough terrain matters too.
Your pack should match the path. Use this guide to pack smart.
| Path Type | Key Gear Items | Notes |
|---|---|---|
| Easy Day Walk | Water, snacks, sun protection | Light pack, focus on comfort. |
| Moderate Forest Route | Map, extra layer, first-aid kit | Be ready for changing weather. |
| Challenging Wilderness | Navigation tool, emergency shelter, headlamp | Prepare for self-reliance. |
Considering Terrain, Weather, and Accessibility
Check the forecast for your route’s highest point. Rain makes rocks slippery. Snow can hide the way.
Can your car handle the access road? Some paths need high clearance. Arrive early if parking is limited.
Know the rules. Most national parks don’t allow dogs. Always have the right pass or permit.
Share your plans with a friend. Tell them your expected return time. This simple step adds a huge safety net.
Conclusion
The beauty of this system is its simplicity—a few key numbers tell you most of what you need to know. Distance, elevation gain, and route type combine to paint the complete picture of a day’s effort.
Using elevation per mile and checking a path’s profile removes the guesswork. You can match a route to your current fitness and experience with confidence. Recent trip reports and weather checks add the final, crucial layer for safety.
Start with walks that build your skills. The outdoors offers paths for every level, from park strolls to wilderness challenges. Your ability grows with each outing. Now, get out there and enjoy the journey.
