
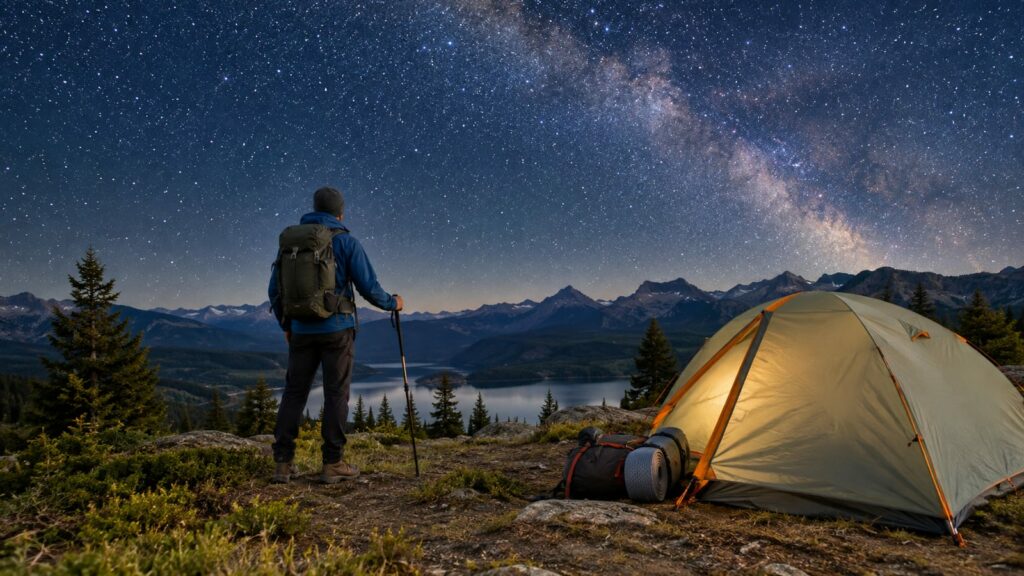
The best overnight hiking spots for stargazing are quiet backcountry camps near open water, high overlooks, or broad meadows. Hermitage Point Trail in Grand Teton is the strongest overall pick because its 9.7-mile easy round trip ends with stars over Lake Jackson. Badlands, Shenandoah, Mesa Verde, and Buffalo National River also work, but each has a catch involving access, terrain, weather, or campsite rules.
Last updated: 2026-09-16
A dark sky helps, but darkness alone doesn’t make a good overnight hike. You still need a legal place to sleep, a safe route back to camp, enough water, and clothing that won’t leave you shivering beside your own tent.
The best overnight hiking spots for stargazing
These are the strongest choices from the original night-hike list. Hermitage Point earns the top spot because the 9.7-mile route gives you a clear overnight plan and a reliable view over Lake Jackson.
| Spot | Best for | What works | Where it falls short | Verdict |
|---|---|---|---|---|
| Hermitage Point Trail, Grand Teton National Park | Lakeside stars and a manageable overnight | A 9.7-mile easy round-trip hike with views over Lake Jackson | Weather, mosquitoes, and camping rules still matter | Best overall |
| Badlands, South Dakota | Open skies and unusual terrain | Little surrounding light and wide views above the formations | Heat, wind, exposed ground, and limited shade | Worth the trip if you plan around weather |
| Shenandoah National Park, Virginia | Forest hikes with mountain overlooks | Many routes, cooler elevations, and established trail access | Trees can block much of the sky from camp | Good for hikers who want a normal hike first |
| Point Lookout, Mesa Verde National Park | High-elevation sky views | Broad horizons and a quiet setting away from city lights | You need to confirm camping and trail access before planning an overnight | Strong option when access lines up |
| Buffalo National River, Arkansas | River camps and slower nights | Water, open areas, and a relaxed base for watching the sky | Humidity, bugs, and tree cover can spoil the view | Best for a low-pressure camp night |
| Off-grid backcountry routes | Solitude and serious darkness | Fewer people and less artificial light | Navigation, water carries, wildlife, and permits become your problem | Keep it for hikers with real night experience |
Best overall: Hermitage Point Trail
Hermitage Point Trail is the clearest fit for an overnight stargazing trip. The route is a 9.7-mile easy round trip, and the reward is a view of stars over Lake Jackson in Grand Teton National Park.
The lake gives you open sky, while the surrounding wilderness keeps the night quieter than a roadside viewpoint. Still, don’t assume an easy trail means an easy night. Wind off the water, bugs, cold ground, and a long walk back after dark can turn a pleasant plan into a poor one.
Check Grand Teton National Park rules before you go. Confirm where overnight camping is allowed, whether you need a permit, and whether the route has seasonal closures.
Best budget-friendly choice: Buffalo National River
Buffalo National River is the practical choice if you want to keep the trip simple. You can build the night around a campsite near the river instead of carrying a telescope deep into rough terrain.
The river setting gives you a useful bailout point. If clouds roll in or the bugs become unreasonable, you can cook, sleep, and call the stargazing part a bonus. That flexibility matters more than a dramatic trail name.
The catch is tree cover. A river campsite can feel dark while still giving you only a narrow patch of sky. Look for an open gravel bar or clearing where allowed, and check the ground before you pitch. A beautiful campsite under trees can be a poor observing site.
Other strong overnight options
Badlands, South Dakota
The Badlands suit hikers who want wide horizons and a more exposed night. The formations make good foregrounds for stars and meteor activity, while the open terrain gives you fewer trees blocking the sky.
However, the same open ground exposes you to wind, heat, and sudden weather. There is little forgiveness if you start a night hike without enough water or insulation. Keep your headlamp ready, protect your eyes from blowing dust, and don’t wander onto unstable edges for a better photo.
The Badlands are worth choosing when the forecast is steady and you can camp legally nearby. They’re a poor choice for a casual first night hike in hot weather.
Shenandoah National Park, Virginia
Shenandoah works for hikers who want a normal mountain trip with stargazing added at the end. You’ll find wooded trails, overlooks, and plenty of daytime mileage. The park also suits groups with mixed experience because you don’t need to make the entire trip about night travel.
The weakness is obvious once the sun goes down. Forest cover can hide much of the sky, and a popular overlook may have more people than stars. Choose a legal campsite or open viewpoint with a clear horizon instead of assuming every ridge gives you a wide view.
If you want more route ideas, this guide to Shenandoah hiking trails covers the daytime side of the trip. Add the stargazing plan only after you’ve checked the return route and campsite rules.
Point Lookout, Mesa Verde National Park
Point Lookout is a good choice for hikers who value elevation and broad views. A high overlook can give you a cleaner horizon than a forested campsite, which helps when you’re trying to follow constellations or watch for meteors.
The tradeoff is access. Mesa Verde has roads, seasonal rules, developed areas, and trail limits that can affect an overnight plan. Don’t treat a famous viewpoint as an automatic backcountry camp. Check the park’s current rules before you load the car.
This is a strong stargazing stop when you already have a legal overnight base. It’s less useful when you arrive without a clear answer about where you can sleep.
Off-grid wilderness routes
Remote routes can provide the darkest skies, but darkness is only one part of the problem. You also need reliable water, a clear map, a storm plan, and enough battery for navigation.
Night travel changes familiar ground. Rocks disappear, roots become ankle traps, and a wrong turn costs more when every landmark looks black. Keep the night walk short unless you know the trail, and set a turnaround point before you leave camp.
For broader trip planning, this guide to off-grid backpacking is more useful than chasing a famous stargazer trail with no plan for water or shelter.
Stargazer trails need a closer look
A stargazer trail usually means a route marketed around night skies, astronomy, or a scenic overlook. The name can help you find ideas, but it tells you little about overnight camping, water, or the walk back to camp.
Before choosing one, check:
- Camping: Confirm that sleeping is allowed nearby and find out if you need a permit.
- Sky exposure: Look for a meadow, lakeshore, open ridge, or other place where trees won’t own the view.
- Return route: Make sure you can walk back without scrambling or route-finding.
- Trail conditions: Expect mud, rock, heat, or bugs to change the plan.
- Parking and access: Verify that you can legally reach the trailhead after dark.
A stargazer label is useful search language. It is not proof of a dark horizon. A route can be excellent for a short evening visit and useless for an overnight trip.
Starlights trails are often a naming trap
A starlights trail may refer to a real hiking route, a night event, or a phrase used by a map or travel page. Treat the name as a lead, then verify the details through the land manager.
Look for a legal campsite, current access information, and a clear viewing area. Also check if the route closes after sunset or requires a guided visit. Some places use night-sky language to describe an event rather than a trail where you can camp.
If the only information you can find is a pretty name and a few star photos, skip the overnight plan. You need trail conditions and campsite rules before you need a constellation map.
What makes a good stargazing trail?
A useful stargazing route has four traits:
- A legal overnight option: Confirm backcountry permits, campsite rules, and seasonal closures before you carry in shelter.
- An open view: Lakeshores, meadows, ridgelines, and broad rock flats beat dense forest.
- A simple return route: Choose ground you can follow without scrambling or route-finding after dark.
- A weather escape: Know where you’ll shelter if wind, rain, or cold moves in.
The best hikes for stargazing don’t need to be difficult. A short walk to an open campsite often beats a hard summit push that leaves you too tired to stay awake.
That’s also why a so-called starlights trail or stargazer trail deserves a closer look. Those names may describe a real route, a night event, or simple search language. Read the access details before trusting the label. A trail sign with “stars” in the name does not guarantee a dark horizon or overnight camping.
Plan around the moon, clouds, and heat
A new moon gives you the darkest conditions, but clear skies matter just as much. High clouds can hide stars even when the forecast says rain is unlikely. Check cloud cover, wind, temperature, and smoke before you leave.
Plan your hiking effort for daylight when possible. Night hiking is cooler in hot country, but rocks and roots are harder to see. In humid areas, condensation can soak the inside of your shelter even when no rain falls.
Meteor showers can add interest, but don’t build the whole trip around one forecast. They often bring more people, more parking trouble, and more pressure to stay awake until the cold has reached your footbox. The sky will still be there on another clear night.
Gear that earns its place after dark
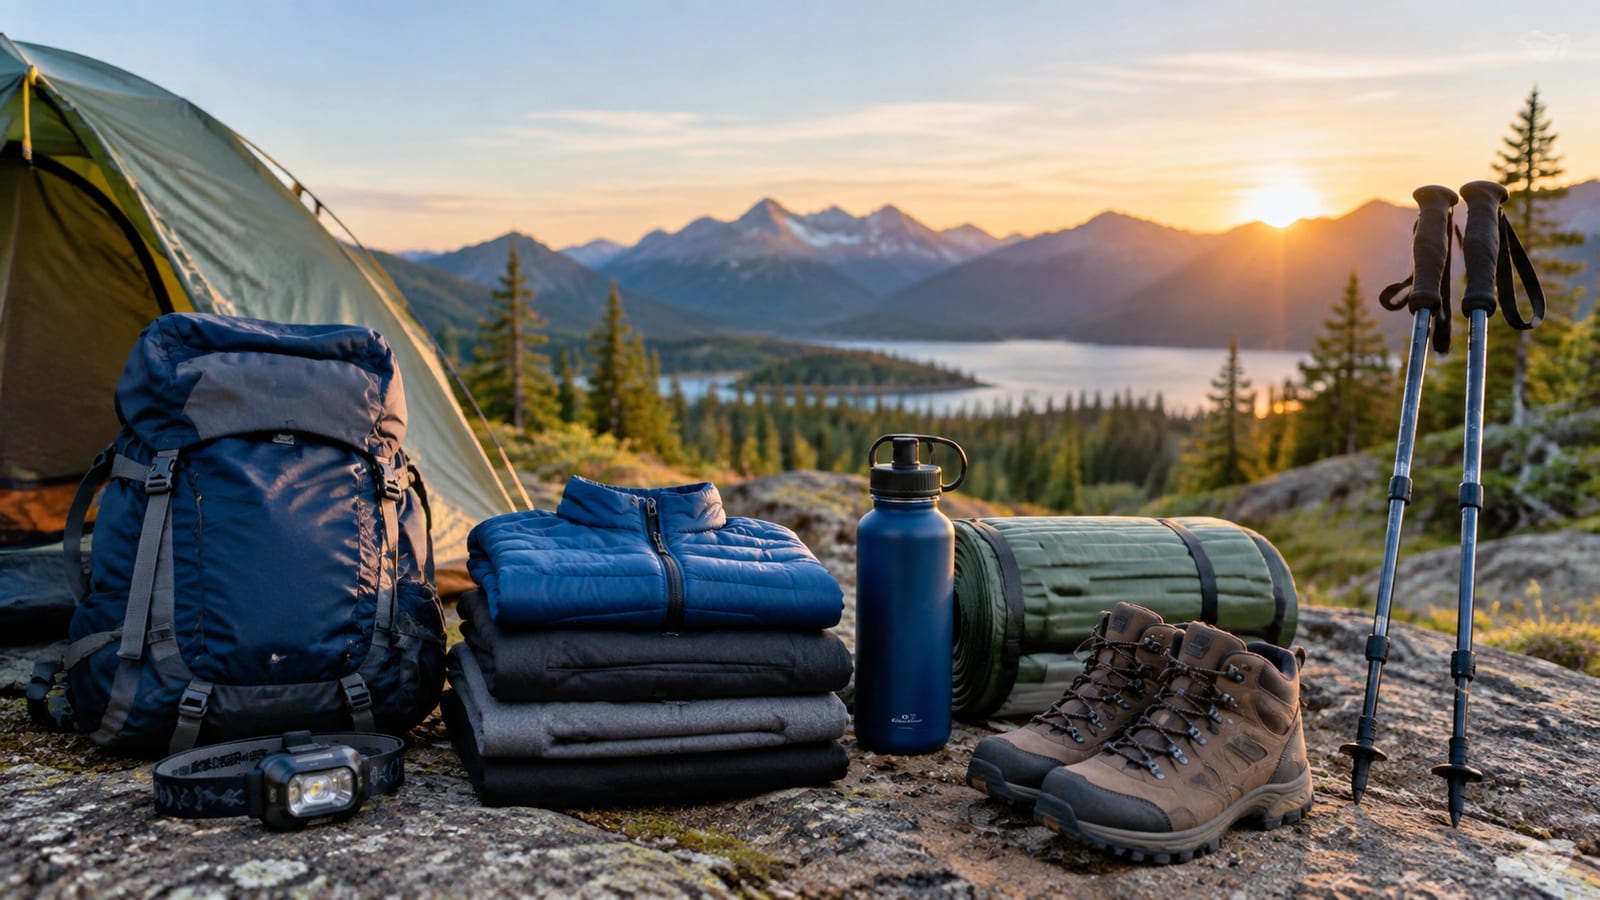
You don’t need a large kit for a good stargazing overnight. You do need gear that handles cold, darkness, and a long period of sitting still.
Pack:
- A headlamp with a red-light setting
- A spare light or backup batteries
- Warm layers, including a hat and dry socks
- A sit pad or ground cloth
- Water and an easy snack
- A paper map or downloaded route
- A charged phone in a protected pocket
- Trekking poles if the route is rocky or steep
- A shelter with enough vestibule space for wet gear
The red light helps protect night vision, but it doesn’t make you invisible to other hikers or wildlife. Keep your light pointed at the trail, and lower it when you stop to watch the sky.
Binoculars are often the sensible first optic. The Celestron SkyMaster 15×70 Porro Binoculars offer 15x magnification, 70mm (2.75") glass, and a 4.4° field of view. They show more sky than a narrow telescope view, but they’re heavy enough that you’ll notice them in a full pack.
The AWB OneSky telescope is a better choice for a base camp than a long carry. It has a 130mm aperture at f/5. With its provided 25mm eyepiece, it offers 26x magnification and a true field of view of nearly 2º. Its included 10mm eyepiece reaches 65x magnification, and the telescope has a maximum field of view of 2.5º.
That telescope can earn its place when you drive close to camp or share the load. On a real backpacking route, it becomes a bulky object you carry for several hours to use for several minutes. Borrow one before buying if you’re unsure.
Apps help, but your phone still has limits
Sky Guide is useful for identifying stars and constellations without carrying paper charts. The basic version is free with in-app purchases. Sky Guide Plus costs $2.99 per month or $19.99 per year and offers 100x zoom.
Sky Guide Pro costs $4.99 per month or $39.99 per year. It adds 1,000x zoom and field-of-view visualization tools. Those features make sense for planning and learning, but they won’t turn a phone screen into a telescope.
Use the app before you leave camp, then dim the screen and put the phone away. Bright screens ruin your night vision faster than most beginners expect. You’re outside to see the sky, not to spend the night swiping through a map of it.
Night hiking safety is plain and slightly boring
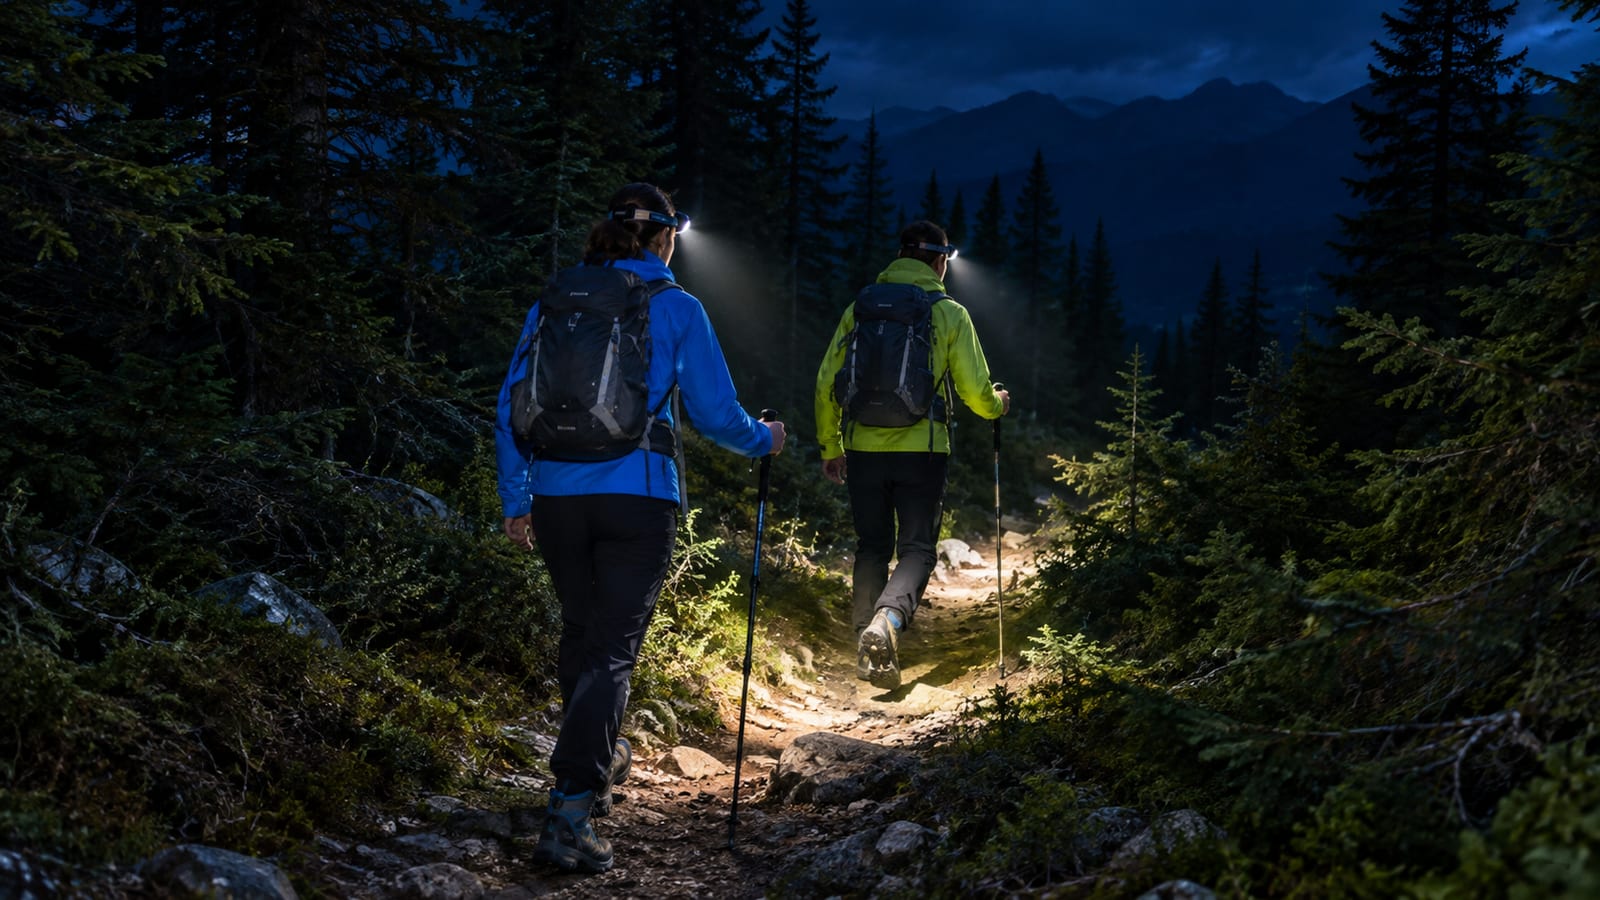
Night hiking is manageable when you remove the unnecessary parts. Don’t add scrambling, a new route, or a late summit push just because the stars look good.
Use these decision points:
- Start with enough daylight to find camp and inspect the area.
- Walk a route you know, or keep the night section short.
- Leave your headlamp on low until the trail becomes hard to read.
- Watch for loose rock, roots, drop-offs, and water crossings.
- Keep food and scented items secured from wildlife.
- Tell someone where you’re going and when you expect to return.
- Turn around when clouds, wind, fatigue, or poor visibility changes the risk.
Wildlife is usually more of a reason to stay alert than a reason to panic. Make noise on blind corners, keep your food managed, and don’t approach animals for a better view. A close wildlife photo is rarely worth losing your bailout route.
What to skip
Skip any overnight stargazing plan that depends on an unverified campsite. A dark place without legal camping is a viewpoint, not a backpacking destination.
Skip a hard night hike if the only reason is a better photograph. After mile 10, most people want water, dry socks, and a flat place to sleep. The Milky Way will not be impressed by your suffering.
Also skip bulky optics on a route with a heavy water carry or steep switchbacks. Your eyes can see a surprising amount under a dark sky. Start with a red light, warm clothing, and a comfortable camp before adding equipment.
How to choose your trip
Choose Hermitage Point Trail if you want the best balance of route, scenery, and a clear stargazing setting.
Choose Buffalo National River if you want the easiest budget approach and a flexible camp night.
Choose Badlands if you care most about open horizons and can handle exposure to heat and wind.
Choose Shenandoah if you want daytime hiking, established access, and a less specialized trip.
Choose Point Lookout if elevation and broad views matter more than a simple overnight plan.
Choose an off-grid route only if you already manage navigation, water carries, wildlife storage, and storm decisions without help.
A good stargazing overnight is mostly a route-planning problem. Pick an open campsite, carry enough insulation, and keep the night walk simple. The sky does the impressive part.
FAQ
Are overnight hikes safer than day hikes for stargazing?
Usually, yes, if you camp near the viewing area. You avoid walking a long route back in darkness, and you can stop when fatigue sets in. The tradeoff is carrying shelter, food, and insulation.
Should you hike during a meteor shower?
You can, but you don’t need to. A clear, dark night outside a peak event often gives you fewer crowds and a calmer camp. Plan for clouds and cold instead of assuming the forecast will cooperate.
Can you stargaze from a tent?
You can see some sky from a tent with a mesh roof or open vestibule. However, a ground cloth or sit pad outside usually gives you a wider view. Keep your sleeping bag nearby because temperatures drop while you sit still.
Is a telescope necessary for a wilderness stargazing trip?
No. Your eyes give you the widest view, and binoculars are easier to carry than a telescope. Bring a telescope only when you can keep the carry short or share the load.
What should beginners choose for their first night hike?
Start with a familiar trail near a legal campsite and an open viewing area. A short route with an easy bailout point teaches you more than a remote trek that turns into a navigation exercise.
