Blisters can turn a great hike into a tough challenge. Still, you can save your feet with the right knowledge and steps. Rebecca Rushton, a famous podiatrist from Western Australia, has insights. She says blisters aren’t just from rubbing. They also come from skin stretching inside your foot.
Most blisters happen on the second day of hiking. So, those first days are very important. Your past with blisters can predict future ones. And surprisingly, callouses might not protect like we think they would.
To prevent blisters, focus on reducing skin shear. It’s not only about choosing wider shoes or special socks. For top-notch foot care for hikers, pack things like Engo Blister Patches. Being prepared is key for a good hike.
Understanding the Causes of Blisters
Before hitting the trails, it’s key to know why blisters happen. This knowledge can help keep hiking fun and pain-free.
Friction and Shear Forces
Blisters are mainly caused by friction and shear deformation. This happens when skin layers push against each other. It occurs during activities like long hikes. Areas like the heels and toes are often affected.
Heat and Moisture Factors
Heat and moisture also play a role. Sweaty feet make the skin soft, making it easier for blisters to form. Hotter surroundings increase sweat, upping blister chances. Drymax or Injinji socks can cut down these risks greatly.
Importance of Footwear Fit
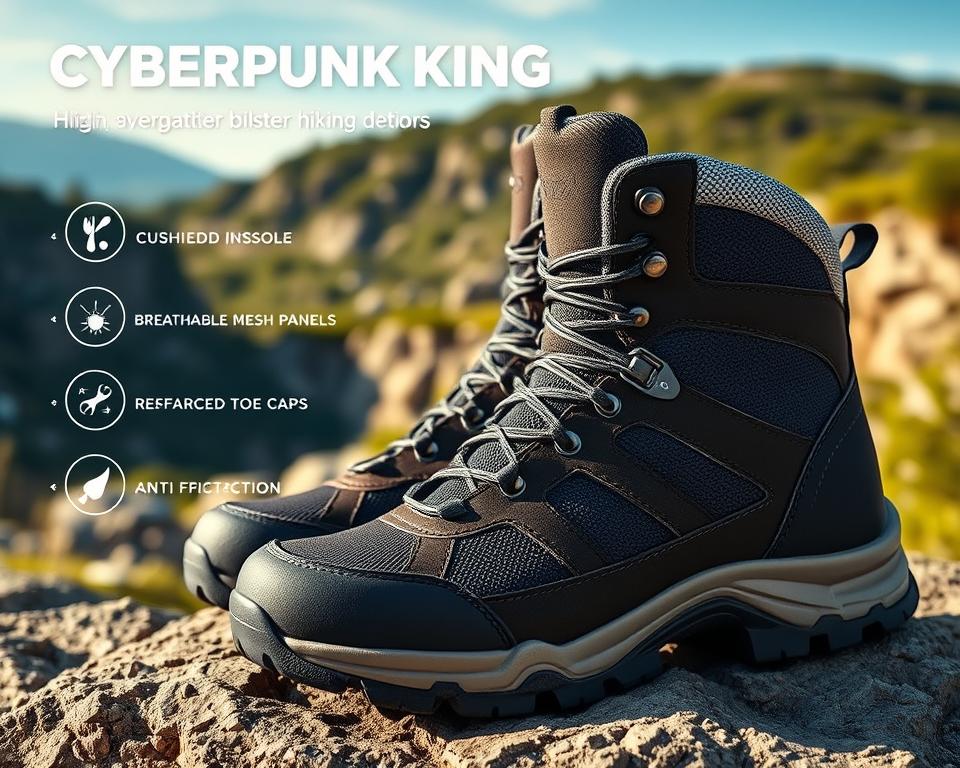
The right shoe fit is key for hiking. Shoes that don’t fit right add pressure and friction. A good pair of hiking boots spreads out the pressure. It lowers the chances of blisters. Checking your feet often and using Compeed for any hot spots helps too.
Pre-hike Preparation
Getting ready for a hike is key to a good time. It’s important to pick the right socks and shoes. This helps avoid blisters and foot pain. Let’s look at how to prepare for your hike.
Choosing the Right Socks and Shoes
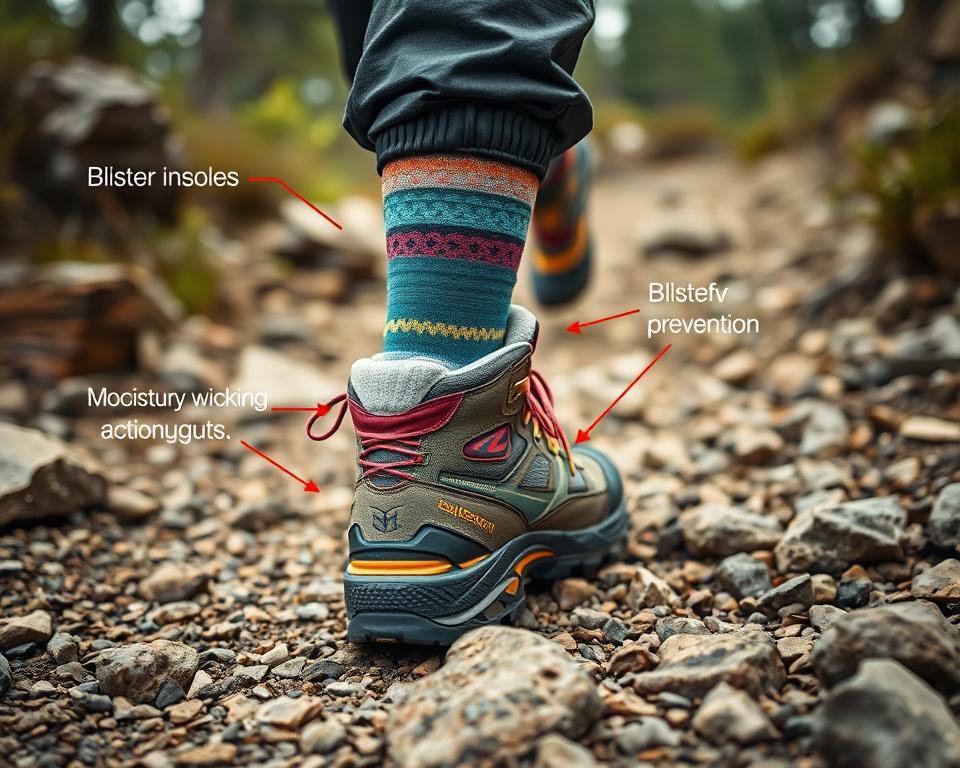
Choosing the right socks is crucial. Pick synthetic or wool socks for their moisture-wicking ability. This reduces blister risk. Stay away from cotton socks because they absorb moisture and cause friction.
Finding the right shoes or boots is also important. They should fit well but not be too tight. Try brands like Oboz and Keen, which suit different feet shapes. If you have a wide front foot but narrow heels, look into Oboz. For wider feet, Keen might be the better choice:
- Oboz: Good for wide forefoot, narrow heel
- Keen: Suitable for wider feet

On longer hikes, change your socks every day or two. Hang them on your bag to dry. This keeps socks clean and helps stop blisters.
The Role of Insoles
Insoles are important for hiking. They offer extra support and can make your shoes fit better. This reduces blister risk by spreading pressure evenly. Custom insoles are great for those who often get blisters or foot pain.
Preparing the right way, including choosing socks and insoles, is key. It can make your hike more enjoyable and free from blisters. Take these steps to have a great adventure.
Preventative Measures on the Trail
When hiking, proactive steps are key in preventing blisters. It’s crucial to keep feet clean and dry for this. But, there’s more you can do to stay safe.
Identifying Hot Spots Early
Spotting hot spots early is crucial. These are areas that feel sore and look red before a blister forms. If you see a hot spot, addressing it quickly can stop blisters in their tracks.
Stop and check your feet at the first sign of discomfort. This way, you can enjoy a comfortable hike without worries.
Using Moleskin and Other Barriers
Moleskin and barriers like Leukotape work great at the first signs of friction. They’re especially good for areas that often get blisters. Having moleskin, molefoam, 2nd Skin, and adhesive tape in your kit is a must.
Keeping Feet Clean and Dry
Don’t underestimate good foot hygiene. Keeping your feet dry is essential to avoid blisters. Swapping socks often, especially to synthetic or wool ones, is a good move.
Use foot powder and sock liners to keep moisture in check. Ensure your hiking boots are ventilated well and protect your feet from debris. These steps are crucial for blister prevention.
- Change socks frequently.
- Use foot powder and sock liners.
- Prefer moisture-wicking synthetic or wool socks over cotton.
How to Deal with Blisters on the Trail
When hiking, addressing blisters right away is key. The second you feel a hot spot, you should act fast to stop it from getting worse. Knowing how to treat a blister and having the necessary tools can really help.
Immediate Action Once a Hot Spot is Detected
If you notice a hot spot, stop walking. Take off your shoes and socks so your feet can dry and cool. Putting moleskin or barrier tape on the hot spot helps lessen rubbing and stops a blister from forming. An expert once said adhesive cloth tape works well for hot spots. It’s placed over the affected area to protect the skin.
Blister First Aid Kit Essentials
Having a blister first aid kit on hikes is vital. This kit should have:
- Sterile needles for draining blisters when needed
- Antiseptic wipes for cleaning and preventing infections
- Bandages and barrier tape to cover and shield the blister
- Engo Blister Patches for less friction and more relief
Blisters can be intact, torn, or open, and each type needs a specific way of treatment. Treating a blister means dealing with what causes it. For big blisters, make a doughnut-shaped pad from mole foam. Then cover it and use athletic tape to keep it clean. For more tips on blister care, check out this hiking guide.
Being ready to treat blisters quickly and having a full first aid kit can enhance your hiking experience. Quick action and the right equipment can stop little problems from getting worse out on the trail.
Can Improving Hiking Stamina Help Prevent Blisters During Longer Treks?
Improving hiking stamina can significantly reduce the risk of blisters on longer treks. When you enhance your endurance for extended hiking trips, your body adapts to the demands, leading to better foot placement and reduced friction. This proactive approach not only boosts your performance but also promotes foot health on the trail.
Treating Blisters Properly
Blisters need careful treatment, especially while hiking. You might have to decide if draining the blister is needed. These blisters form from continuous rubbing, which happens a lot with bad-fitting boots or in sweaty conditions. If the blister gets big and hurts, draining it could help. This stops more pain and the chance of it bursting in your boot.
When to Drain a Blister
Be careful when draining blisters to avoid infection. It’s best to do this safely and cleanly. Use something sharp and sterile to prick the blister’s edge. Let the liquid come out. Then, it’s crucial to keep it clean and covered. This helps it heal and stops germs. Remember, draining raises your infection risk, so keep everything sterile.
Applying Antibiotic Ointment and Dressings
Putting antibiotic ointment on a drained blister is important. It fights off germs. Then, put a clean bandage over it. Surrounding the blister with a moleskin pad prevents rubbing. Some hikers use duct tape, but it’s stiff and can hurt. Products like Glacier Gel are better for comfort and safety.
Knowing how to treat blisters is key. This includes when to drain them and what to put on them. You can handle painful blisters well and keep hiking with little trouble. Remember, prevention is best. But when blisters happen, treating them right makes a big difference.

